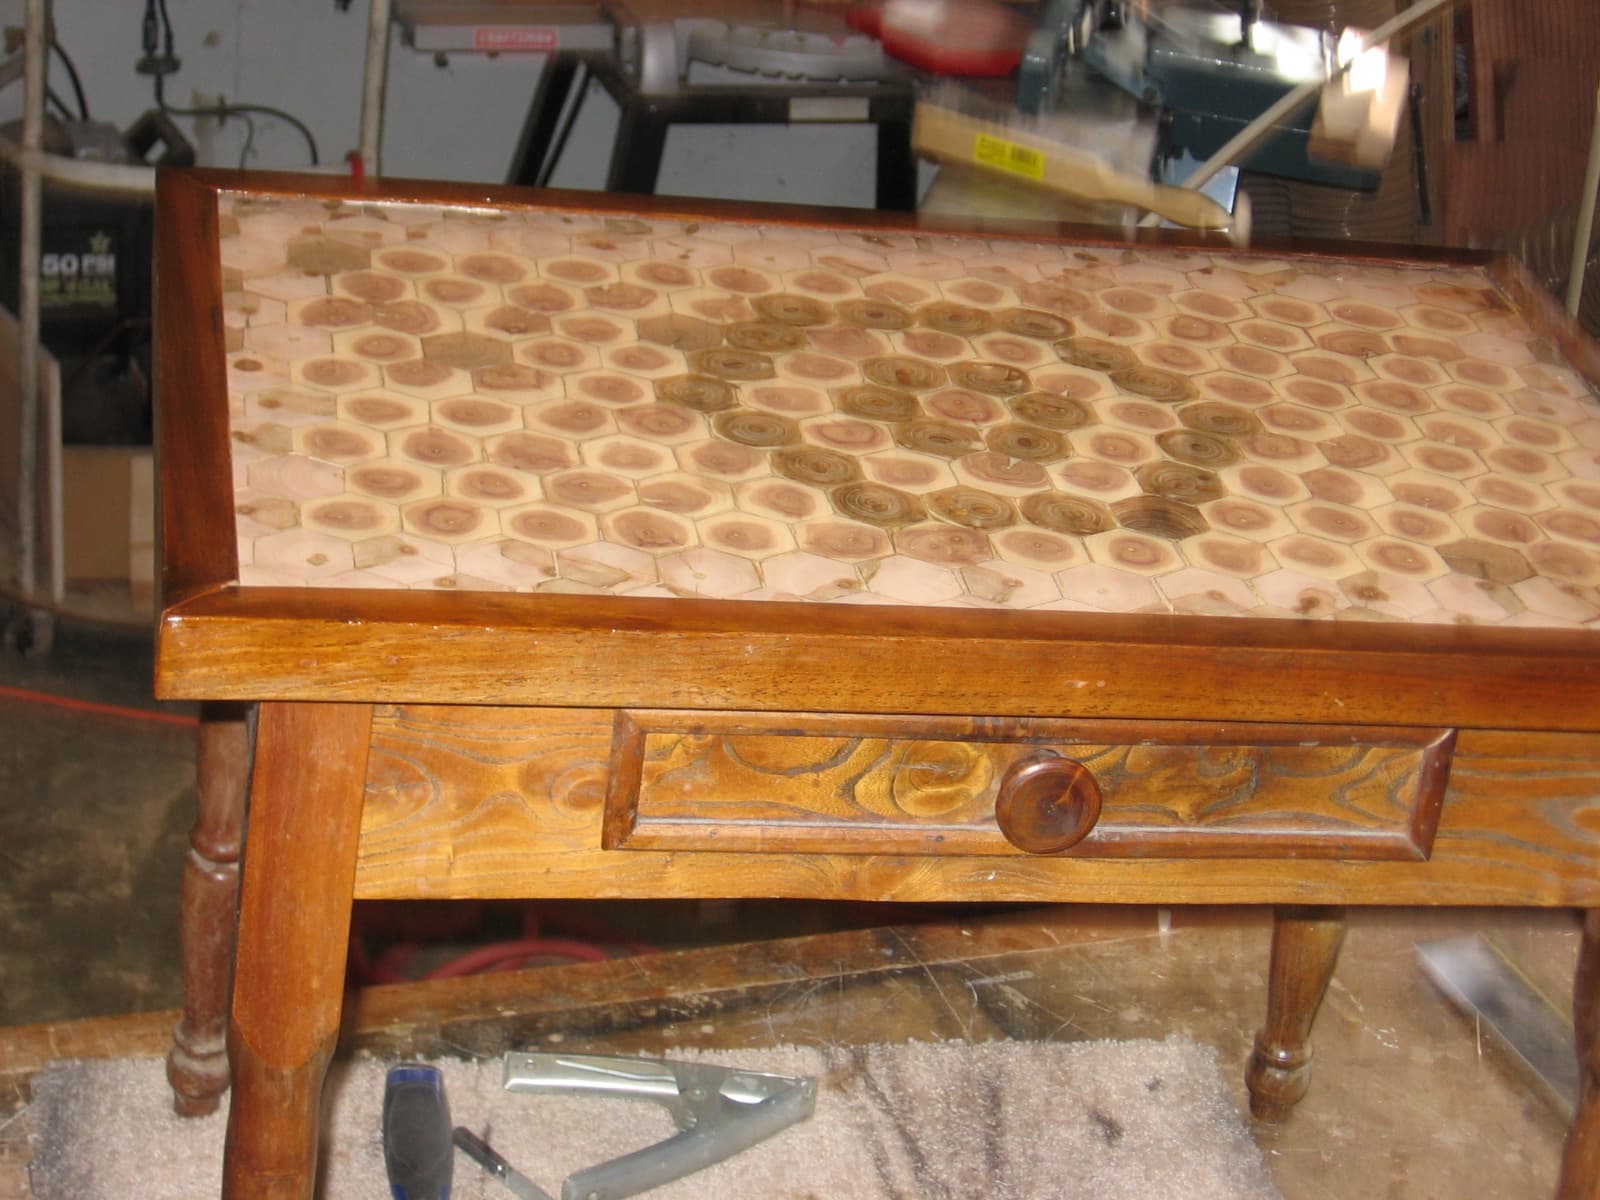
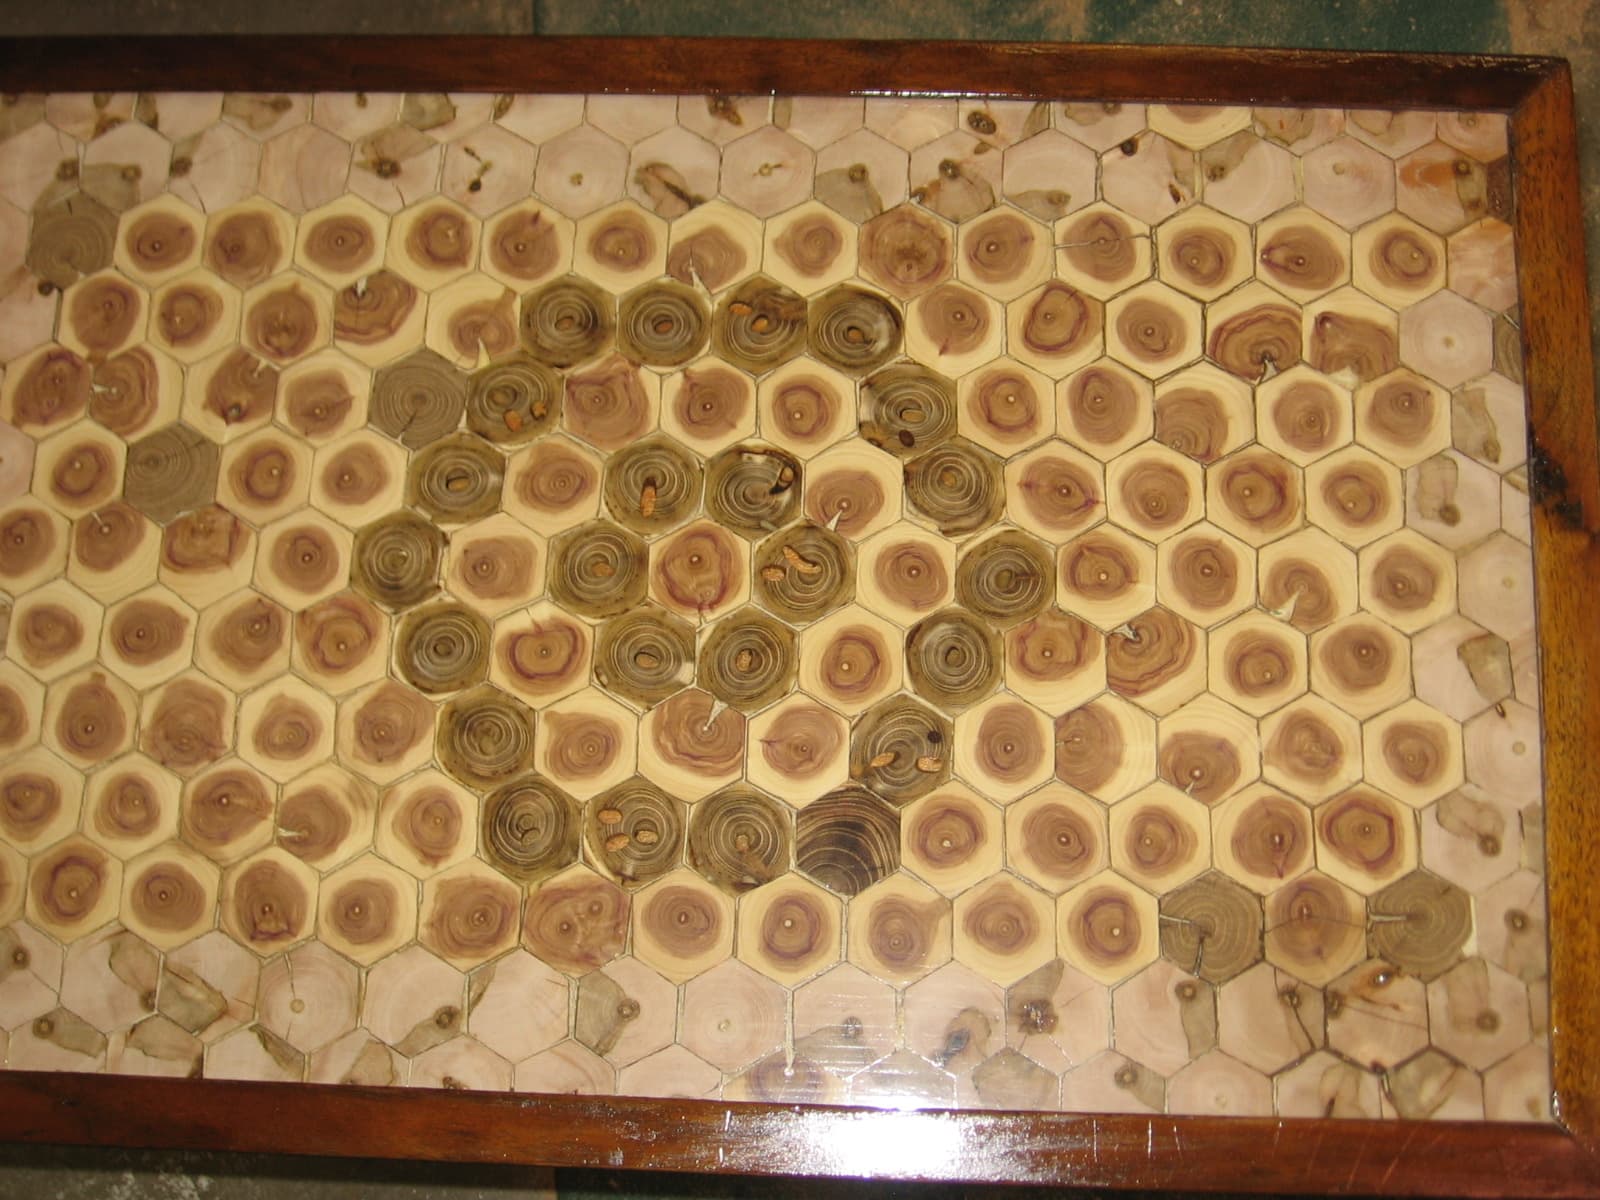
My daughter-in-laws Grampa made this table back in the 1940’s and he used wafers of some elm tree prunings to make “tile” for the top. He used clear epoxy to stick and grout around the tiles.The dark ones are from dead limbs and the light ones are from live limbs.
Herb

2 Likes
the top is unique - I love it…
oh the ideas…
1 Like
thought more about this table’s top…
what methods do you suppose he used to make the hexagons???
I vote draw knife to get one flat and a TS w/ a sliding table to give you the rest of the flats…
or…
a hand plane to start…
vise the piece of branch and use a low angle jack or joiner to cut the 1st flat and then off to the TS …
what you suppose the thickness of the wafers should be???
once the tension and compression was released I’d think the loss to splits would be pretty high if they were really thin… same goes for when they’re dried…
1 Like
They were about 1/8" thick. Something had been dropped on the top and some waffers were broken and popped free. Good thing they were saved, she had them in an envelope when she brought over the table. I pieced them back like a jigsaw puzzle and they can hardly be noticed. Only I know, and I am not telling.
HErb
1 Like
I have been thinking of what Stick asked. The way I would cut the edges of the tile so that they were close to the same uniform size, like the ones on the table.
I imagine the branches are not straight ,probably spangled in all directions. I would set up the bandsaw fence and cut them all a standard thickness, like maybe 3/16". Then make a hexagon pattern that would fitt the inside diameter of the wafers. Then lay that on the wafer and mark it out. Then with a 3/4" chisel cut the corners. If that didn’t work maybe sand them to the mark on a stationary sander. After they were all set the top could be sanded flat to even out the whole thing , then grouted to fill in the voids and sanded again for finish.
Herb