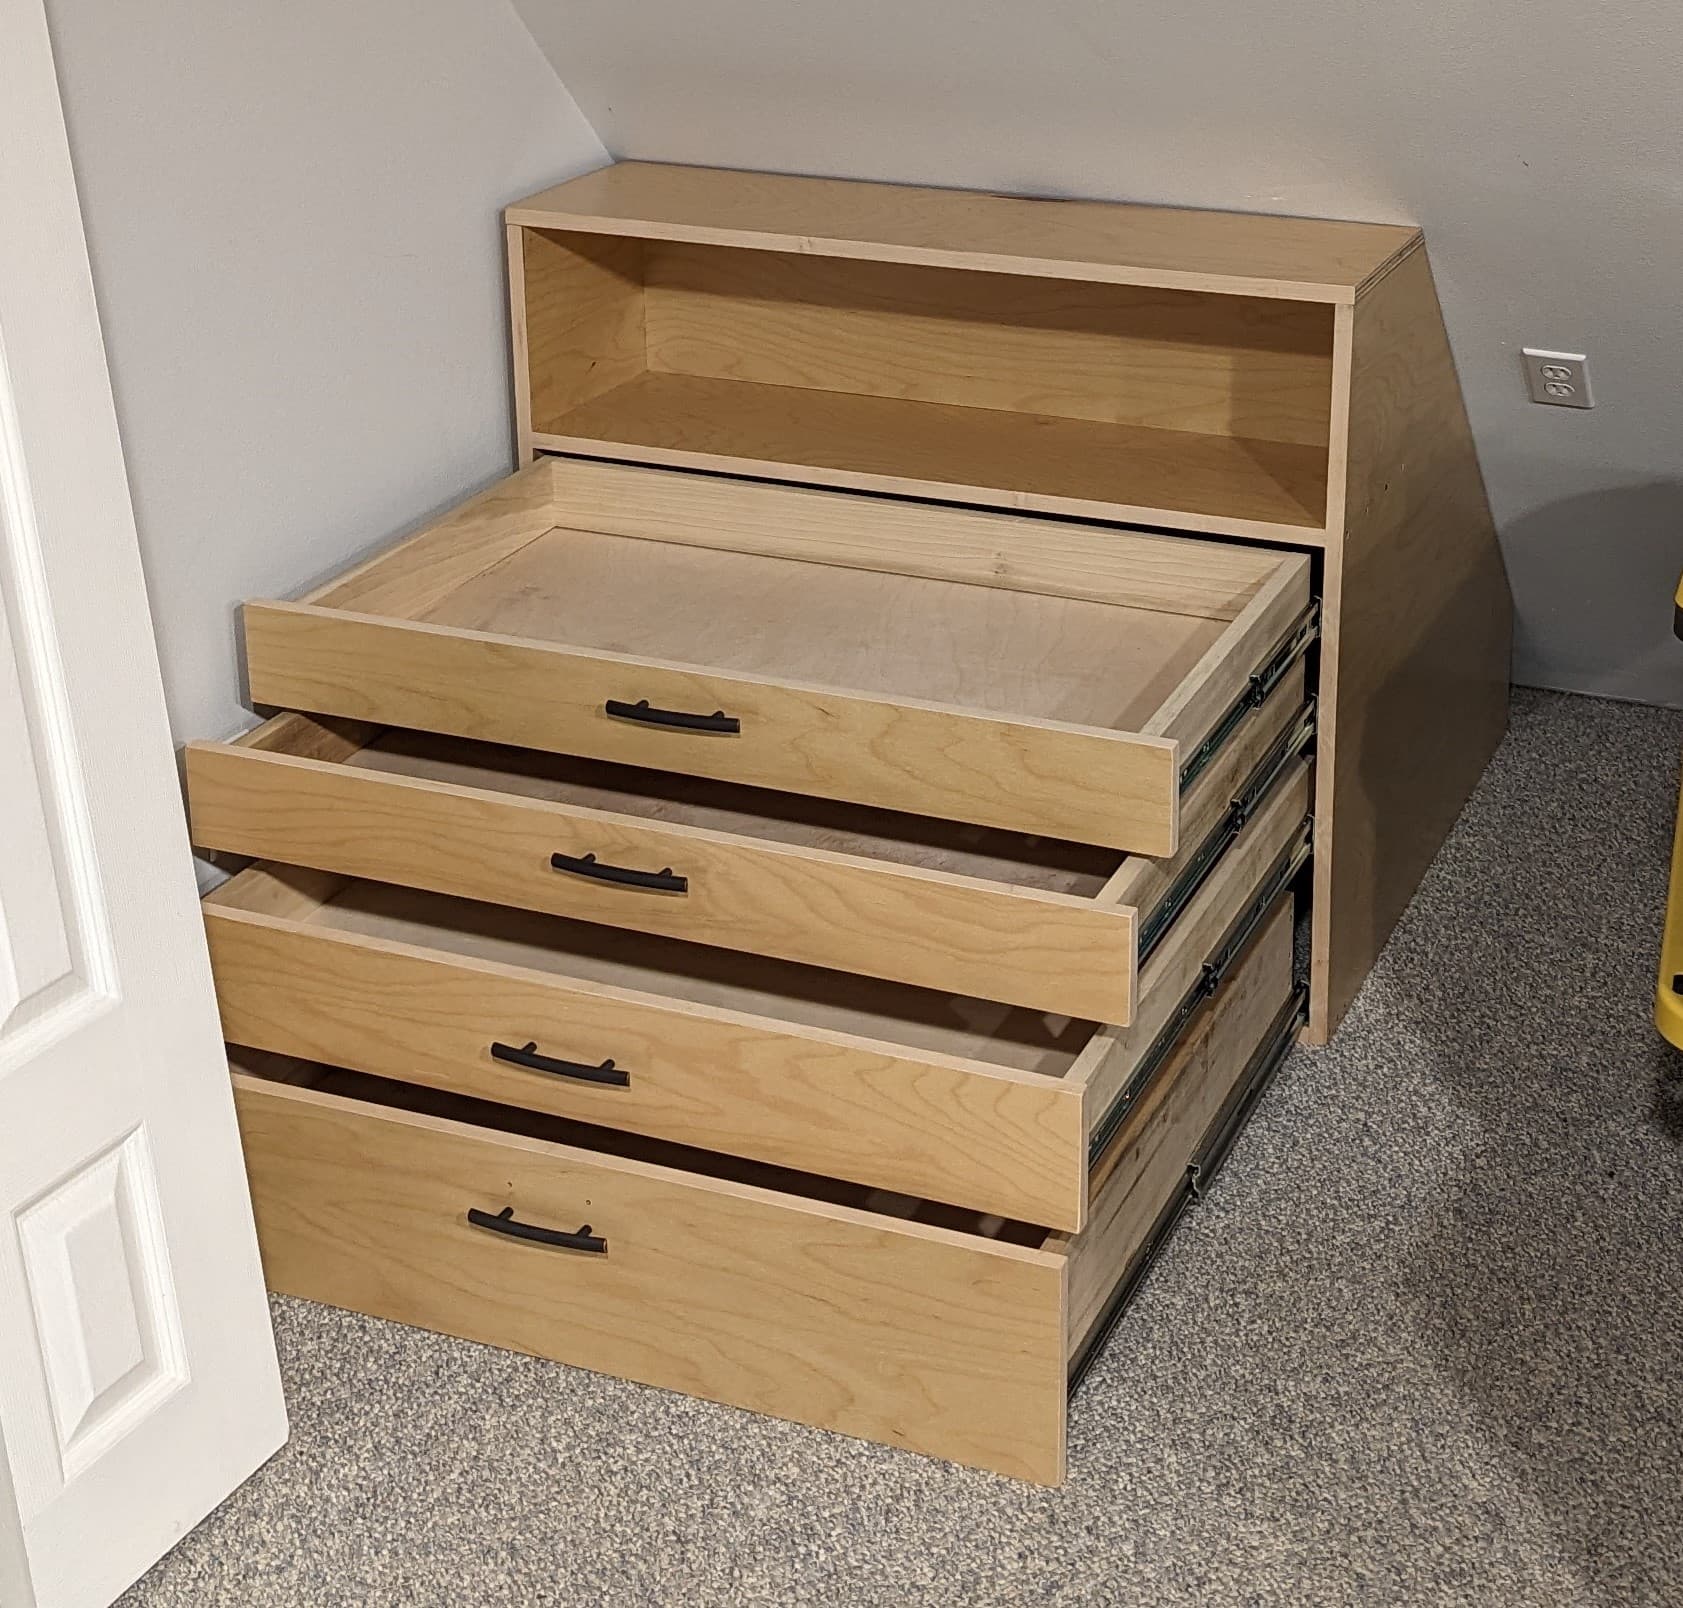
The second story of our house is an A-frame with a 45° roof line, which makes it hard to utilize the space at the edges of the room. I decided to design some custom drawer cabinets to make it easier to use this space for storage. So far I’ve completed one, but more will follow.
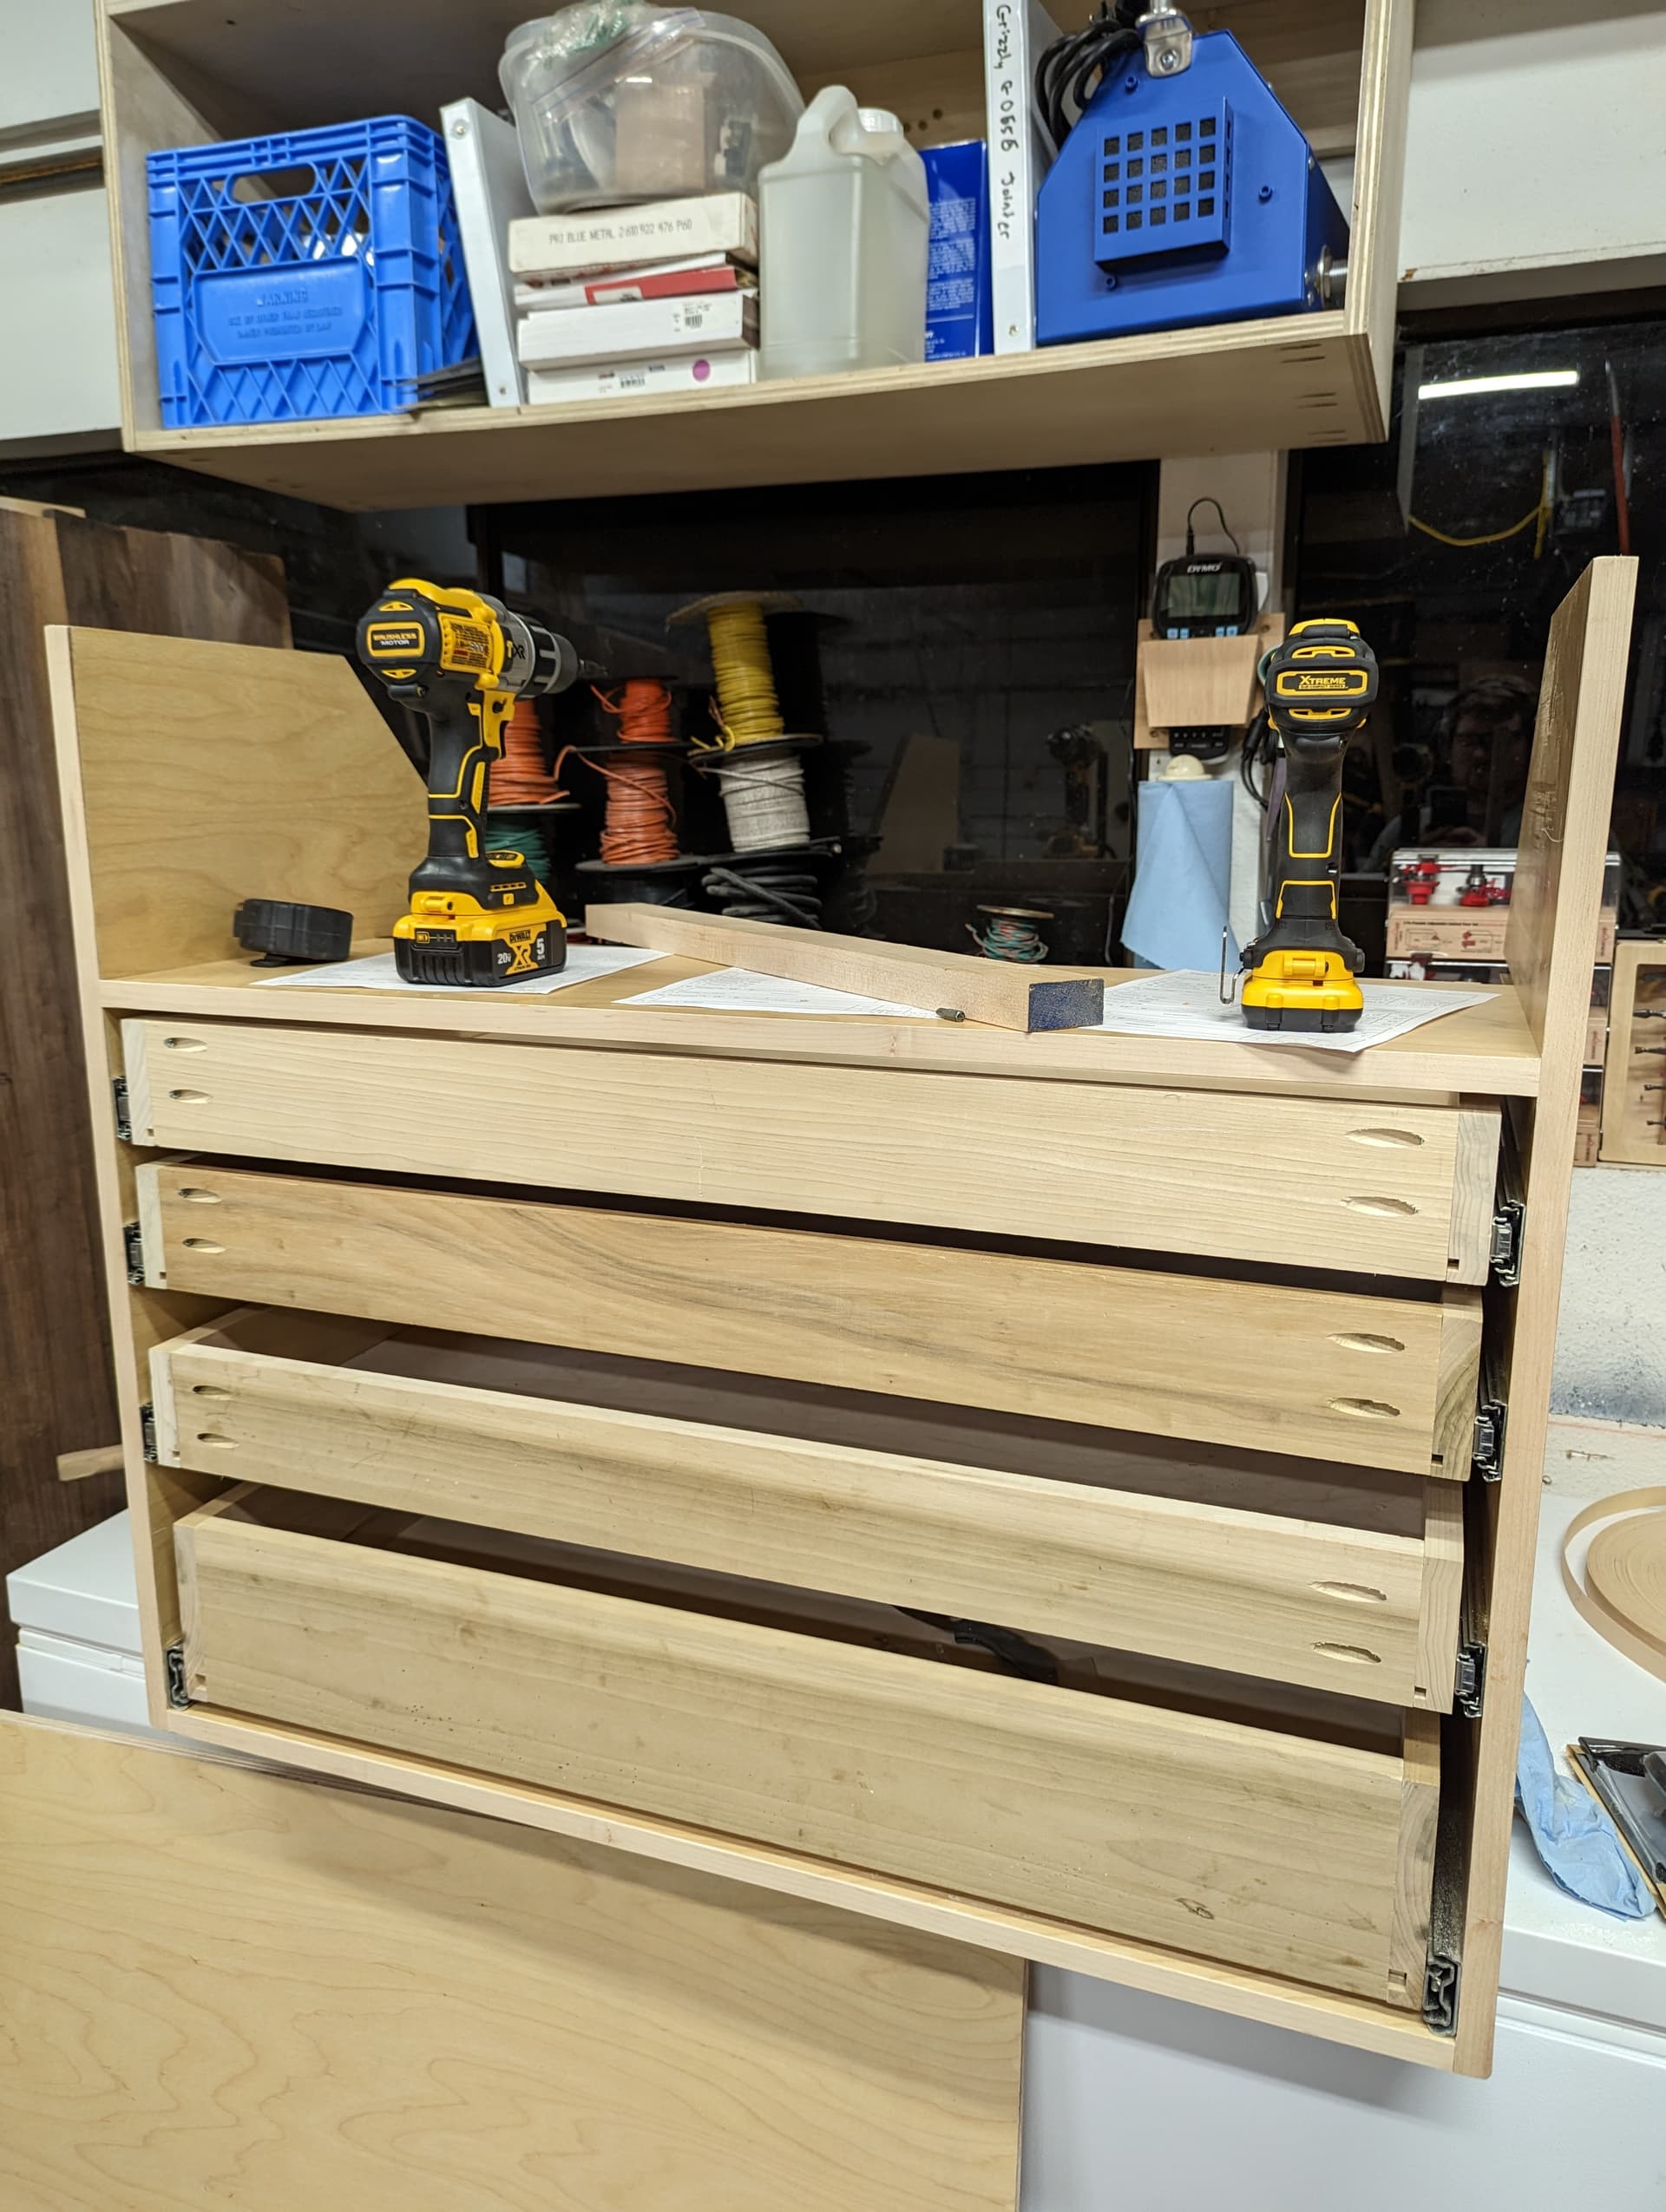
I’ll start with a finished photo for those who want to skip ahead.

I started with a SketchUp model to get a sense of the size I wanted. The goal was to have successively deeper (front to back) drawers as you go down toward the floor, to maximize space utilization given the slope of the wall/ceiling behind the unit.
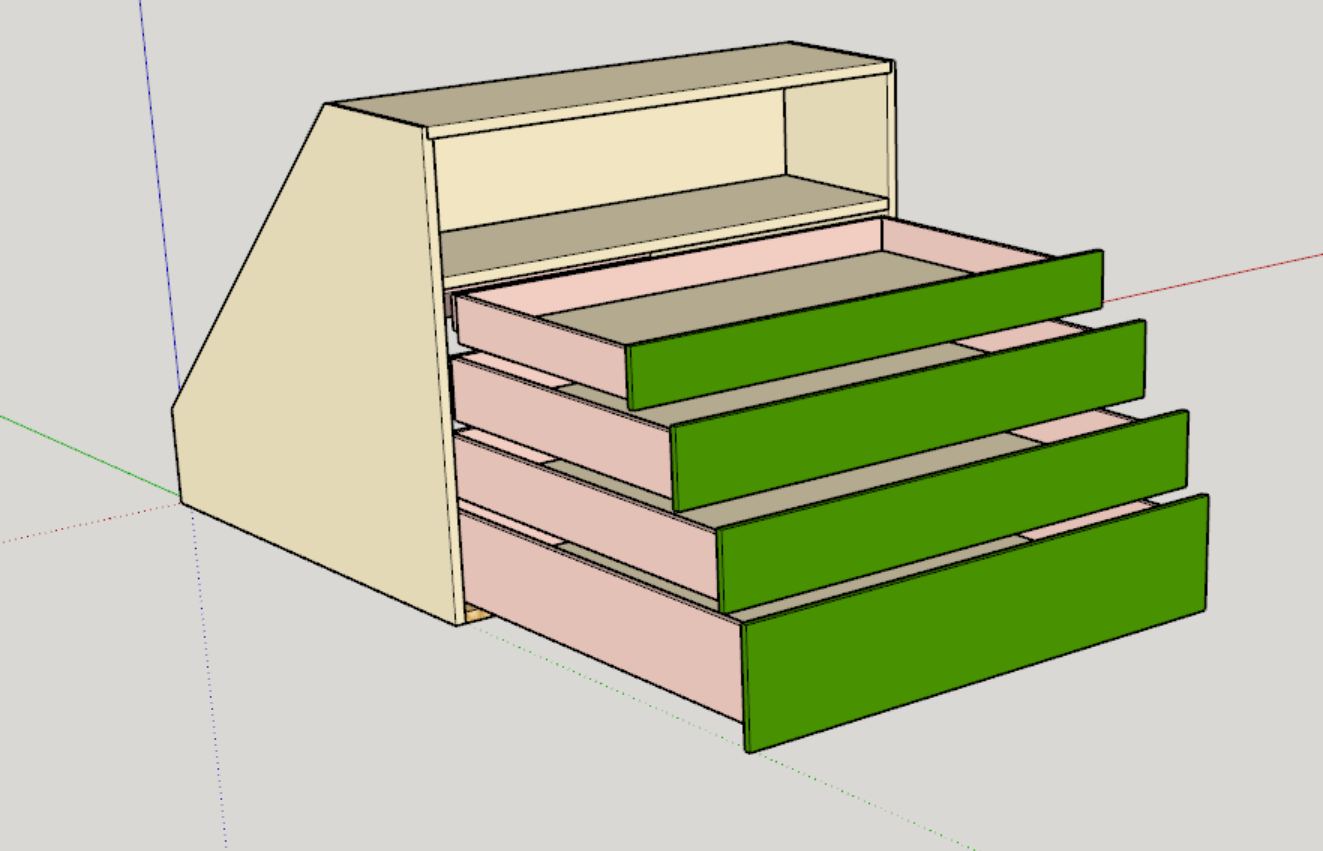
As I refined my plans, I also ran into limitations when it came to drawer slides, so the bottom drawers ended up being 30" deep even though they technically could have been a little bit deeper.
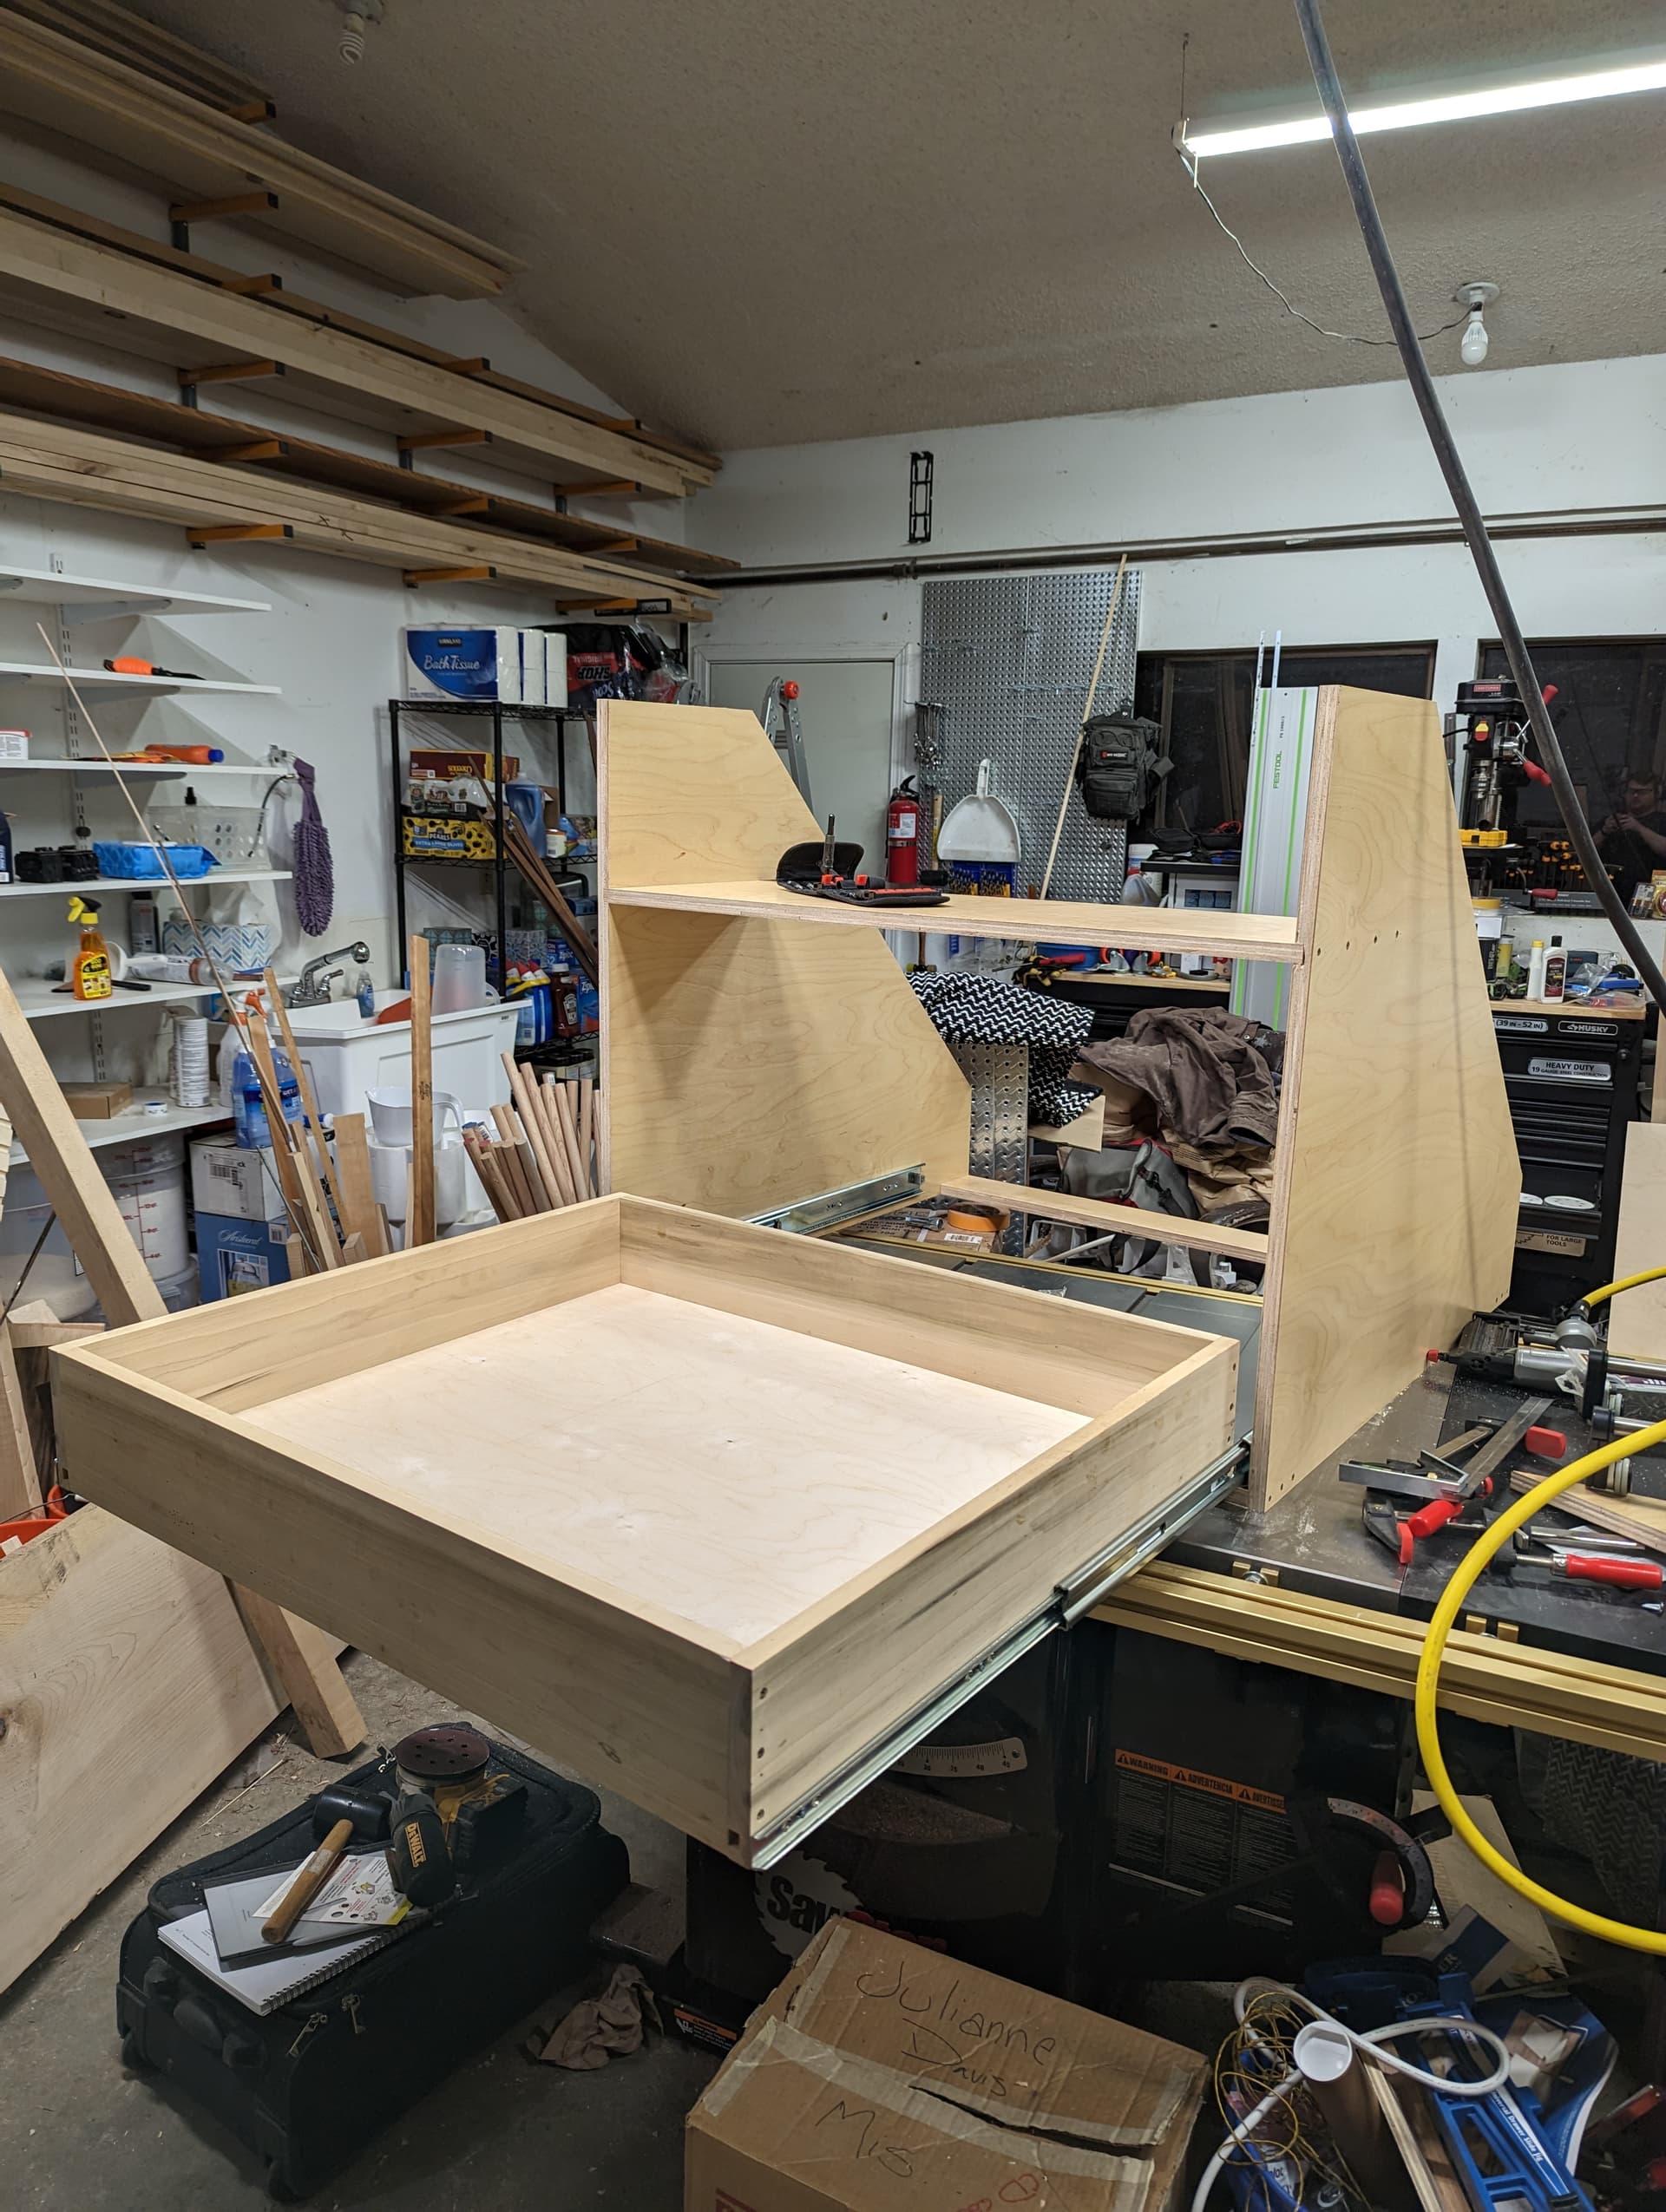
I kind of tend to only do basic design in SketchUp and then refine the design as I build, so I started cutting and constructing the carcass. I decided to cut a dado for the upper shelf, though when I build subsequent units I may skip that step. Not sure it’s really needed from a structural perspective, and it makes other parts of the build more complicated.

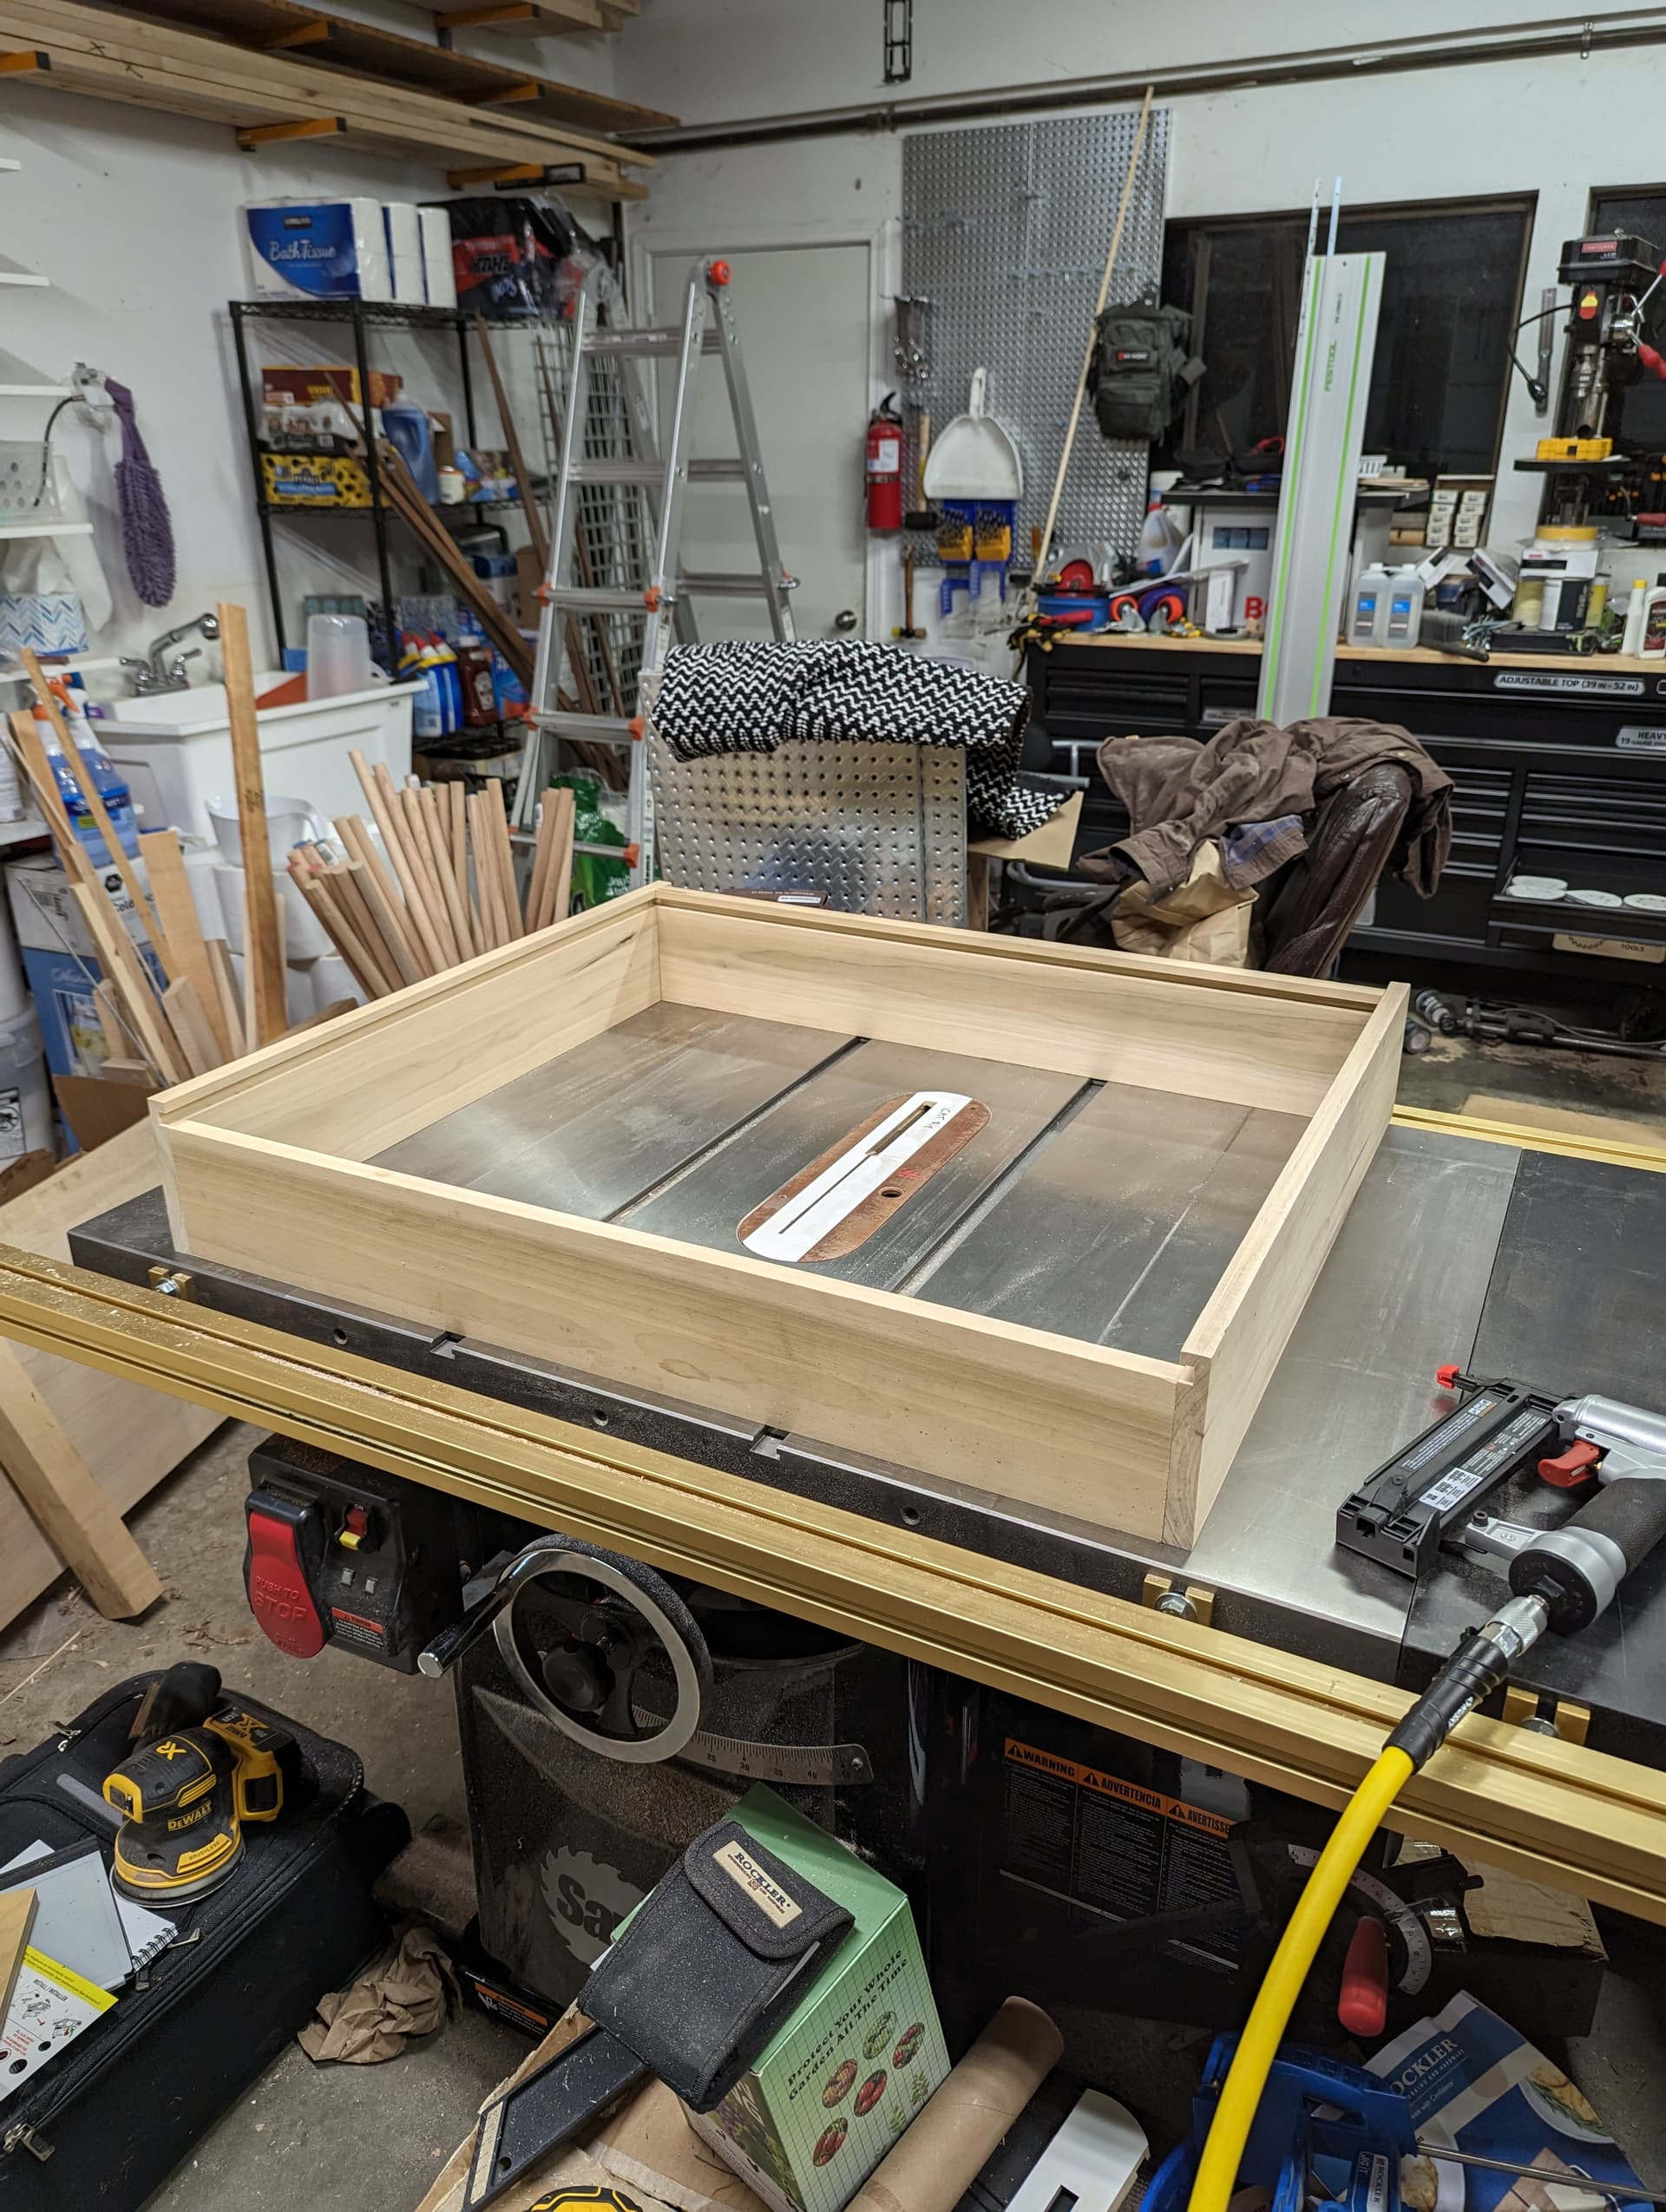
With the main box assembled, it was time to start building drawer boxes. I made the bottom drawer out of 4/3" poplar w/ a 1/2" bottom. the rest of the drawers are 3/4" poplar sides with 1/4" bottoms.
I was careful when measuring the widths of the drawer slides and calculating the sizes of the drawer boxes, so once I had them all together I was able to get the drawers installed without too much drama.


One annoying discovery I made was that the heavy-duty slides for the bottom drawer don’t have a way to disconnect the drawer other than removing the screws. Had I realized this up front, I probably would have waited until the unit was in its final home before installing the bottom drawer (or looked for different drawer slides).
My other early mistake was not adding edge-banding to the front of the case before assembling the pieces. I’m using iron-on edge-banding, and I managed to get it all ironed on and trimmed up, but it was more of a pain than it needed to be.
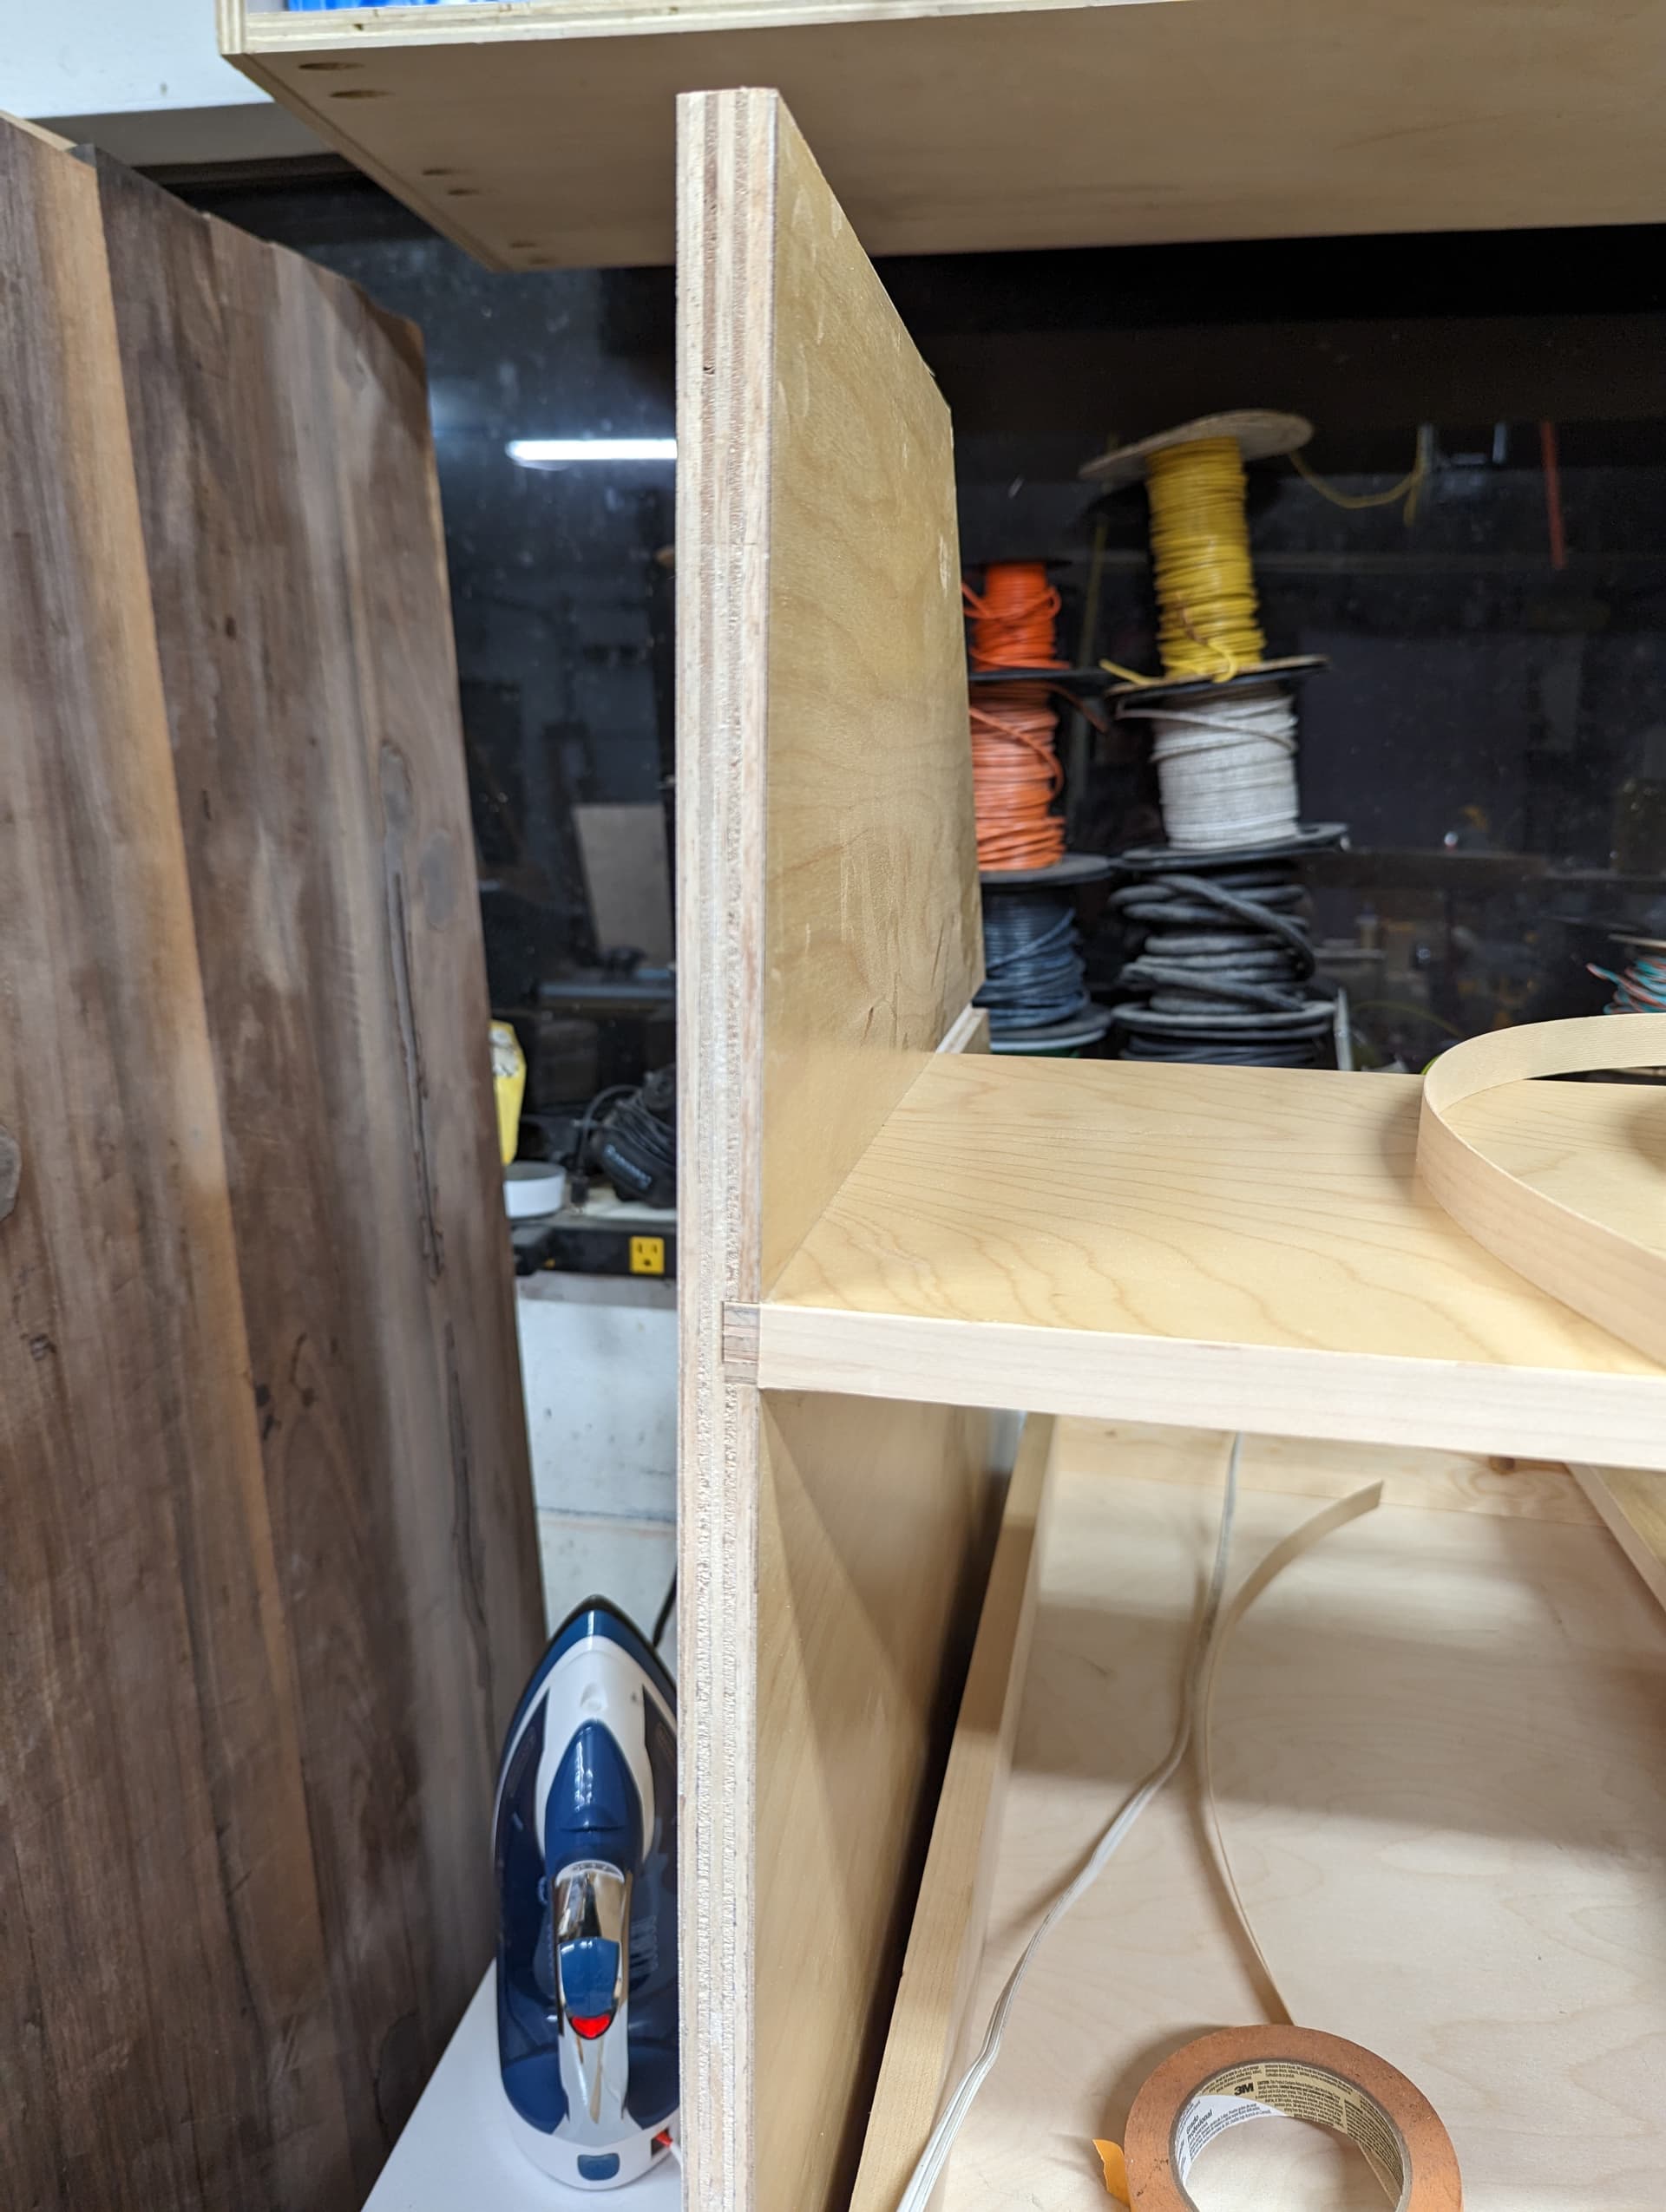
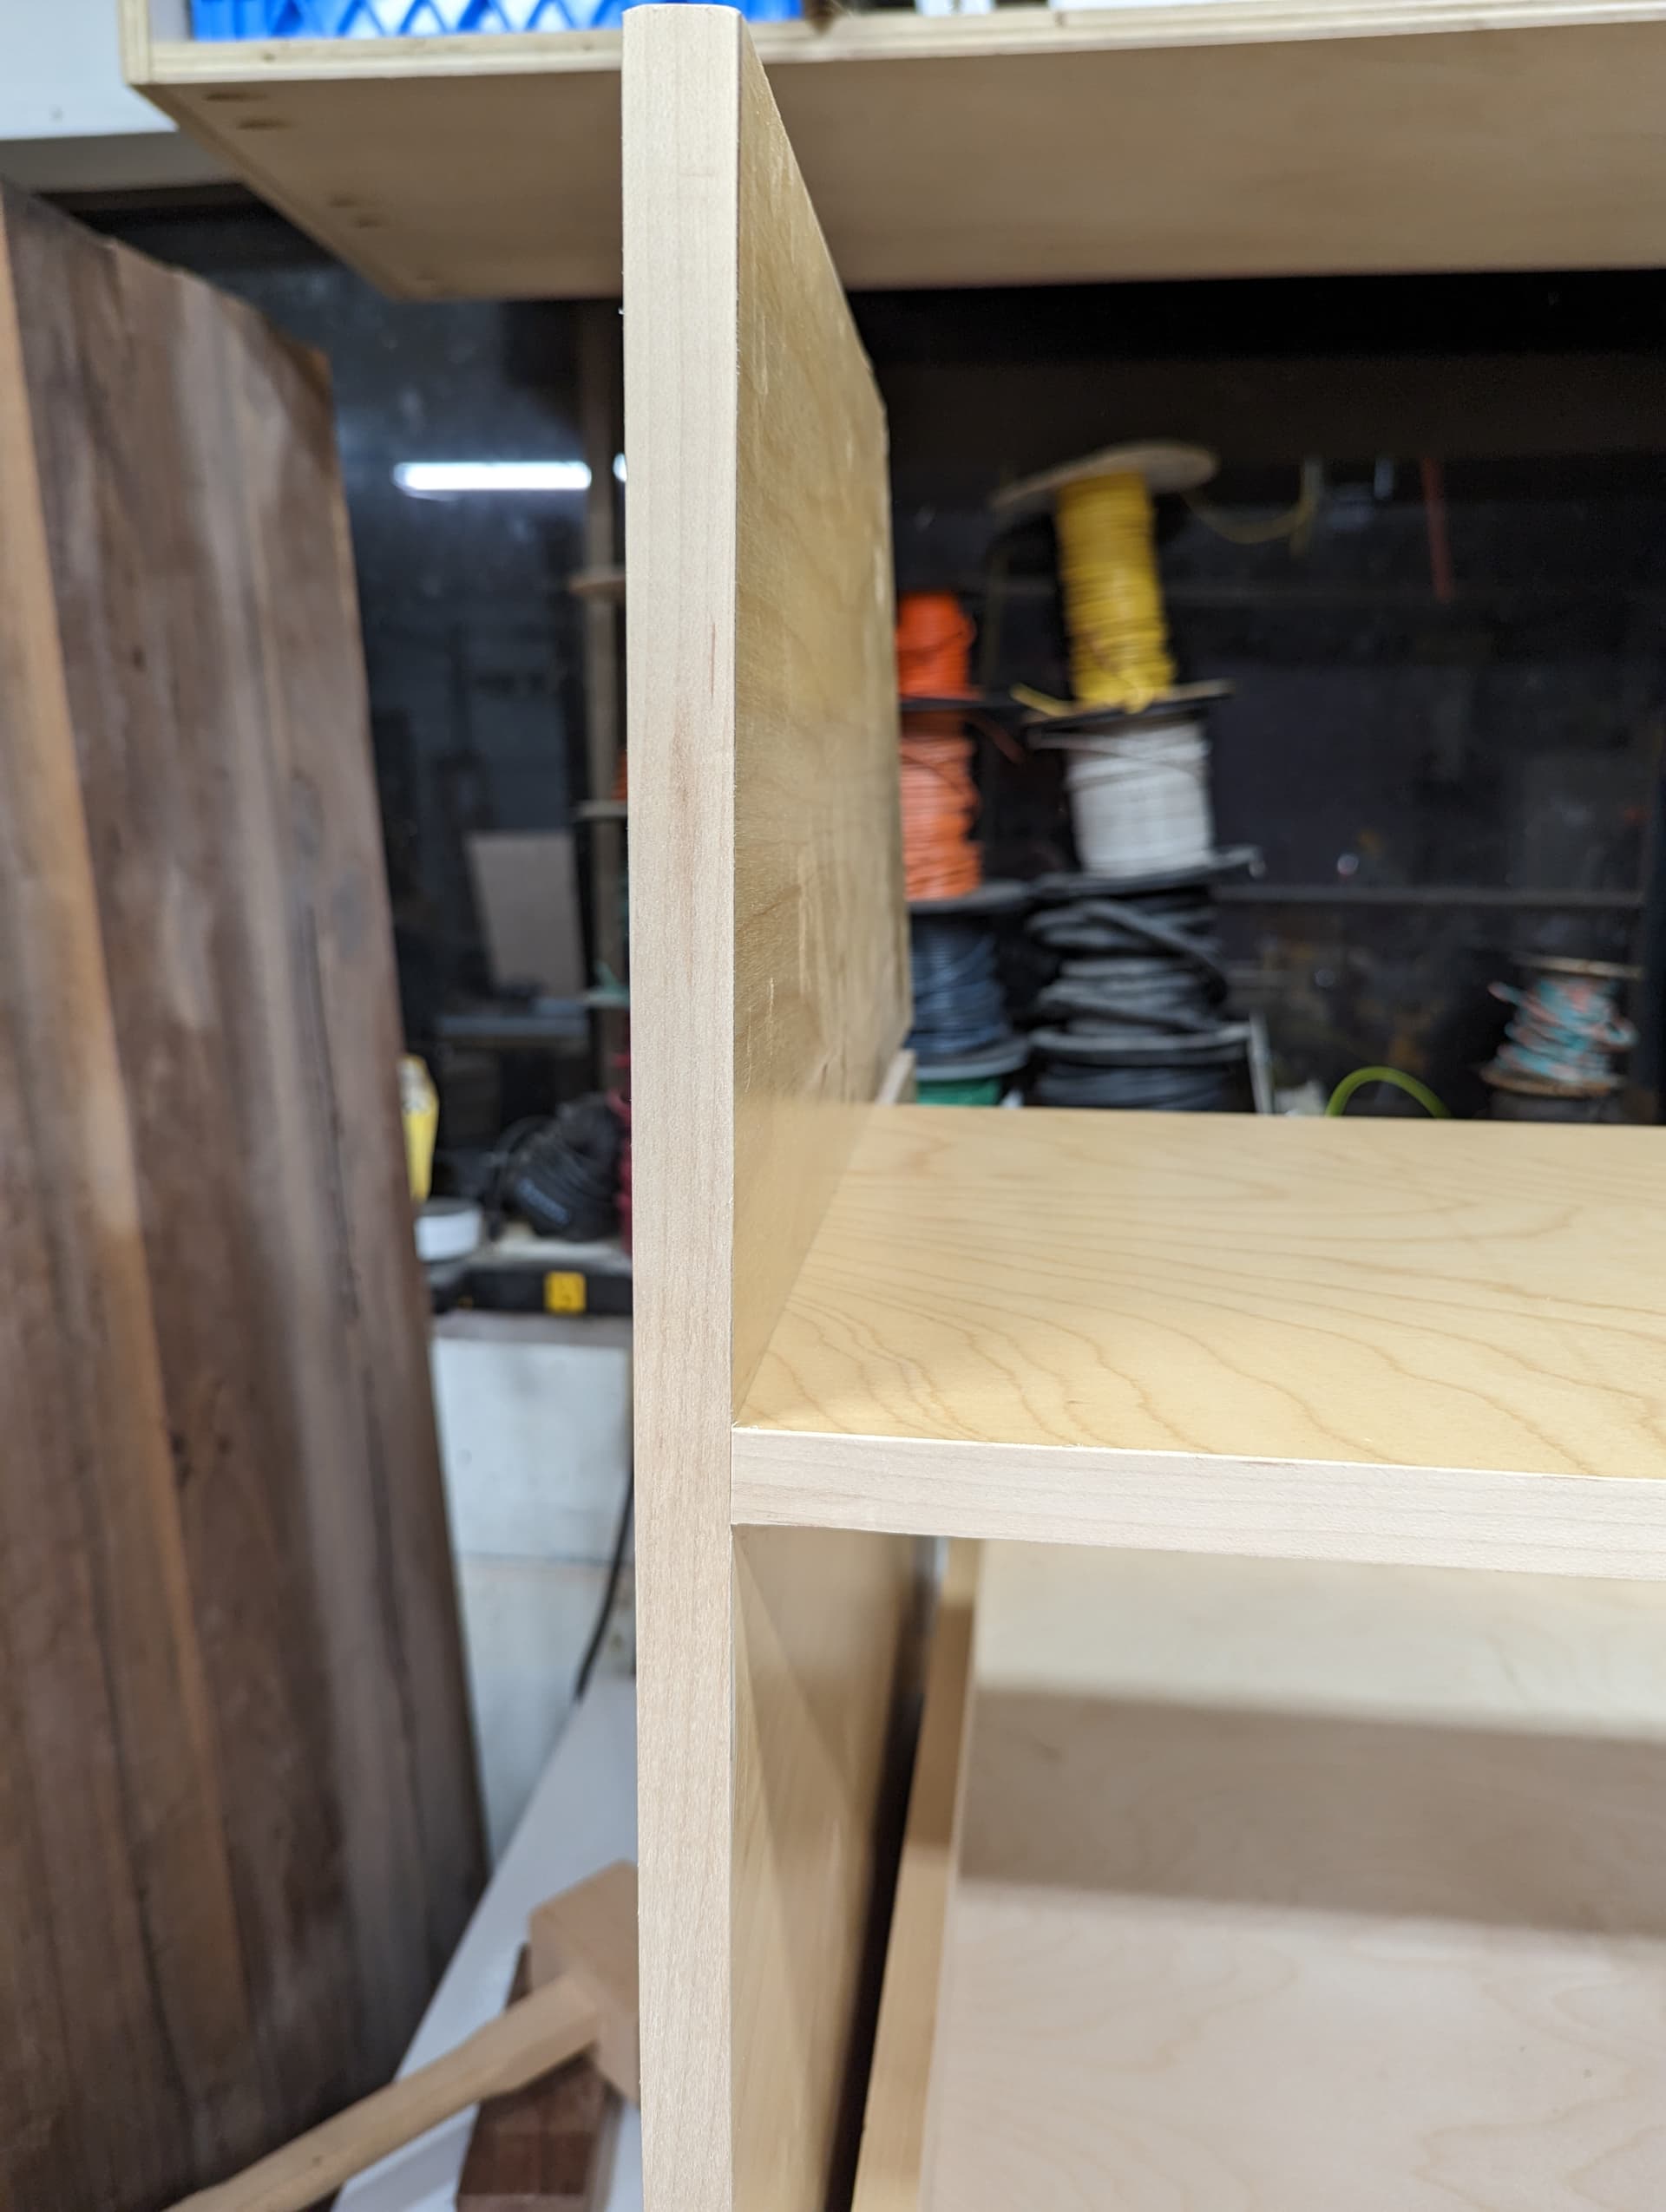
That edge banding is part of the reason I won’t be adding a dado for the shelf in future versions of this build. That way I can edge band all the pieces before assembly and not worry about banding any weird corners or joints.
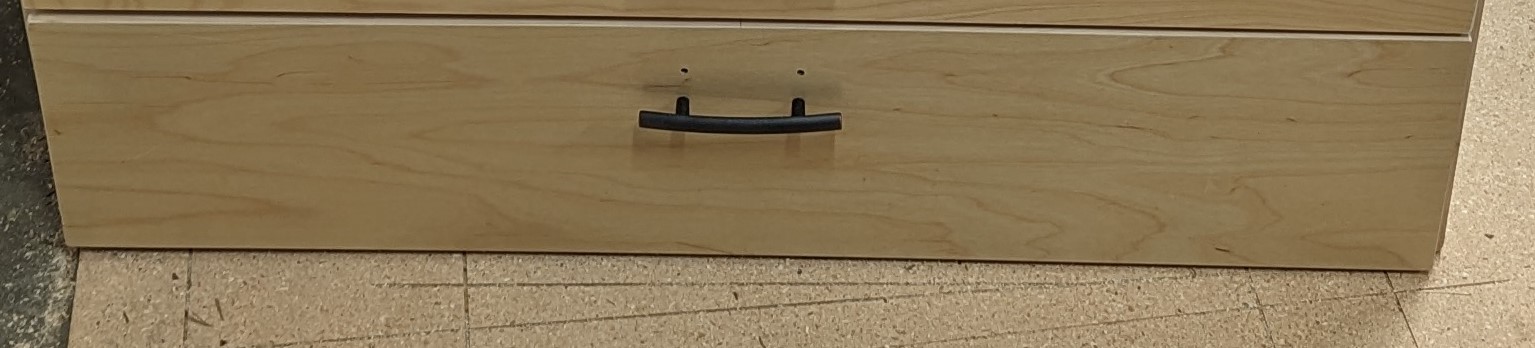
The final step was drawer fronts. I realized I had just enough of the pre-finished 3/4" plywood to use that for drawer fronts, so I just cut that into pieces and applied edge-banding to hide the plywood edges. I used this jig to help me drill consistent holes for the drawer pulls. It’s definitely too pricey to justify for one project, but I’m also building kitchen cabinets this summer, so I decided to make the investment, and it definitely made it a lot easier to get all the pulls lined up nicely.
That said, there’s no jig that fix stupidity, and I did still manage to put my first set of holes too high on the drawer front ![]()
Still, I’m pretty happy with how my first cabinet build turned out. Hopefully I got enough mistakes out of the way so my kitchen cabinets go more smoothly later this year.
Thanks for following along ![]()