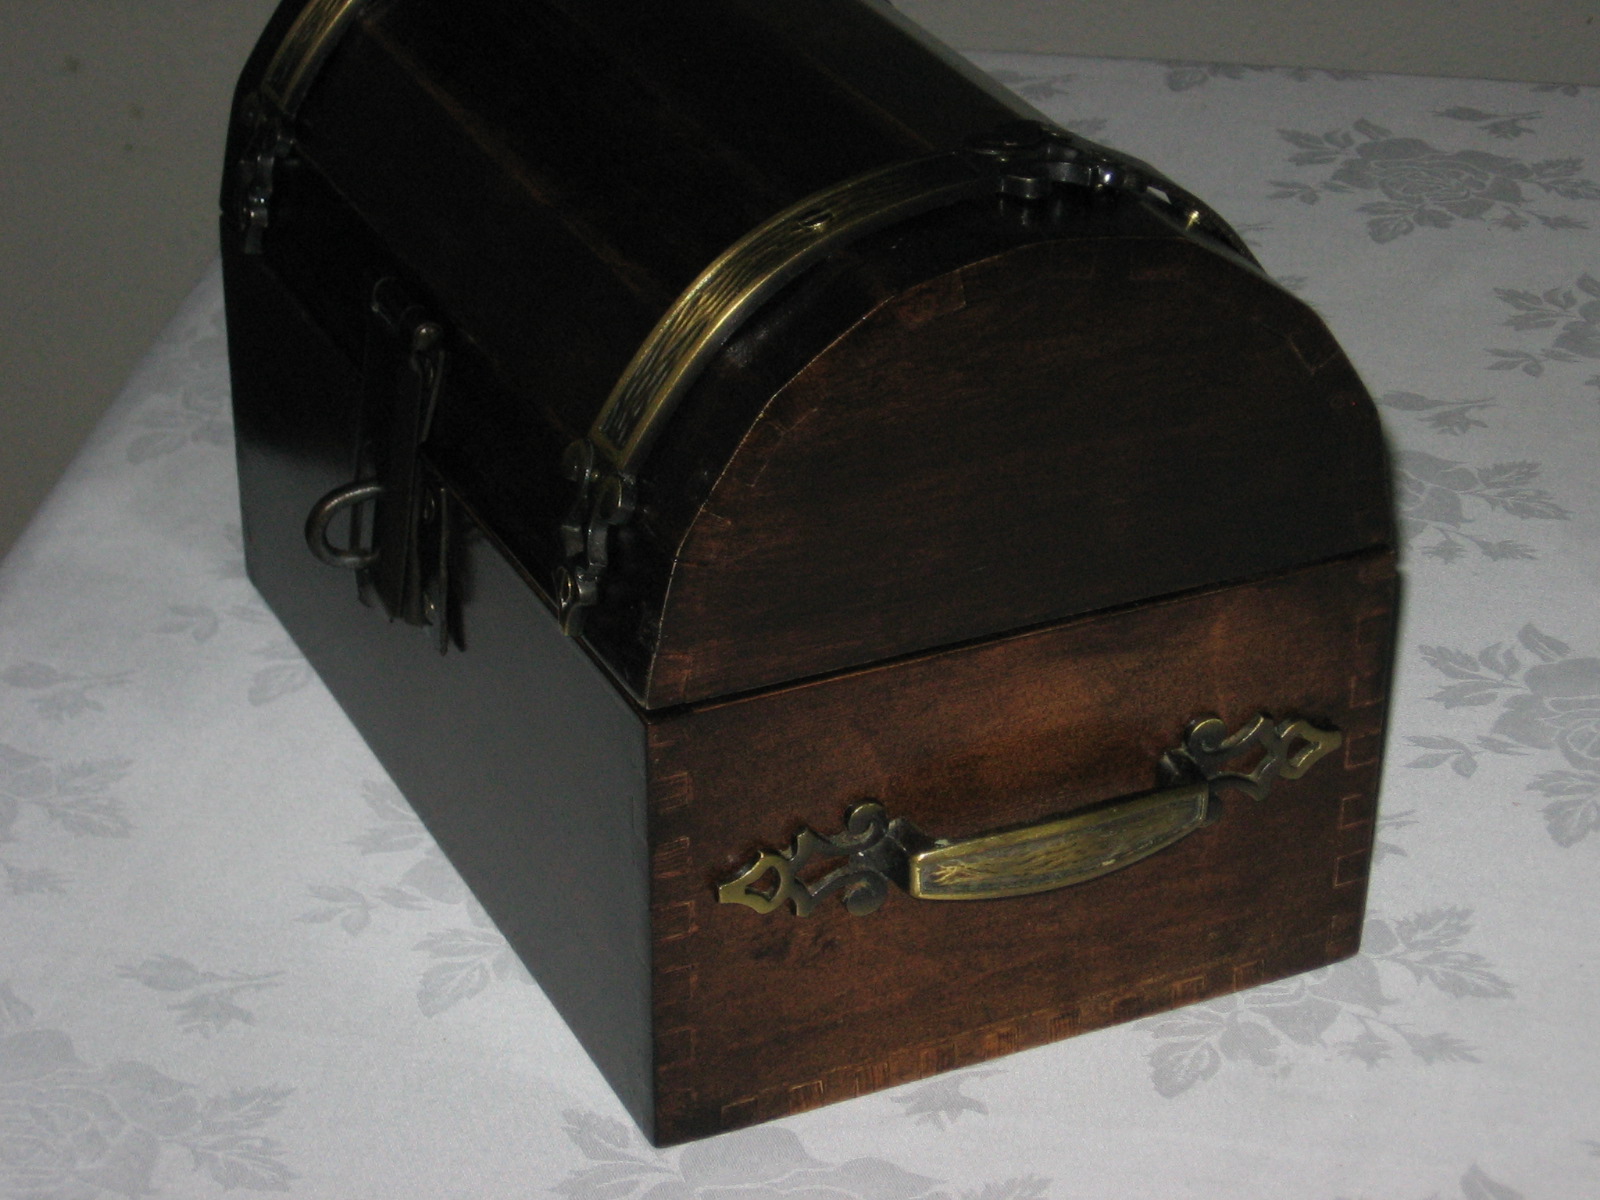
When my grandson was 8 years old,he was into everything “Pirate”, so for Christmas I made him a Pirate chest to keep all his loot stored in it. I tried to make it look old and beat up.
Herb
3 Likes
I’ll bet your GS will enjoy that…
1 Like
Herb,
Probably not that much of a coincidence, but my 8 year old grandson wants a treasure chest for Christmas! Do you have plans for the one you built?
Thanks,
Don
Sorry,Don, I don’t use plans,just make a little simple drawing of a box the size you want, say12’'L X 8"W. Then on the end view, draw a square8" L X6"Hi, then take a compass and draw a semi circle above the square and you have the ends.
To join the long sides, pick any type you want, I used a 1/2’ dovetail all the way around, bottom ,top, and sides.
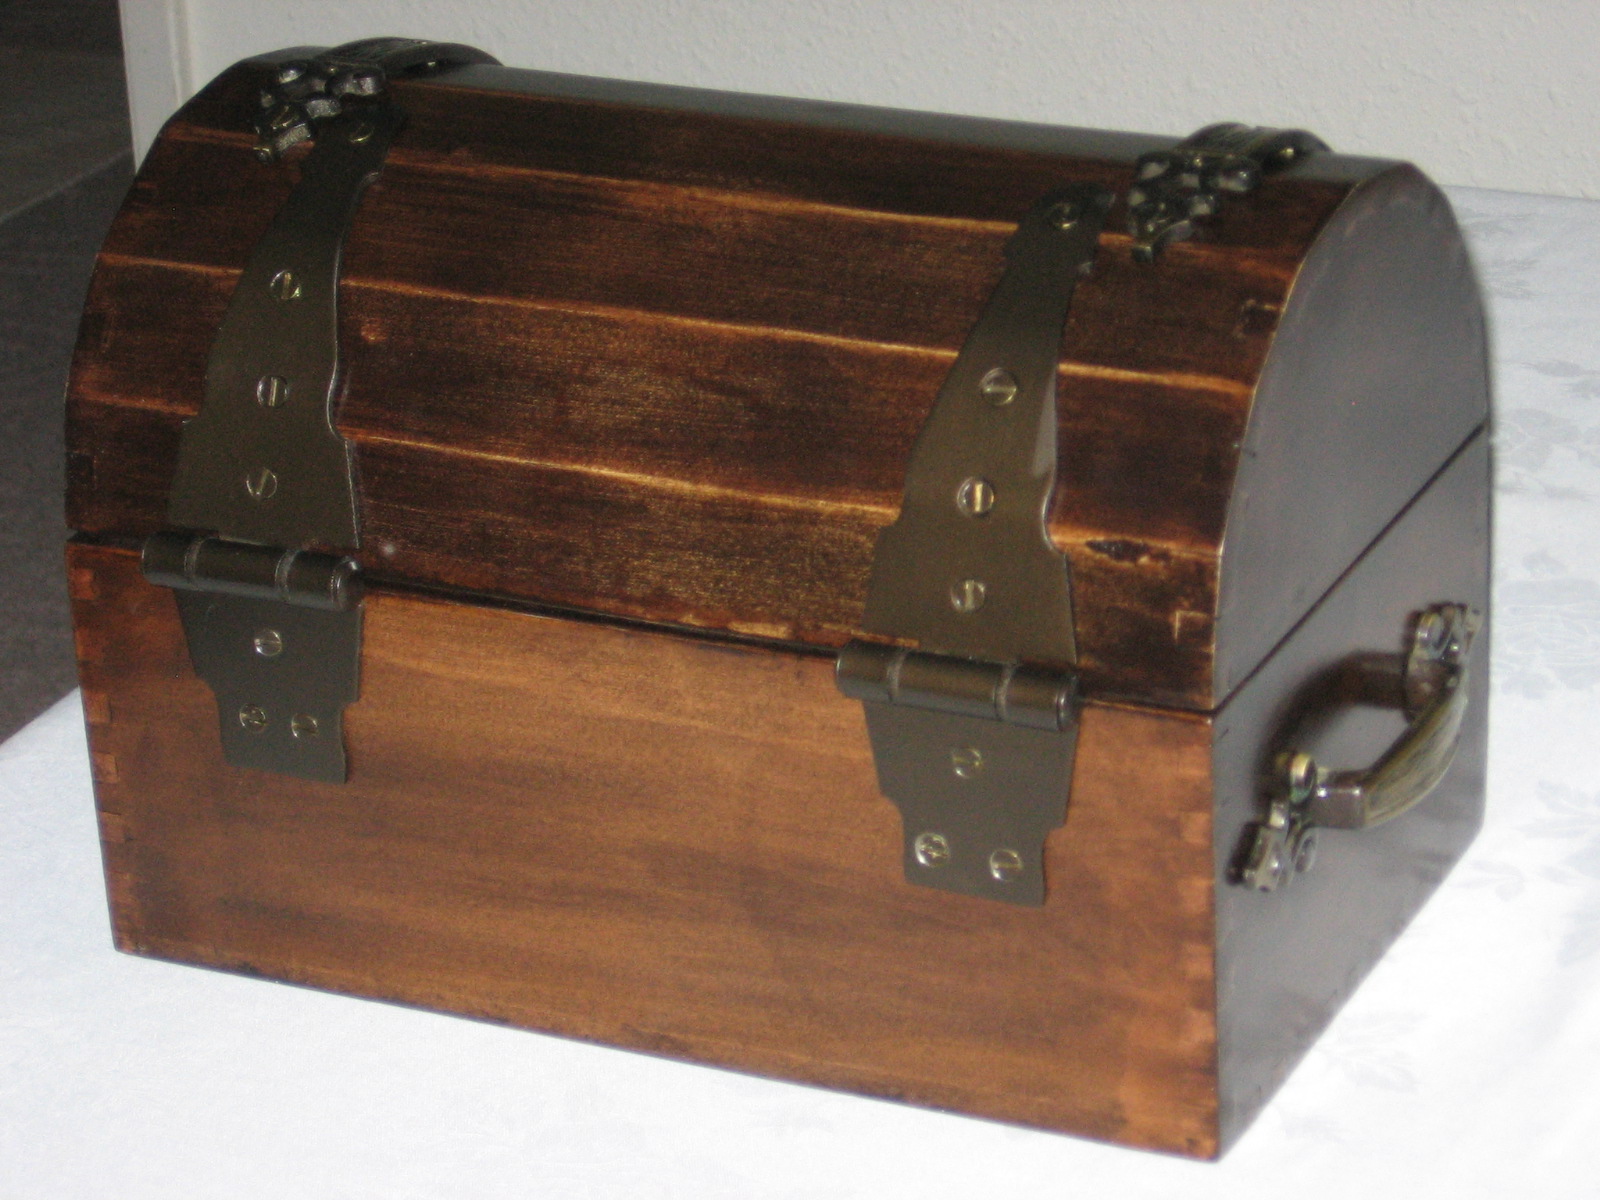
The top is made with slats glued together, to make them, bevel the sides of the slats, I used 8 slats for the top divide the semicircle into 8 parts,that sets your angle for the edges. I made a dovetail tongue on each end of the slat and dove tail on the end panels, so the ends slide onto the end of the top slats.
You can use other kinds of joinery to make the box, I just wanted it to be strong enough for a 8 y.o. pirate.
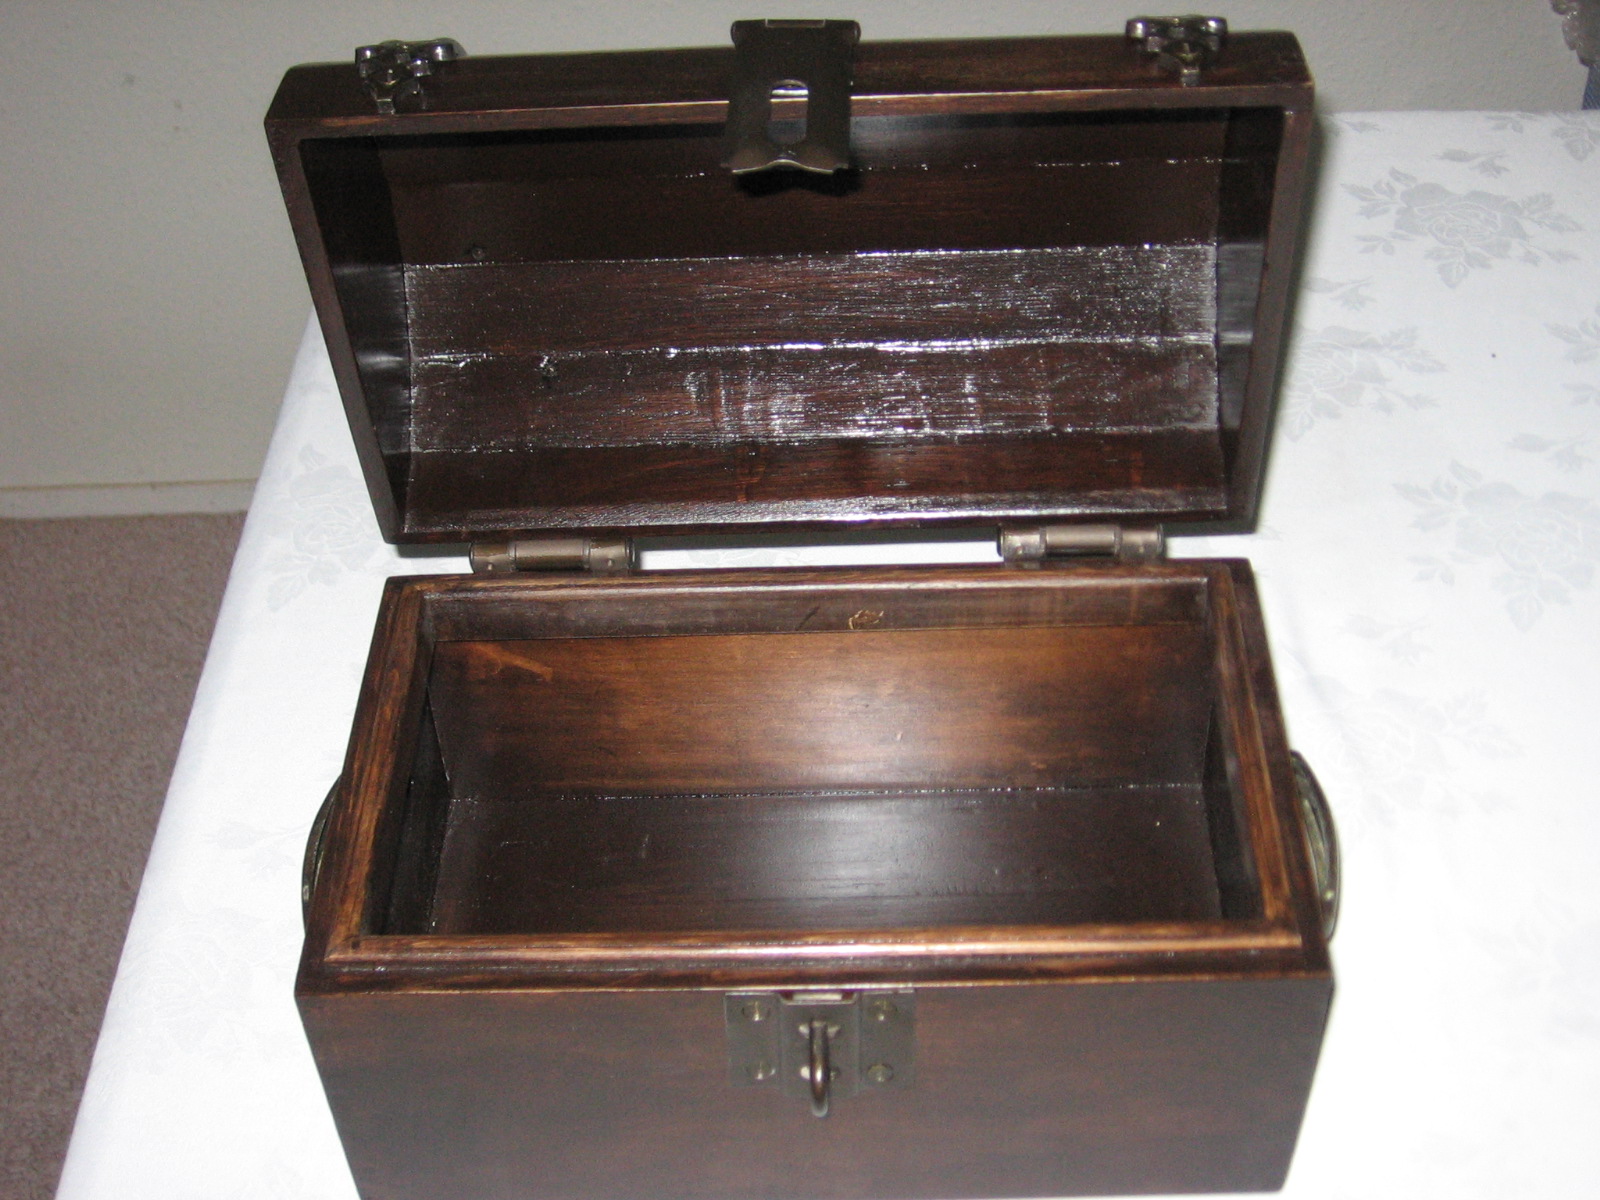
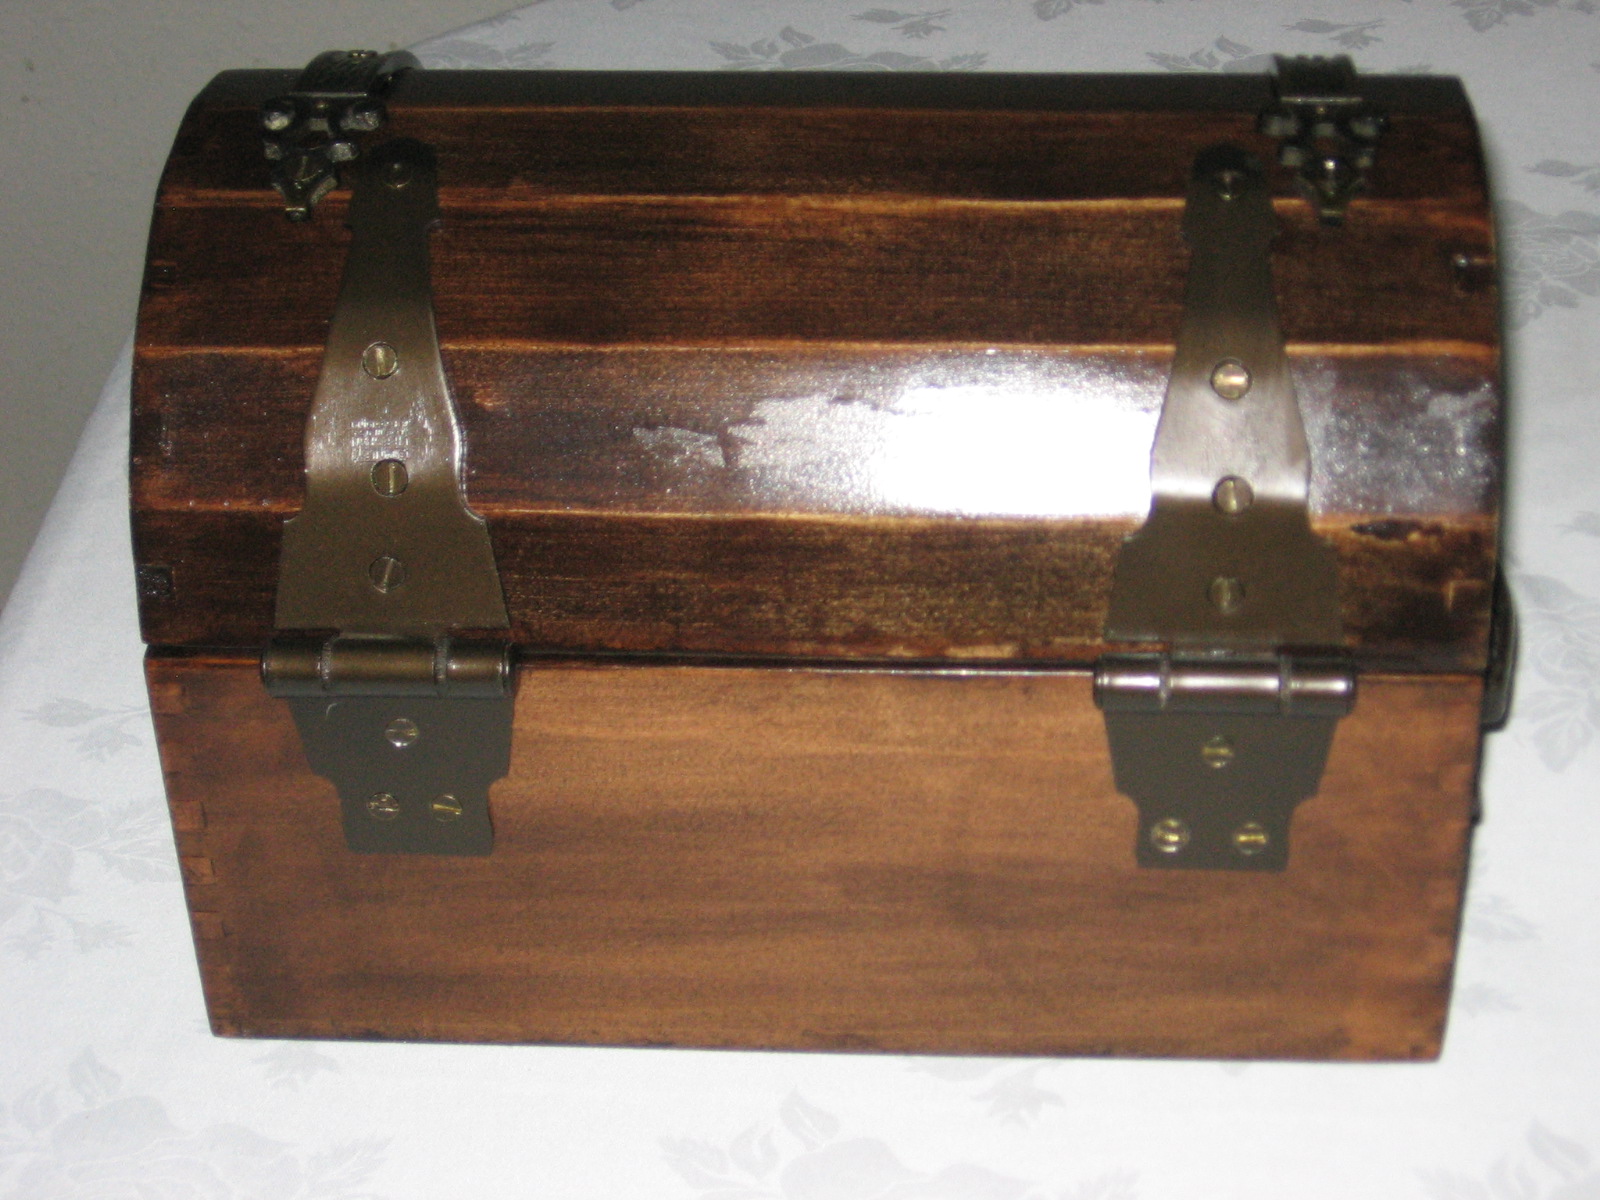
The hardware is just stuff I had laying around the shop. Gate hinges/hasp sprayed dark metallic some old cabinet door straps bent to fit top curve.
Hope this helps,
Herb
Note: If I remember correctly, I made the ends in one piece, so the the box was all one piece and then I cut the top off on the table saw. This means that on glue up all the pieces the dove tails slide into the ends. That way everything is slid into one end and then the other end is slid on to complete the box.
When dry the top is cut off.
Here are some ideas: pirate chests for kids at DuckDuckGo
1 Like
That is absolutely awesome
Herb,
Thanks for the very fast, and thorough, response. Your process sounds a lot like what someone else did and made a YouTube for. Here’s a link: Pirate Chest.
Including a part about gluing the top on to the sides then, once dried, cutting the top off. In the case of this video he did it with a band saw.
This will be an interesting project for me.
Take care,
Don
2 Likes
Wow,there is some good video’s there,lots of options,and sizes. Good ideas too.
Herb
WOW!!!
great link - thanks…
I’m w/ Herb, he’s the know it all guru…
Herb,
I think I’m going to build the box myself. There were lots of options on DuckDuckGo but, given the lead time I have (it’s a Christmas present) I should be able to do this - it’s basically, like so many projects, a box.
But the tricky bit, for me, is figuring out how to bevel the slats for the curved top. The box will be 12" long and 10" wide. So I need to have the top arc over the 10" side. Since i’m math-impaired I’m not sure how to go about building the top - assembled with beveled slats. Assuming I use 1.5" slats for the top. Is there a way, hopefully somewhat easy, for me to get close to what I need in terms of a bevel angle?
I figure I’ll make the top first (as the guy in the video from YouTube I sent along did) so I can make any necessary adjustments on the dimensions of the box after I get the top glued up.
Thoughts?
Don
Don,if you use 2" W. slats times 8 ea.= 22.5° on the table saw.
If you use 1 1/2" wide strips, it will take 10 1/2 ea., so cut 11or 12 and rip the last one down to 3/4"W = 17.1°on the table saw for the edges
So if you install the strips,start at the top center mark,lay both ways and rip the bottom on each side to fit.
Herb
1 Like
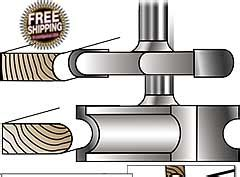
you could use a canoe joint for the slats because of the small size of the chest… …
BTW… the narrower the slat the faster the arch… wider slats will give you a longer arch…
this joint lends to a very different aesthetically pleasing top nor would it look “busy”… not to mention easy to do…
also little or no math since you lack angles…
the canoe joint…
1 Like
Herb,
Thanks, as always, for the help. I’m thinking a challenging project is just what I need after a few years of building planters which are really simply boxes!
Don
1 Like
Stick,
This is intriguing - and a good use for the router table I have set up!
Thanks,
Don
2 Likes
Not only that,Don, but it will give you another option on your planters too. Circular, elliptical, odd shapes, etc.
HErb
1 Like
Plan “B”…
Use hot water to form (cup) the slats to meet the lid’s needed radii…
soak the slats in hot water until they becomes pliable. Once pliable clamp them into a form and allow them to dry. When they’re cool and dry, they’ll take the cupped shape of the form…
one form and stacking the slats in the form works…
leave the slats clamped in the form to cool and dry for at least a few hours… be patient… pull the form and allow the slats to continue drying… after they’re dried but they didn’t quite meet your happiness, (desired radii/cup), repeat the process w/ the slats again…
Notes…
The hotter the water, the easier the bending will be…
Add the water to the wood…
Continually add heated water… boiling water isn’t vital, just very hot will do…
soak the slats for at least an hour before removing them from the water and clamping them into your form… pliability is relative to water temp and slat thickness… (hotter water and thinner slats = faster/sooner results)…
you want to completely submerge the slats. If you have floaters, weight then down… a brick or a stone works… metal may leave a stain…
Remember, when you remove the slats from the water you’re working under time constraints… take your time but hurry getting the slats into the form…
AND DON’T FORGET TO USE TONGS AND WEAR GLOVES!!!
plan “C”…
use concave ans convex spokeshaves to form the slat radii to match your end panels…
no spokeshaves??? use shaped scrapers…
plan “D”…
bendy aka flexible plywood and vein it to give you the slat look…
light/dark layers of veneer will give you contrasting veining…
available in most any flavor you wish…
What Is Flexible Plywood?
got veneer??? make your own…
@donbeacom
Herb says you do well w/ planters…
maybe others will see your chest and you’re off and running…
The flexable plywood is kind of spendy for just one project. Maybe be scoring the back of some 1/2" plywood and bending it around the curve would work.
Herb
1 Like
if the joint wants to pull apart because the angle is too steep trim the bottom side finger of the cove a fuzz w/ a low angle plane… just a scosh now…
this makes the top outside finger proud - sand those…
how about a much thinner ply… that would be a lot easier to work
the left over piece of panel could used for the bottom and the tray insert…
https://www.lowes.com/pd/1-4-in-Lauan-Plywood-Application-as-2-x-4/1000068895
the scoring Herb is talking about…
KERF BENDING.pdf (64.3 KB)