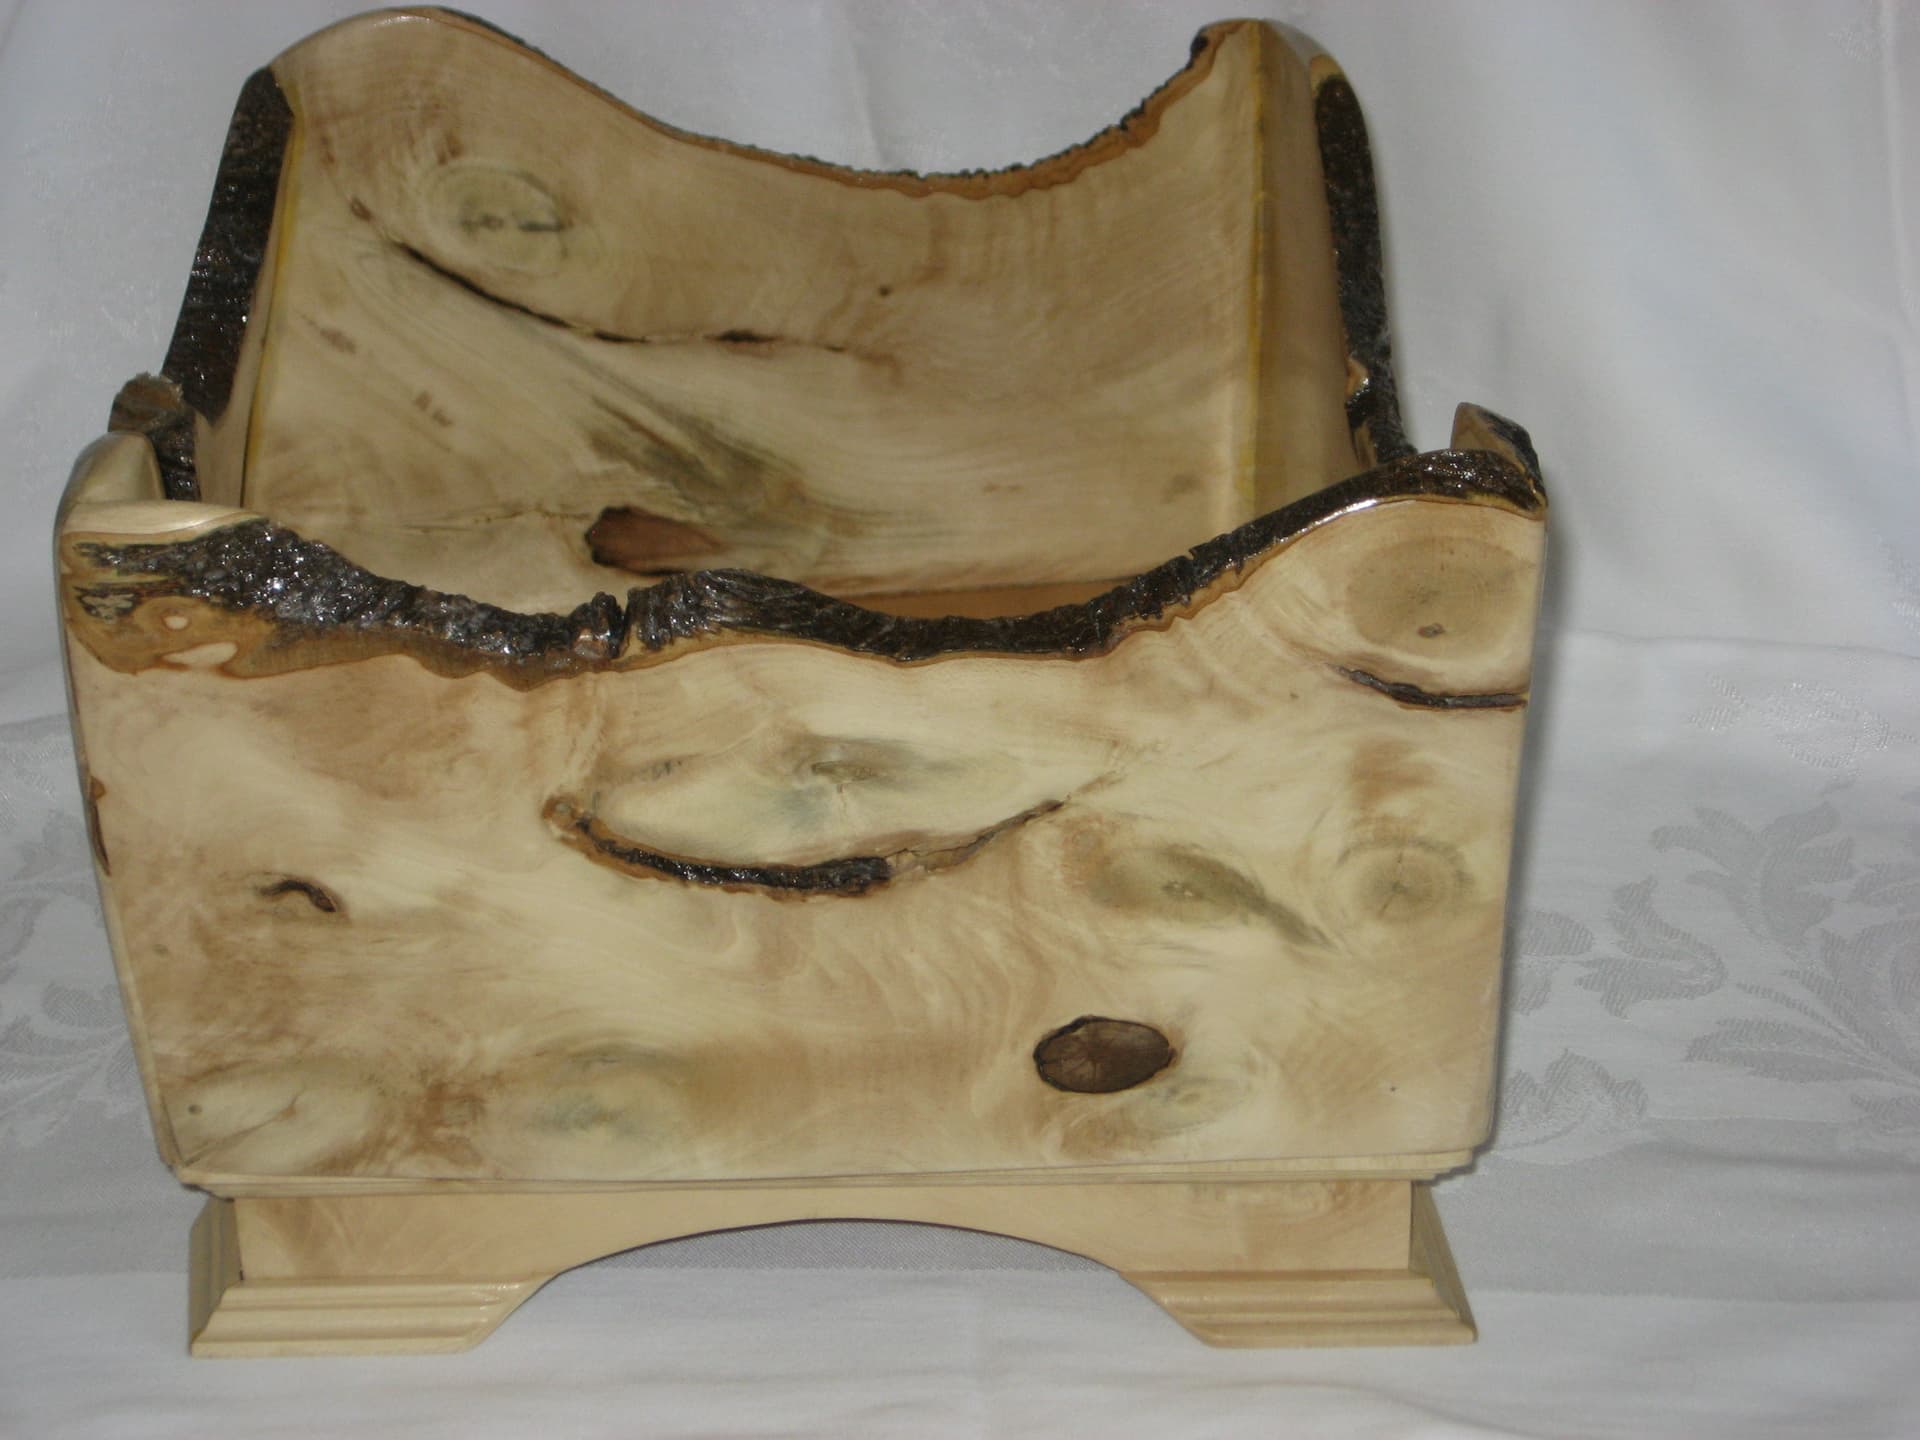
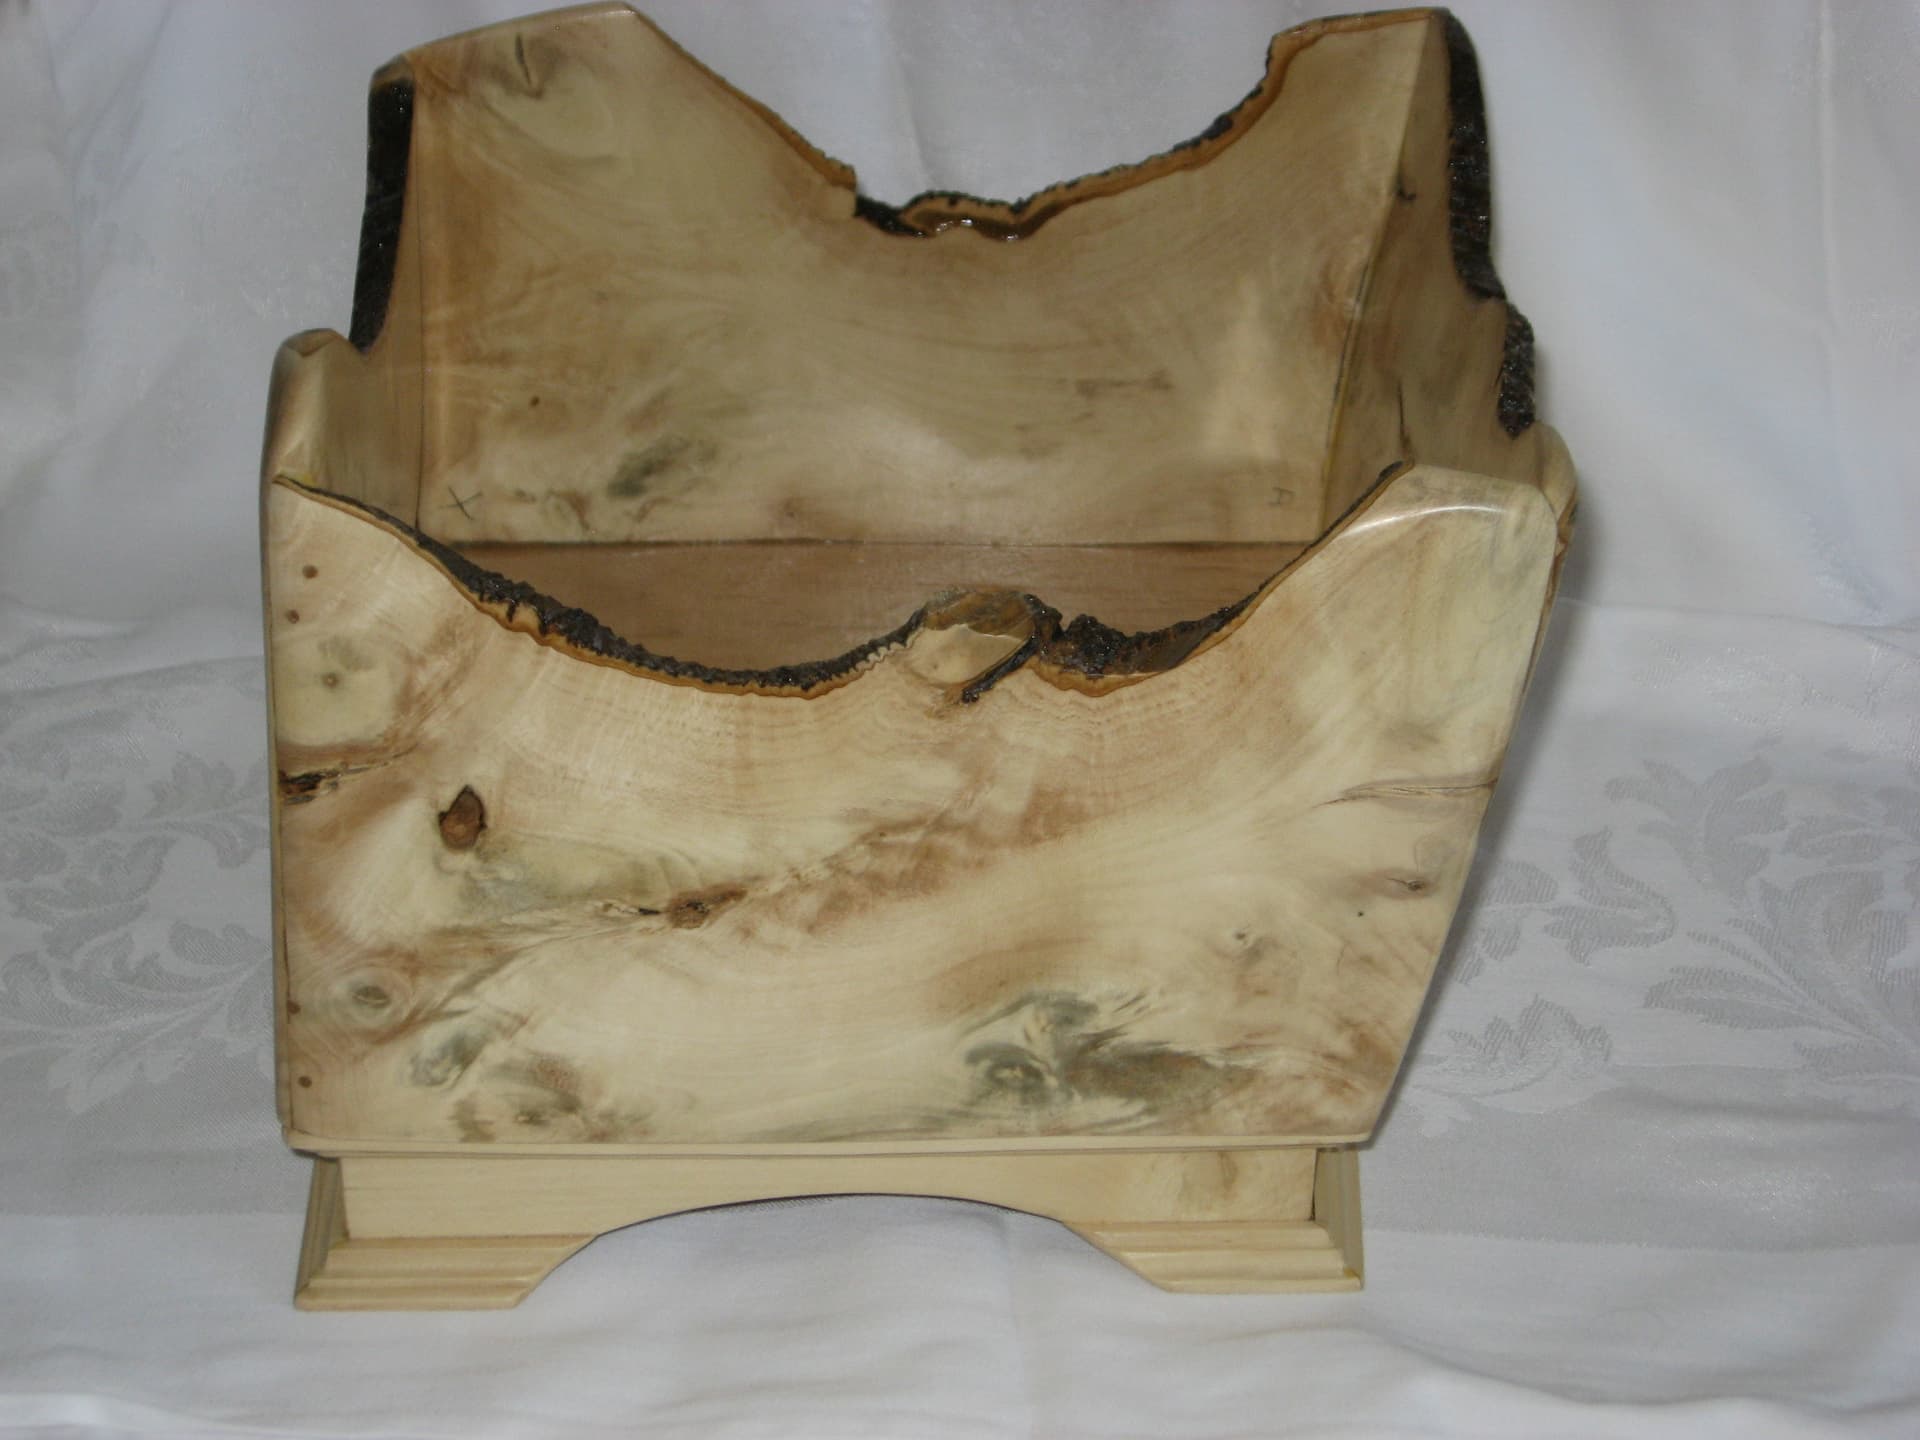
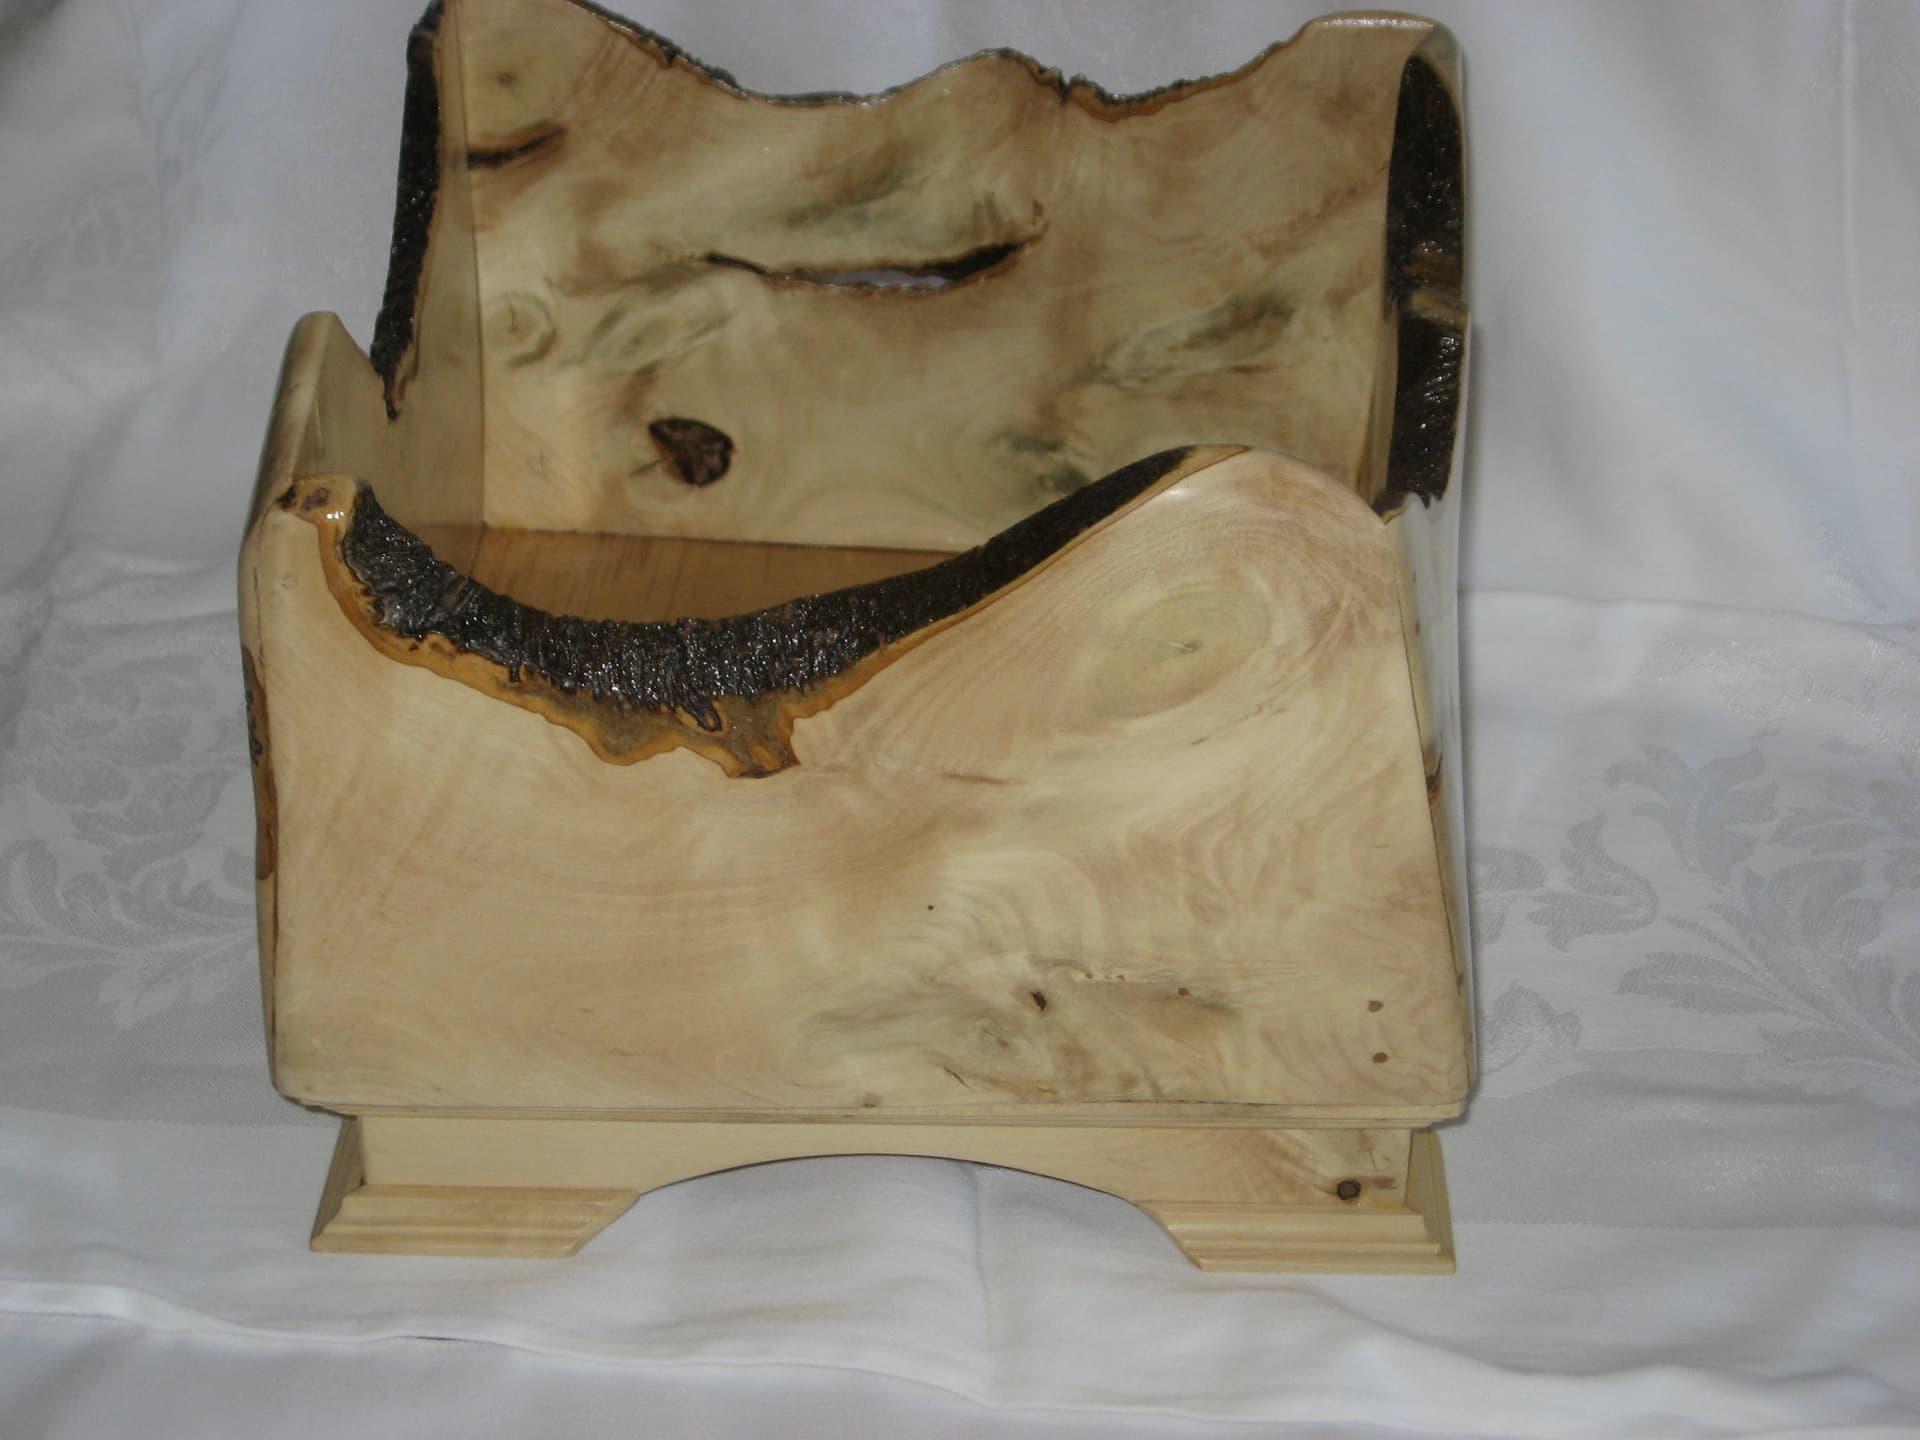
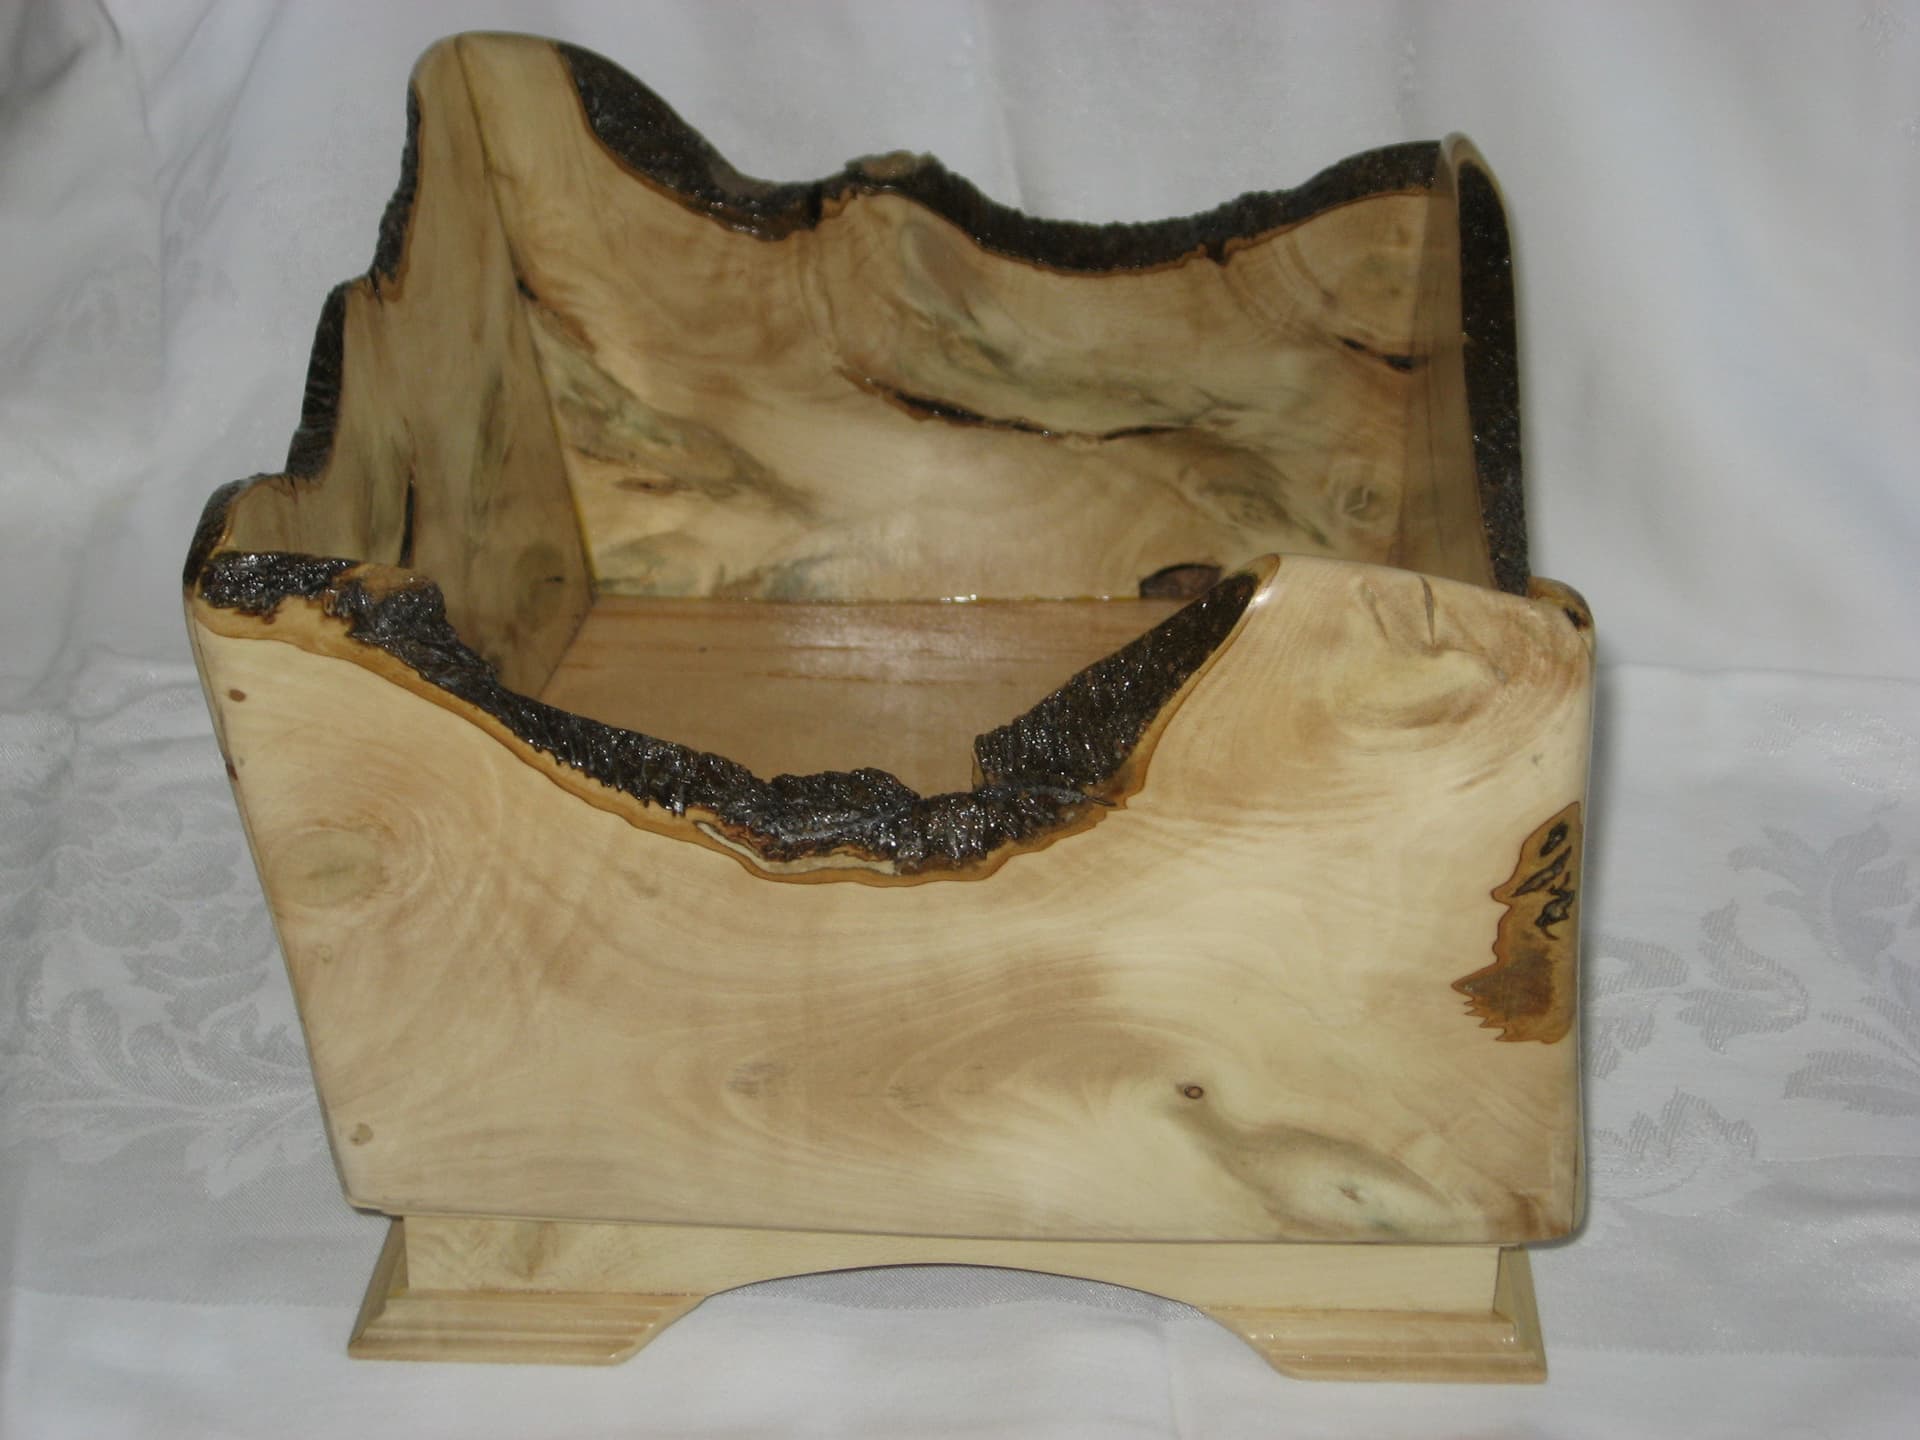
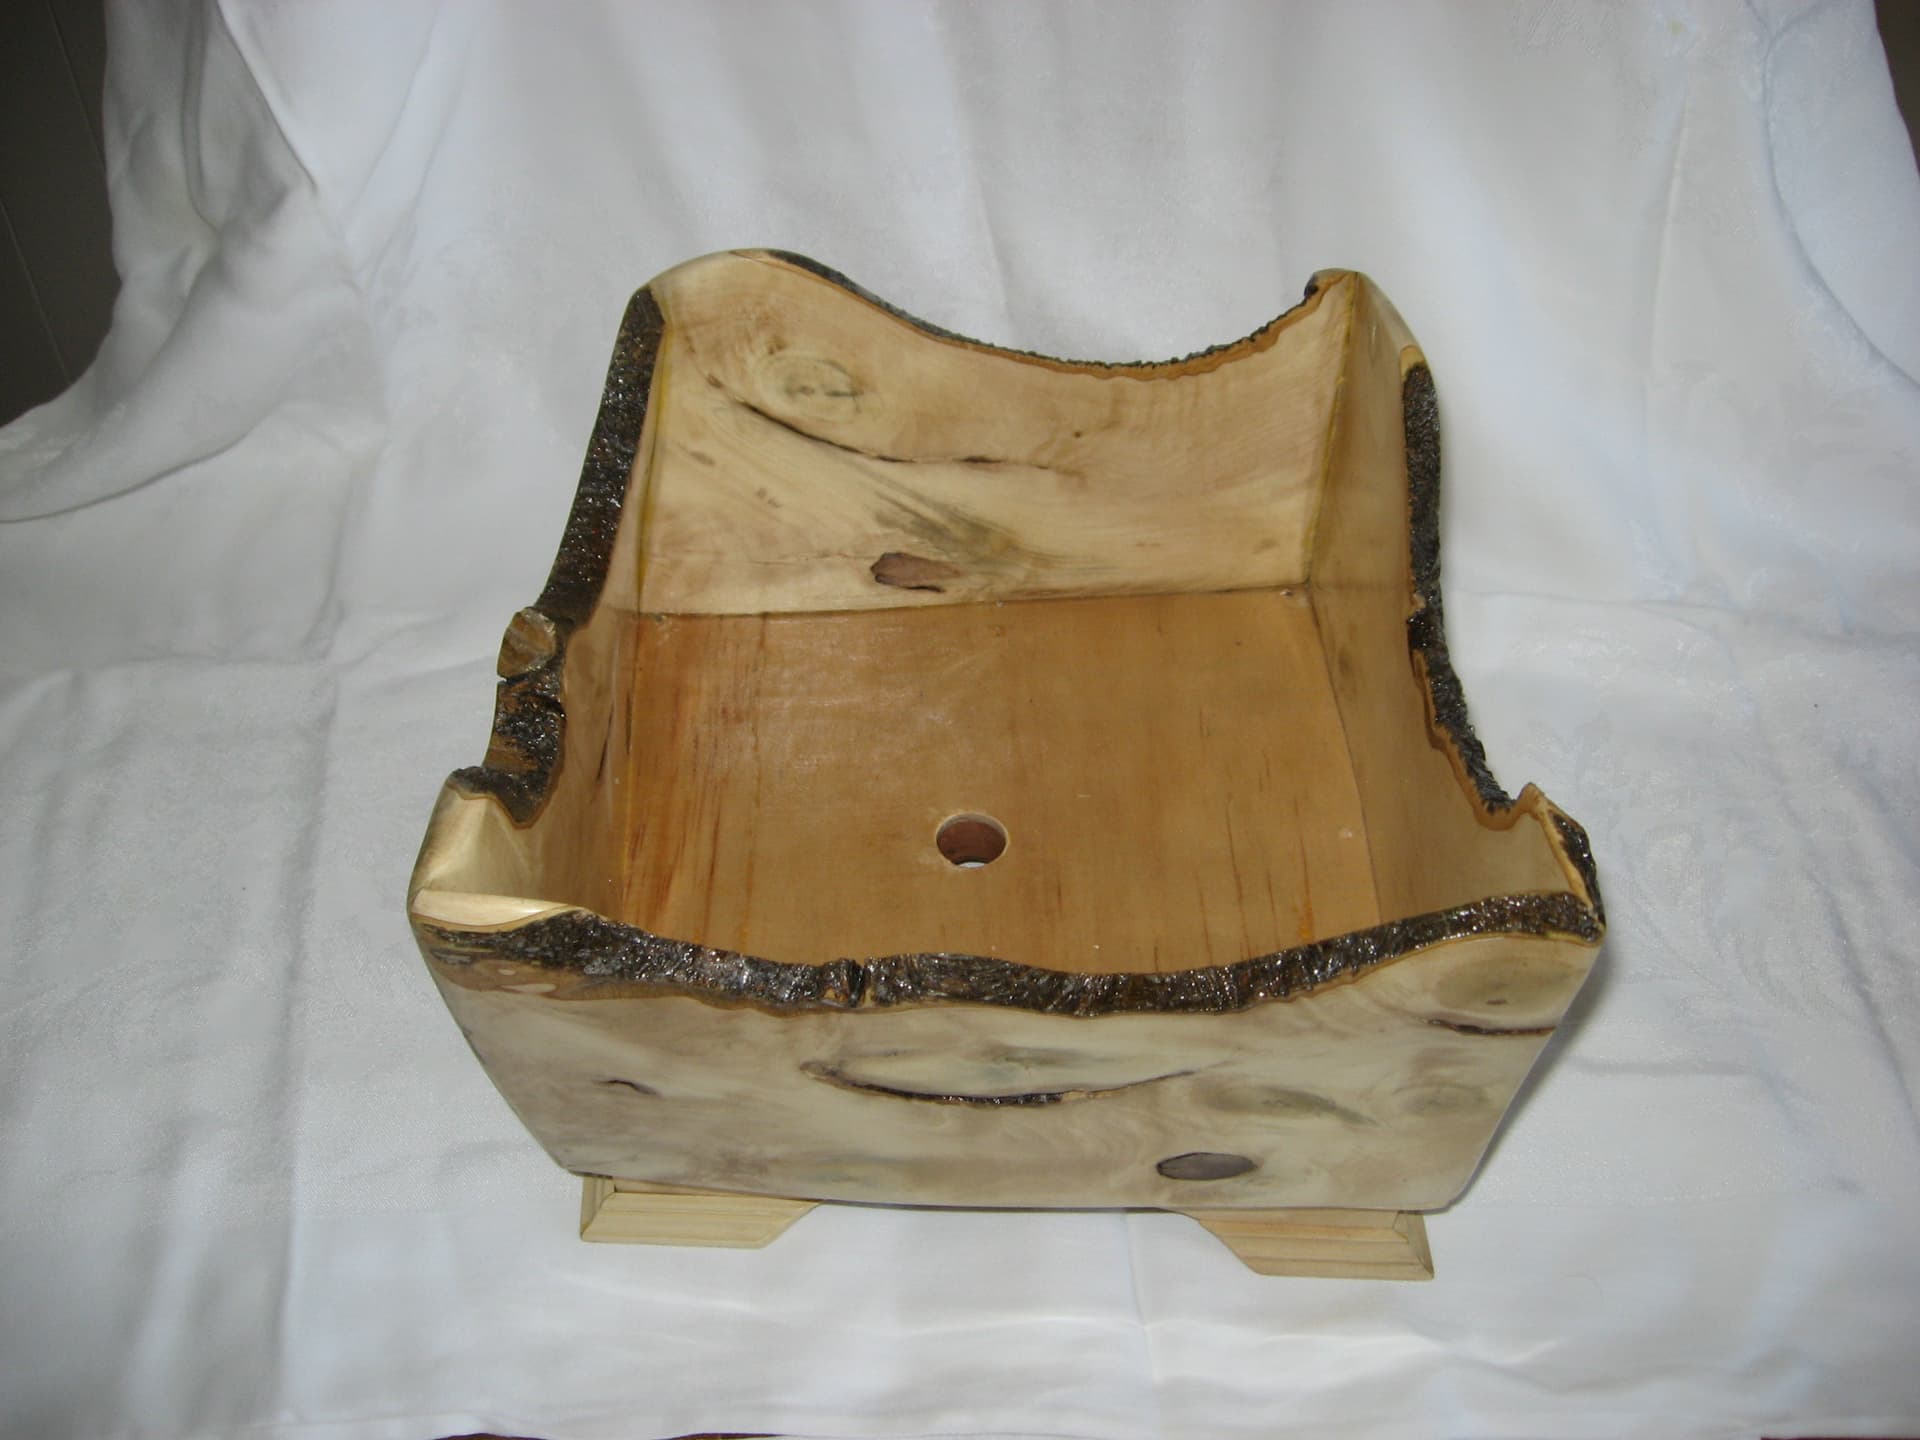
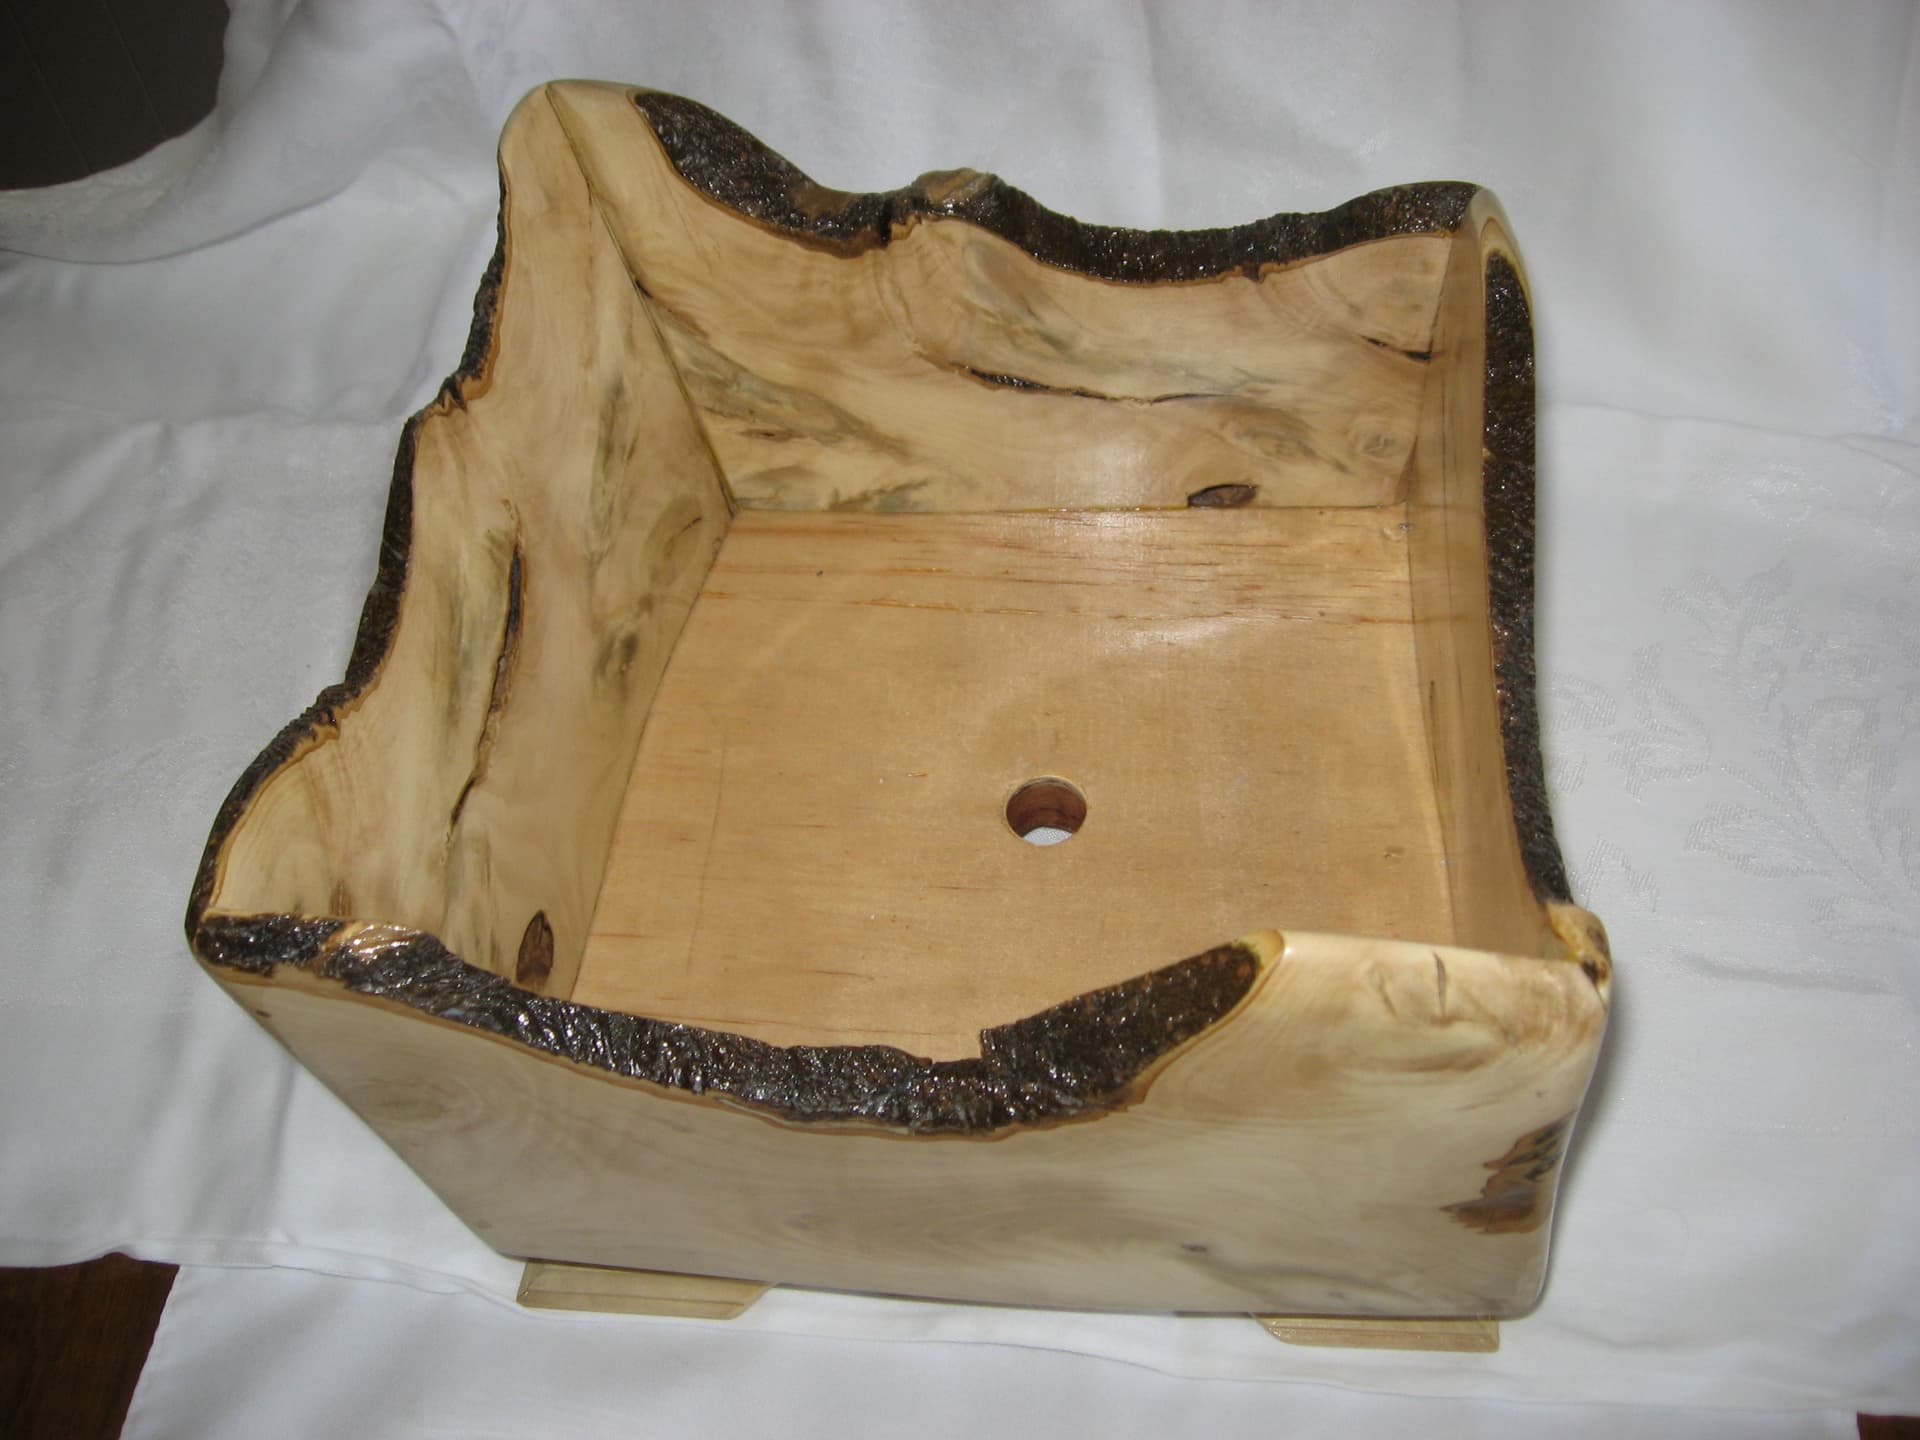
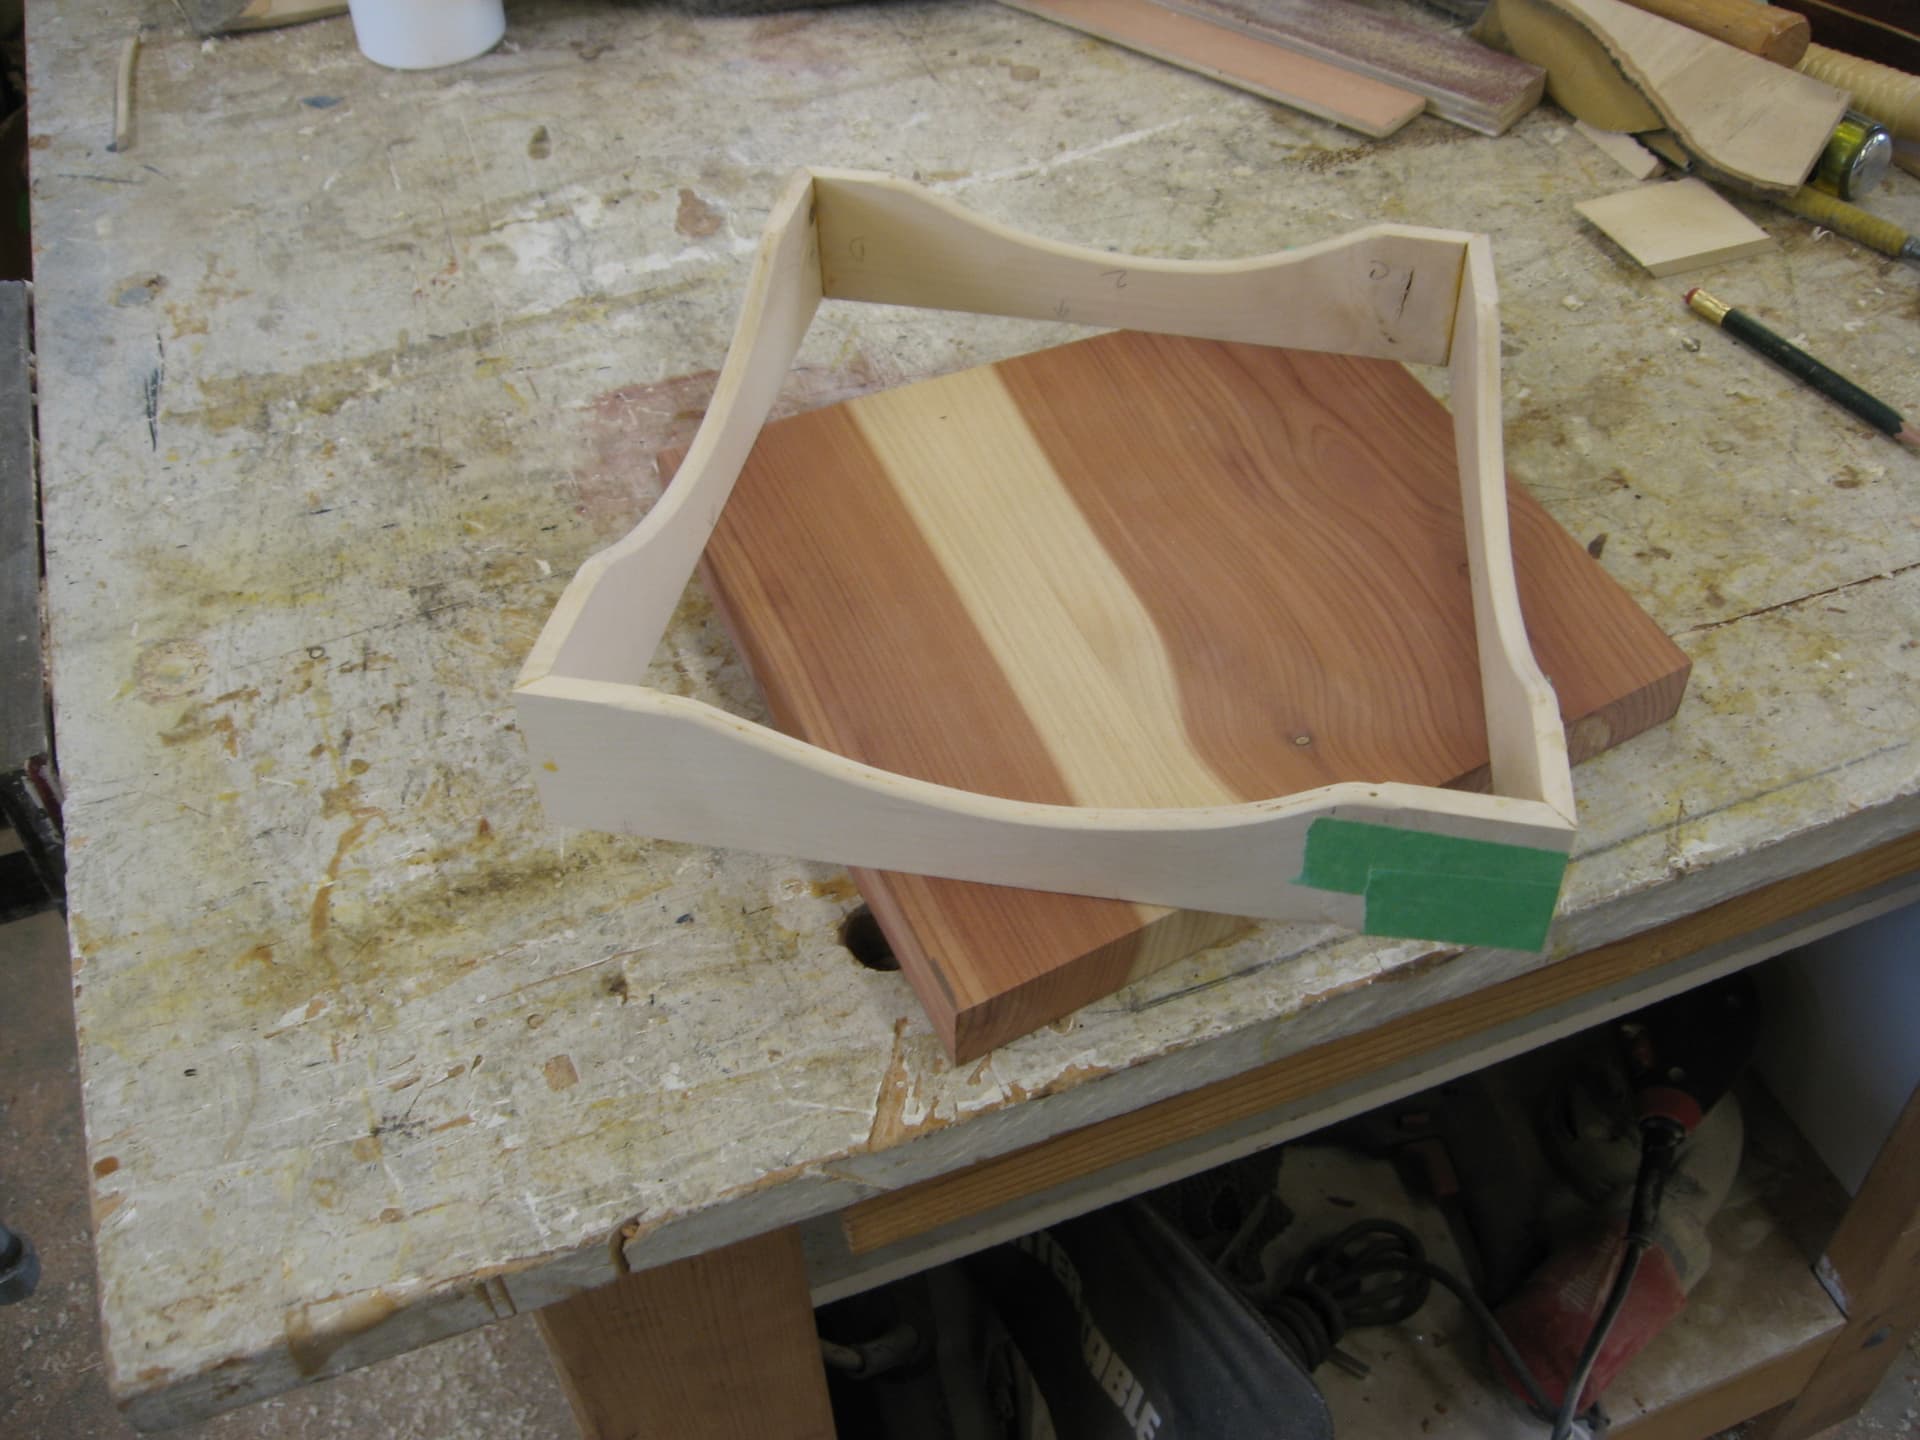
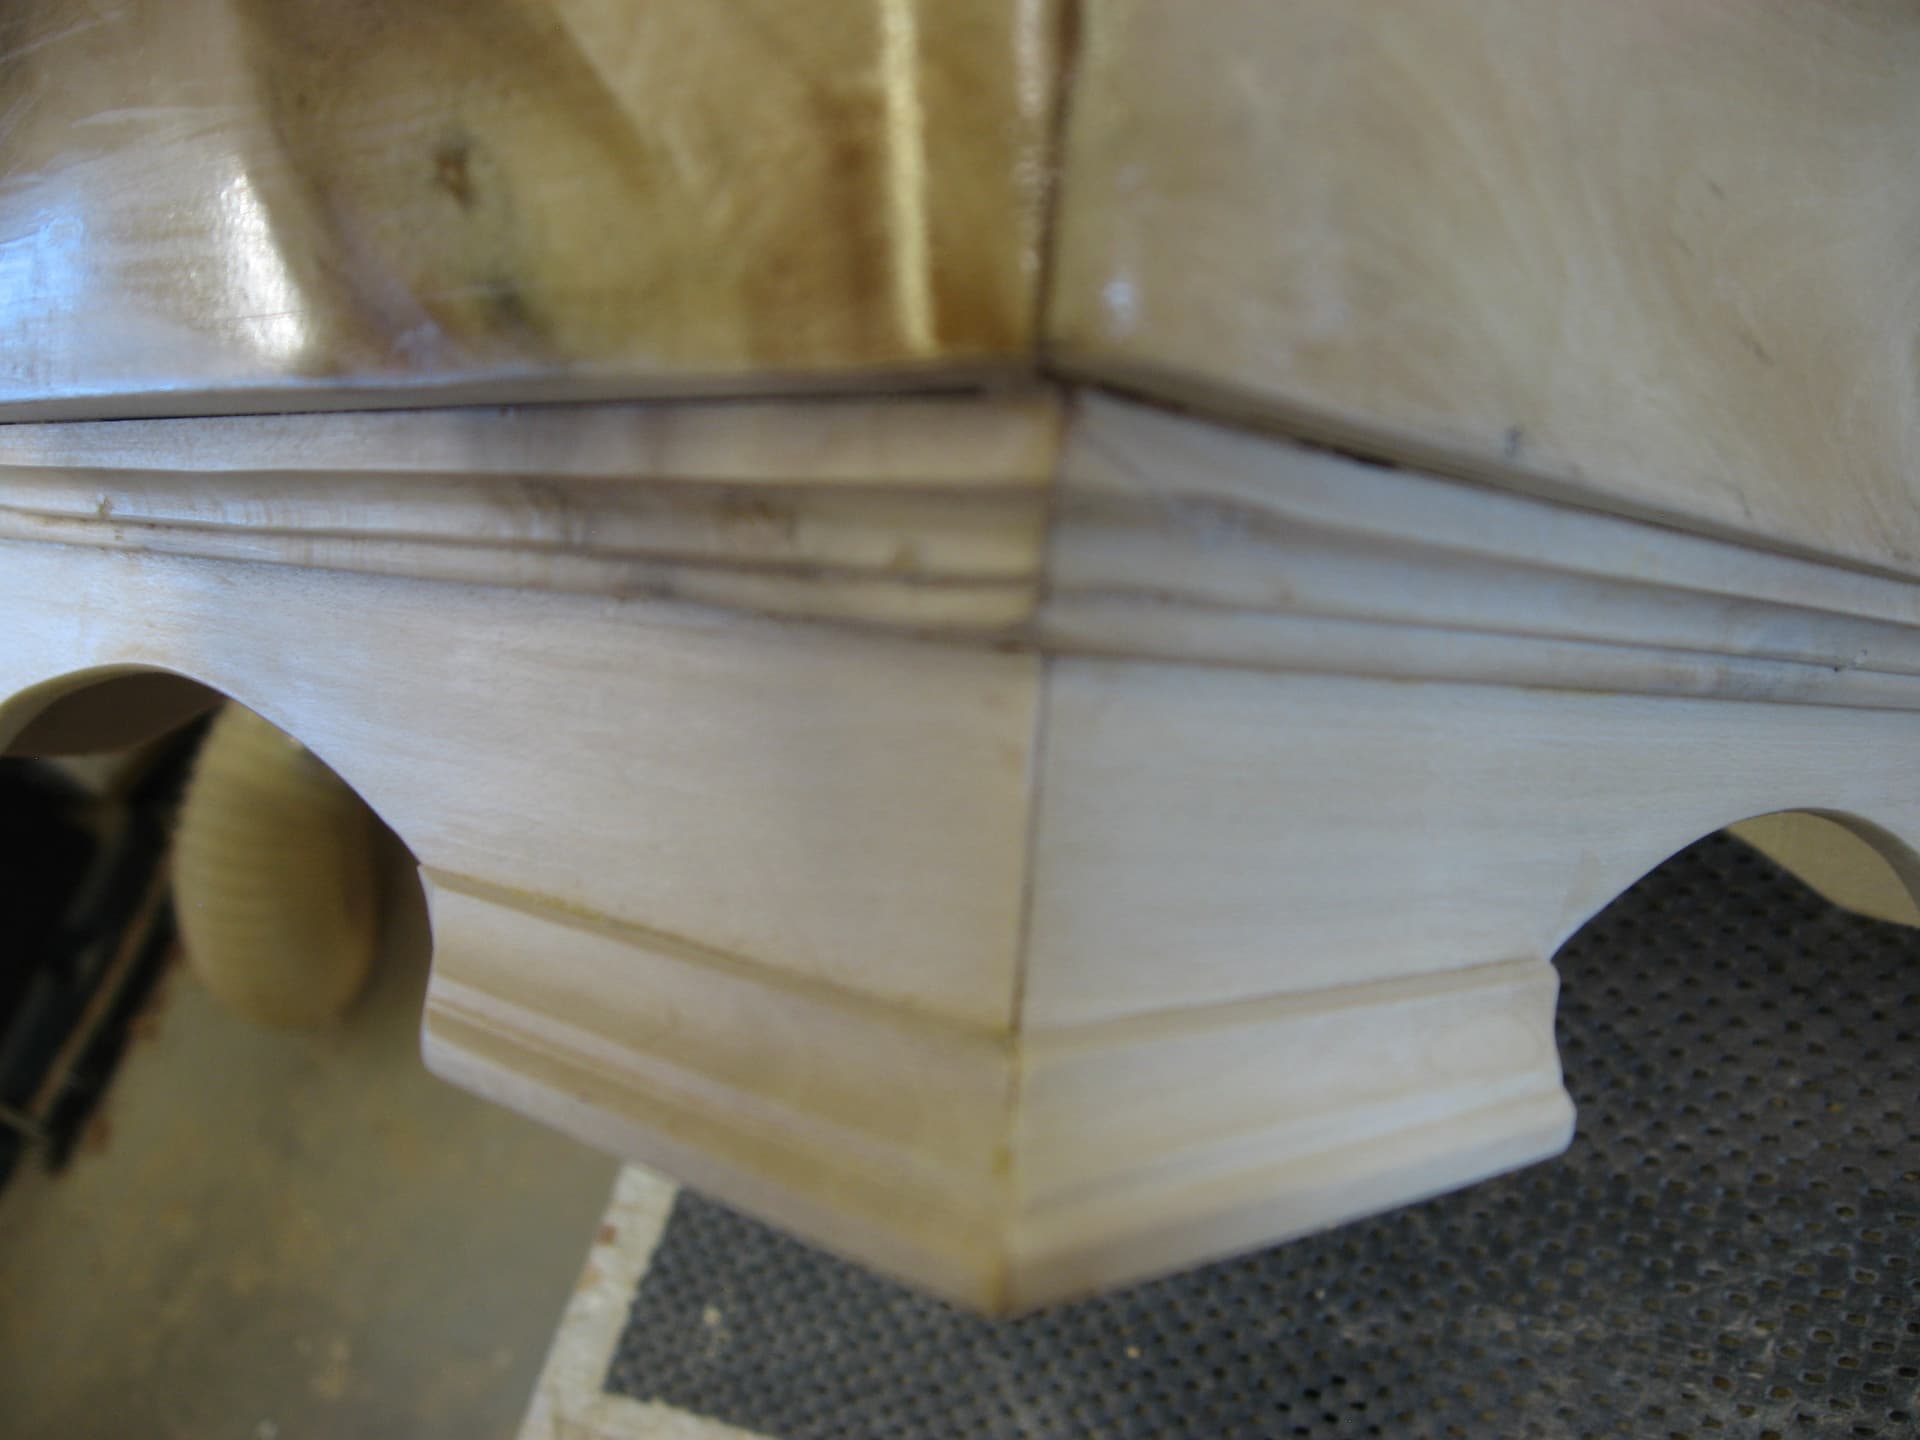
I bought some lumber from an Estate sale of a wood worker and there was a box with these short 12" long thin pieces. The owner had cut down a Holly bush and whacked off a chunk from the bottom. He resawed it into 1/2" thick boards. They had been setting in the shop for years just drawing dust.His widow wanted me to make something for her out of them to remember him by. When I got them home I found that they were so warped I didn’t know what to do with them. So after I had sanded them smooth with the ROS, they had the most interesting grain I had ever seen, you could see animal faces like eyes and nose and mouth.
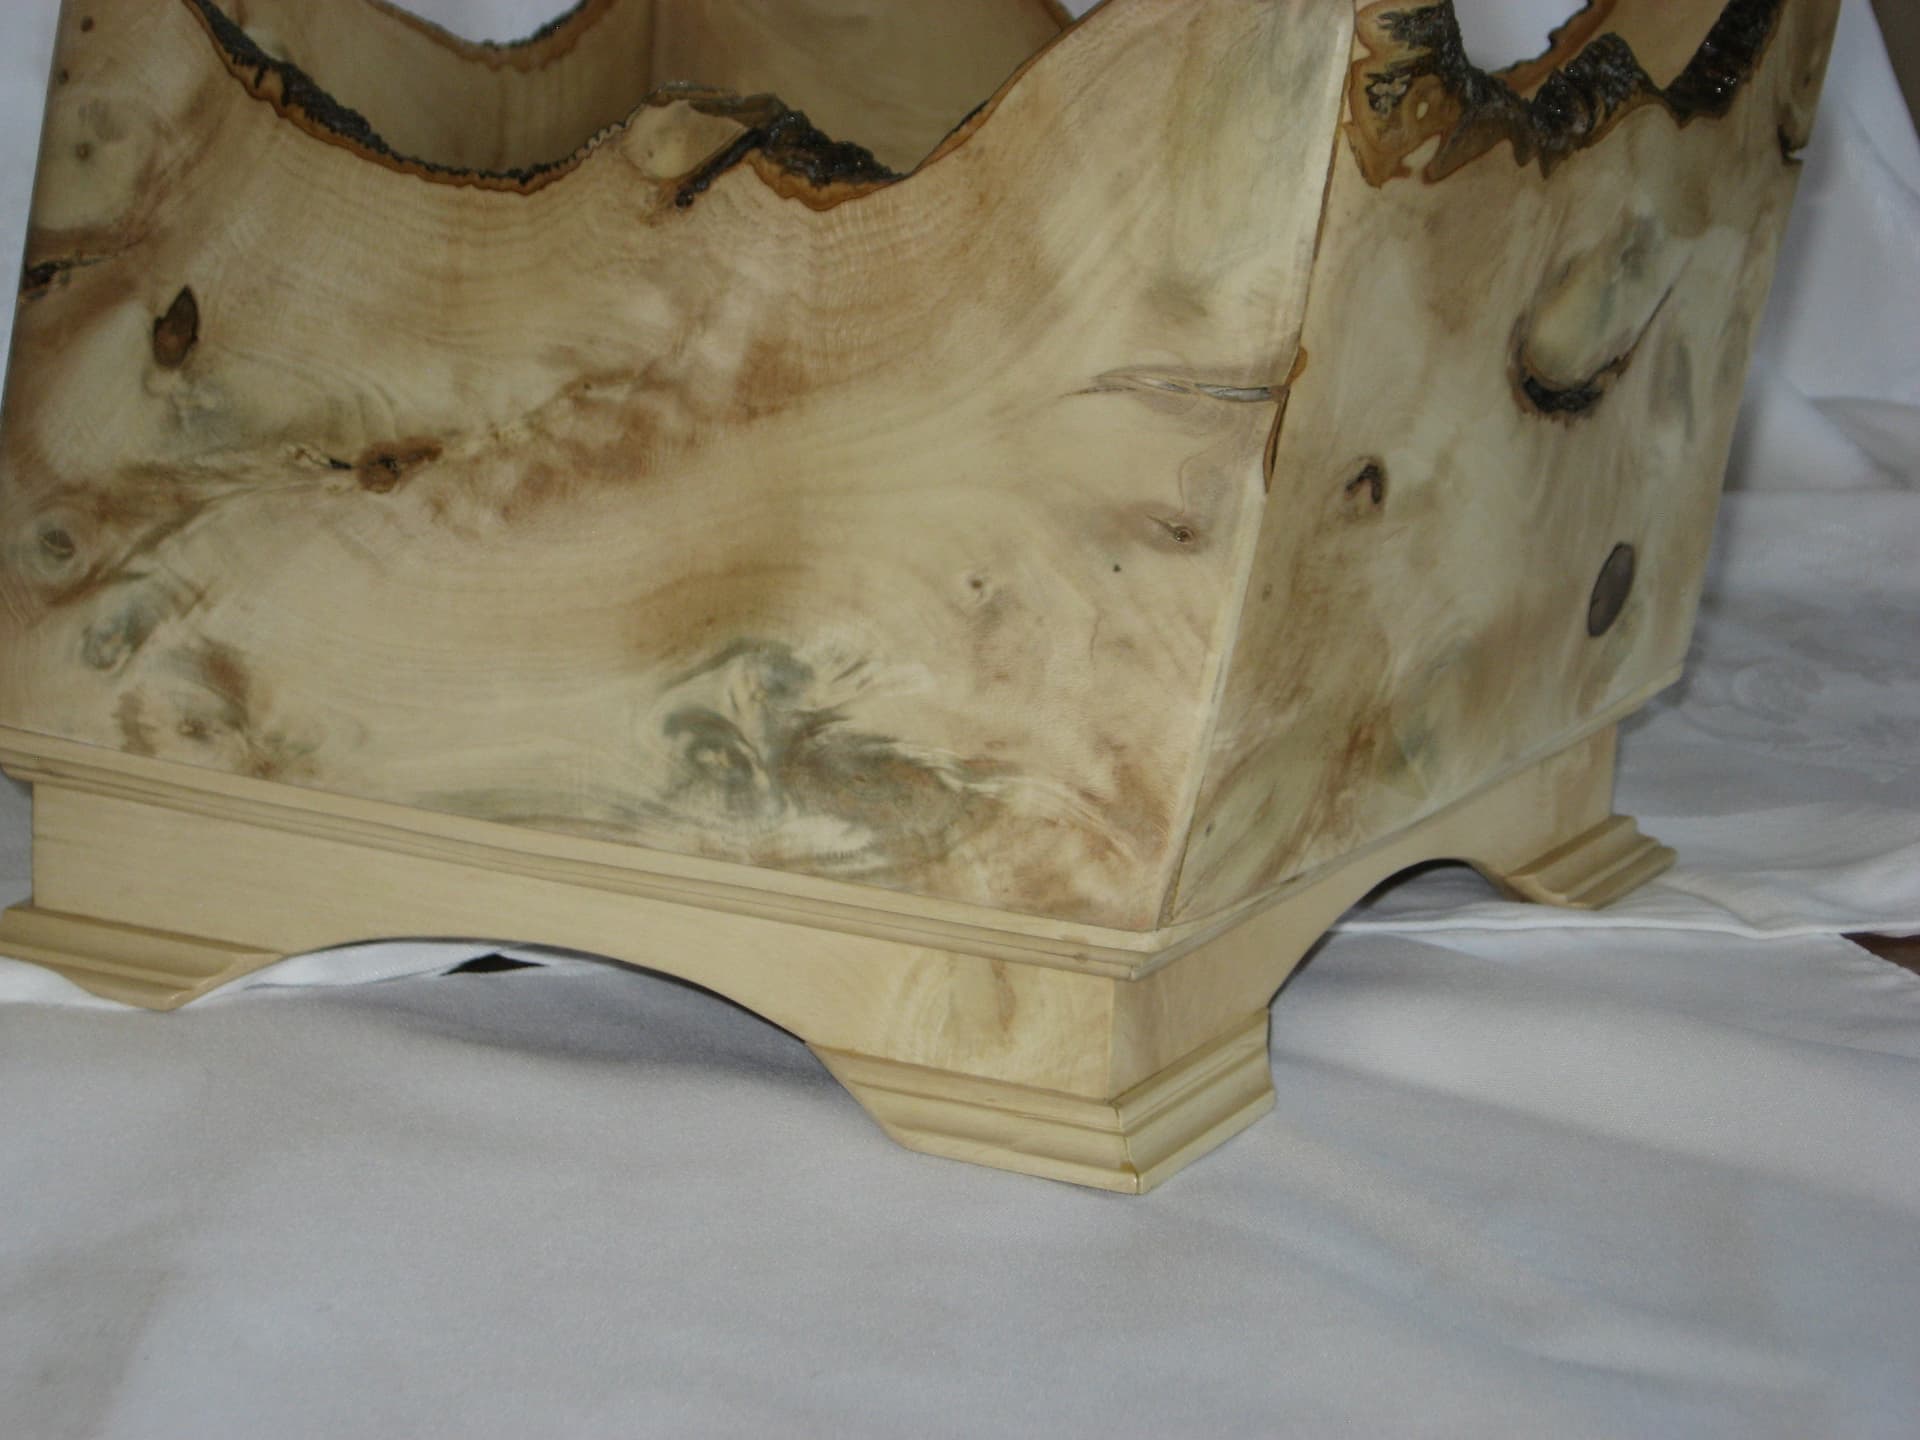
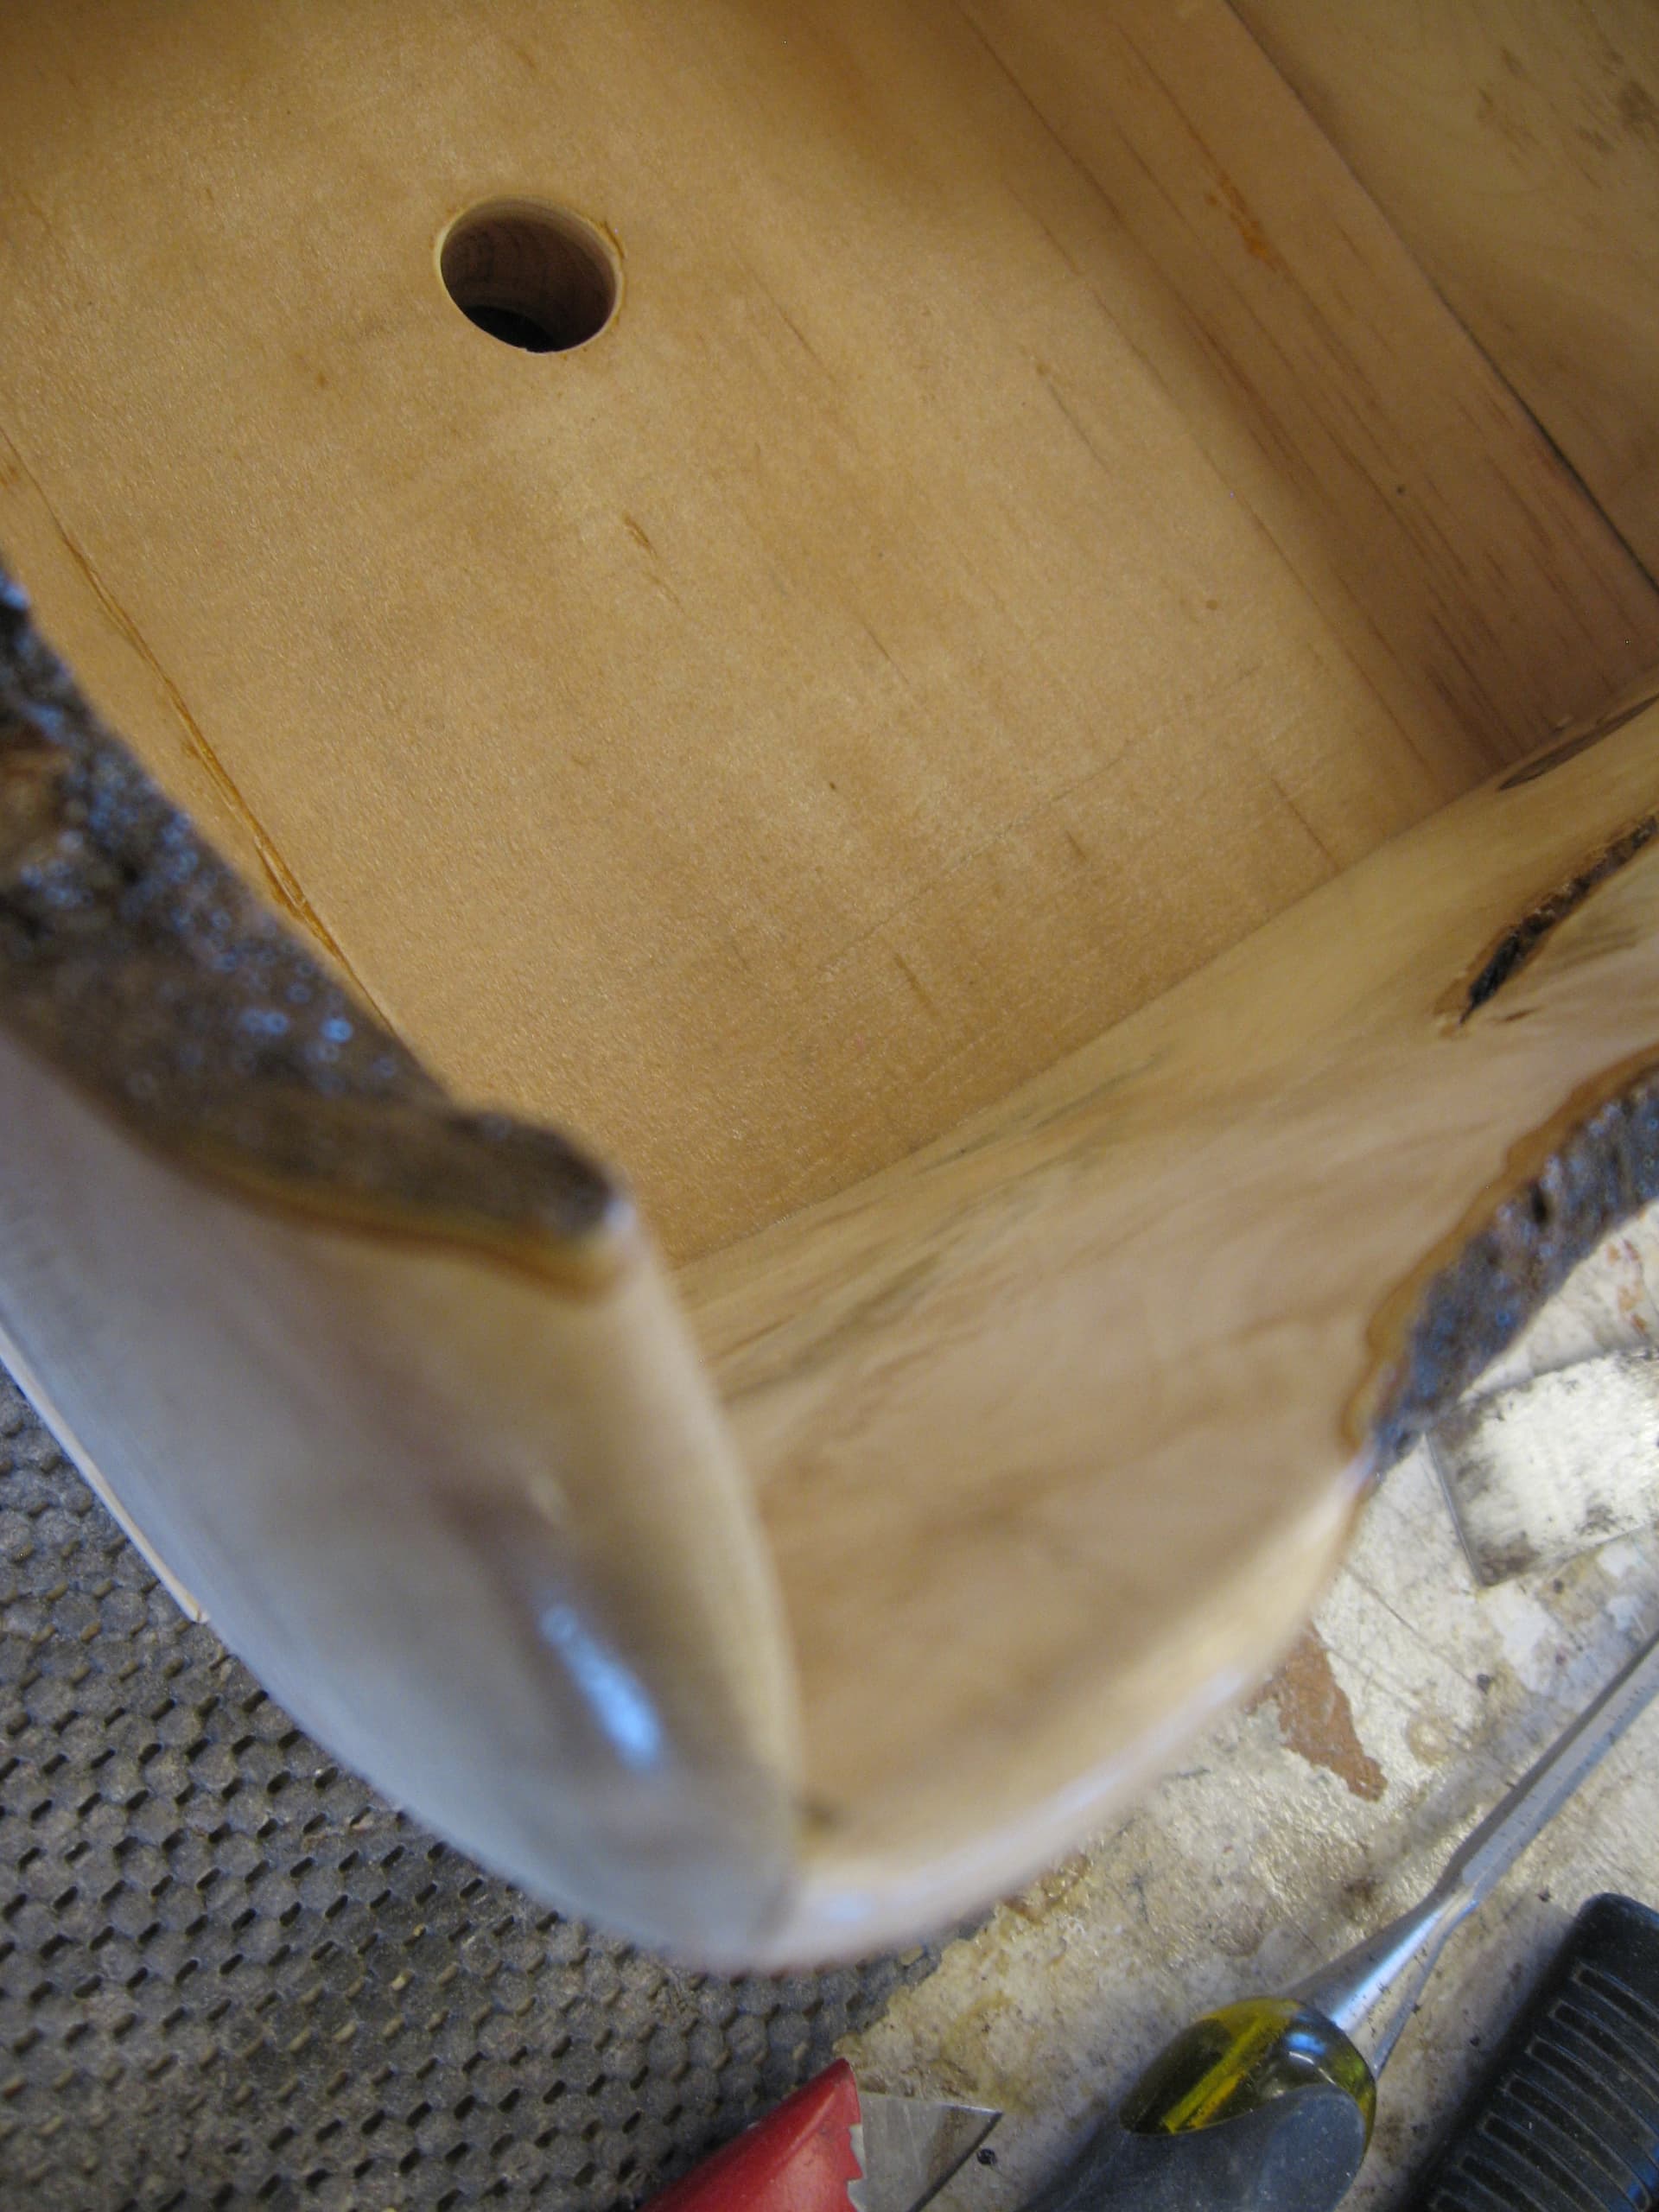
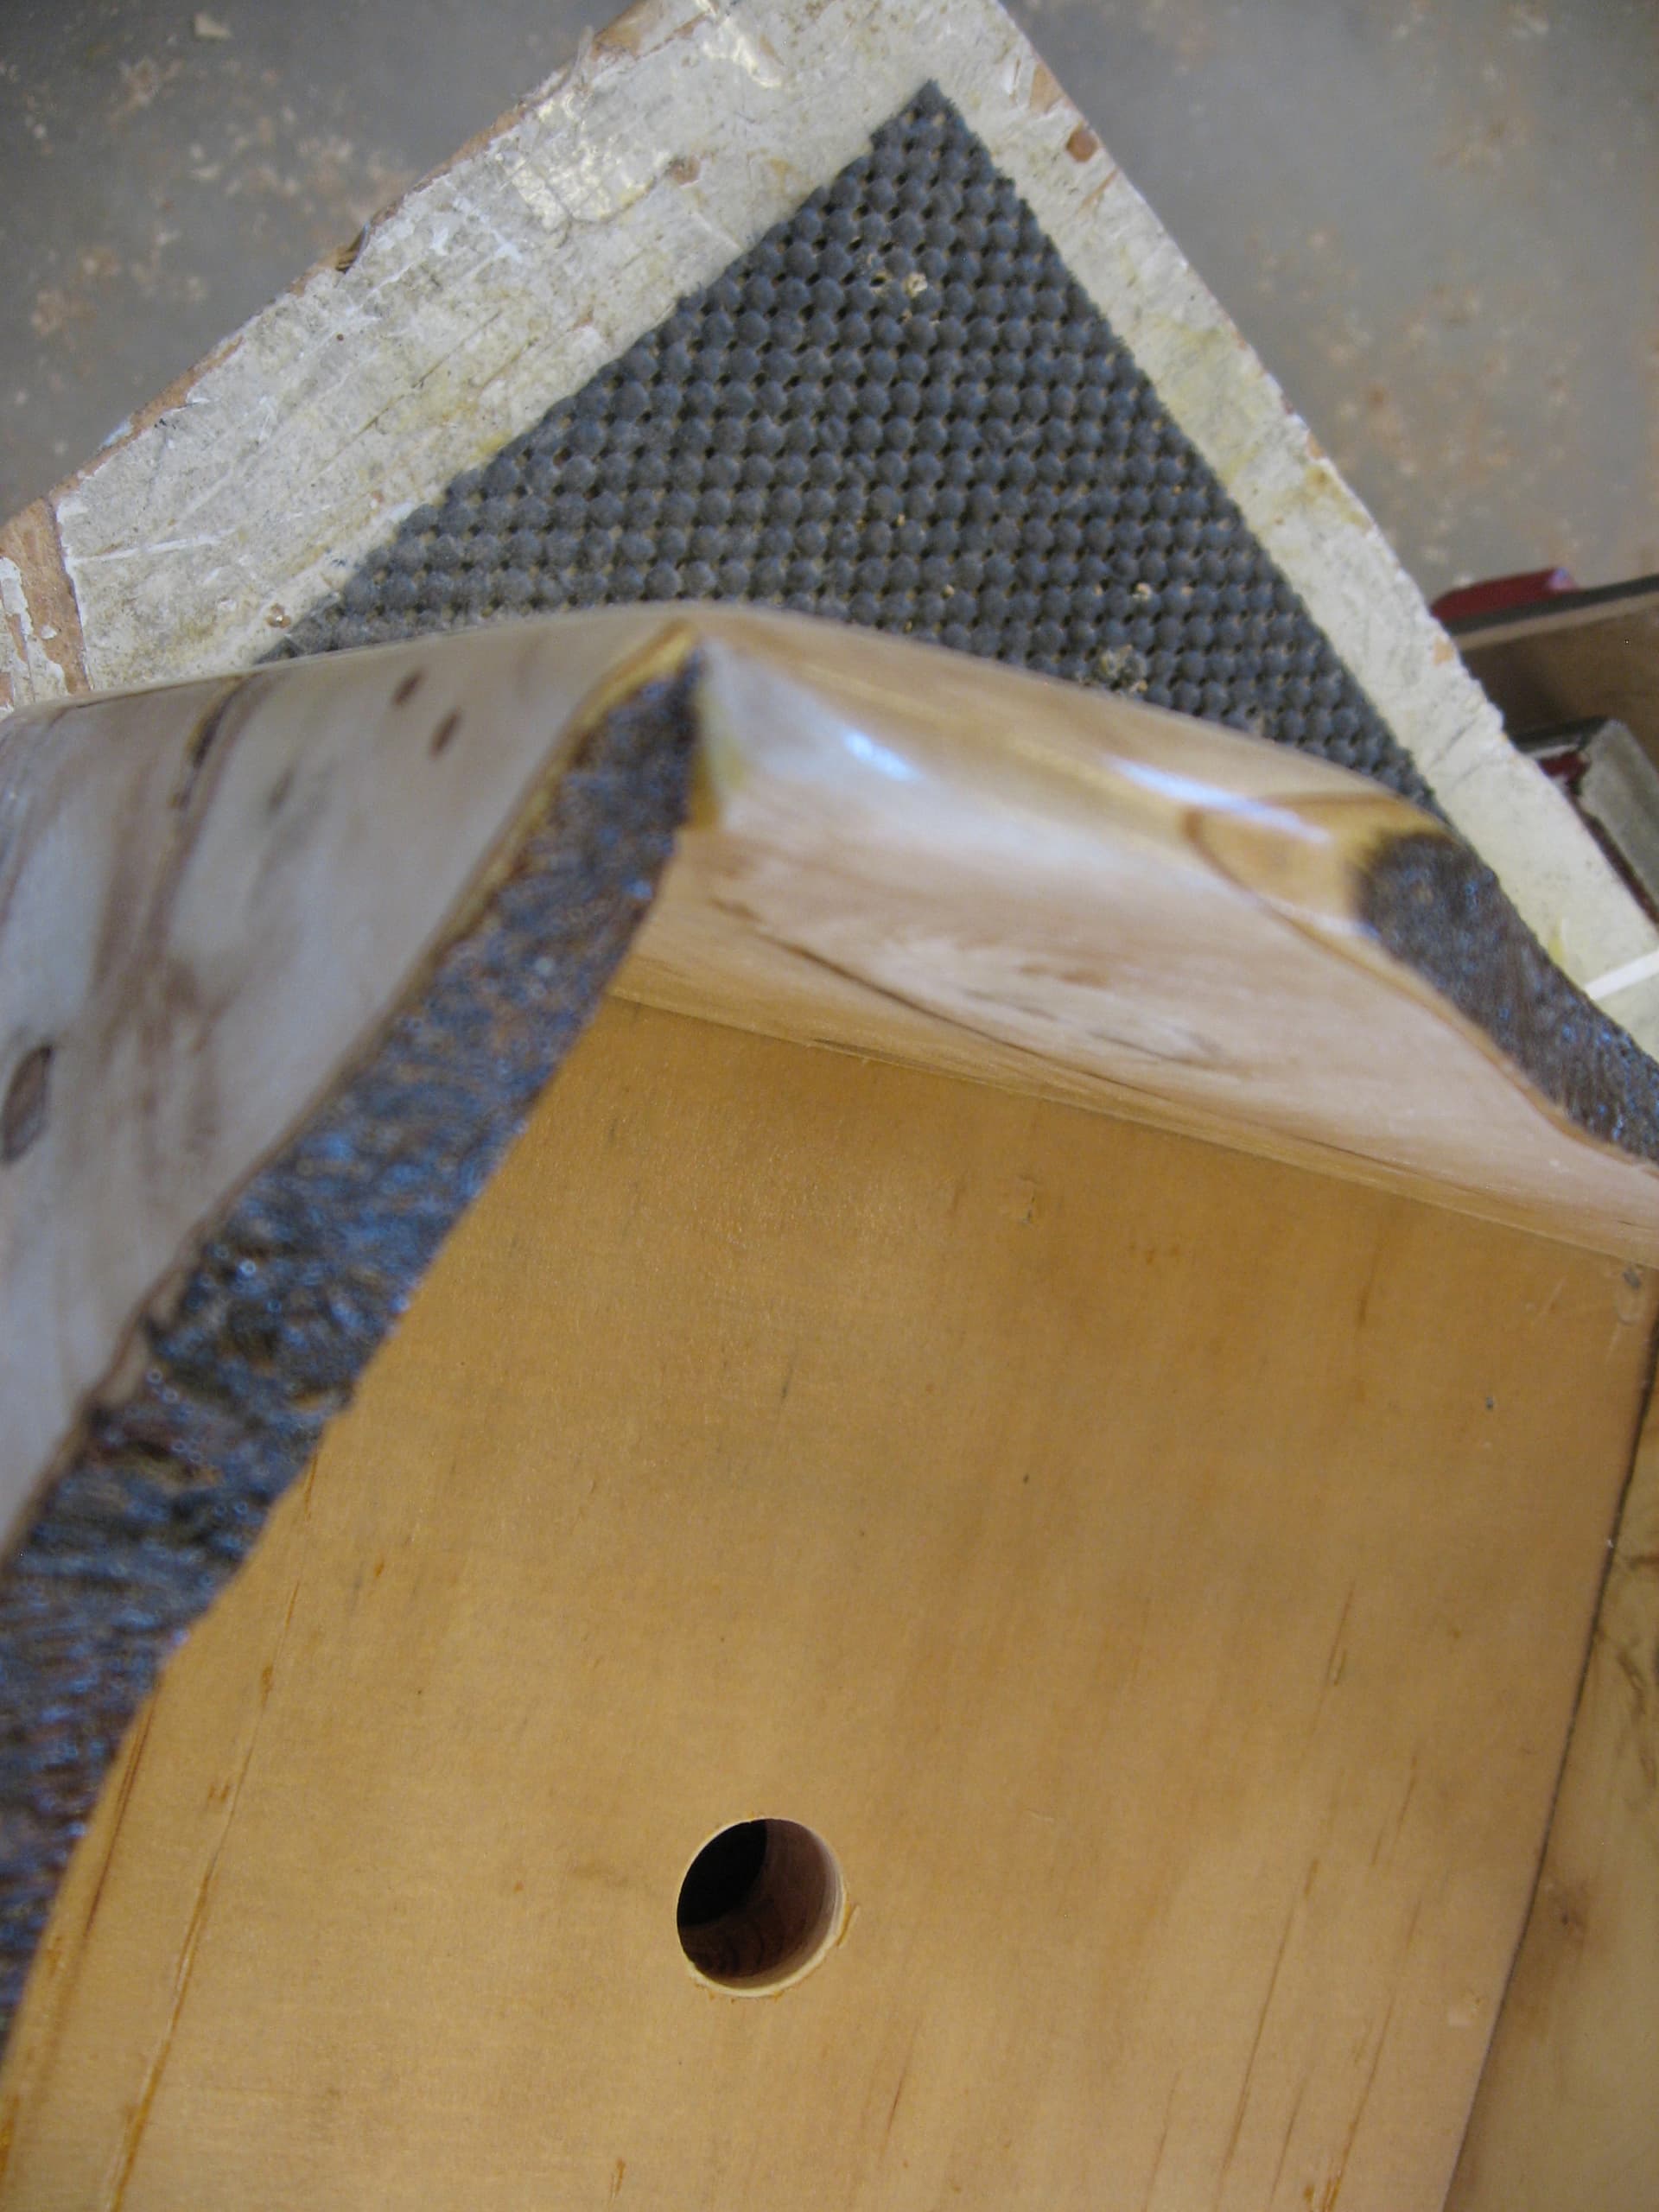
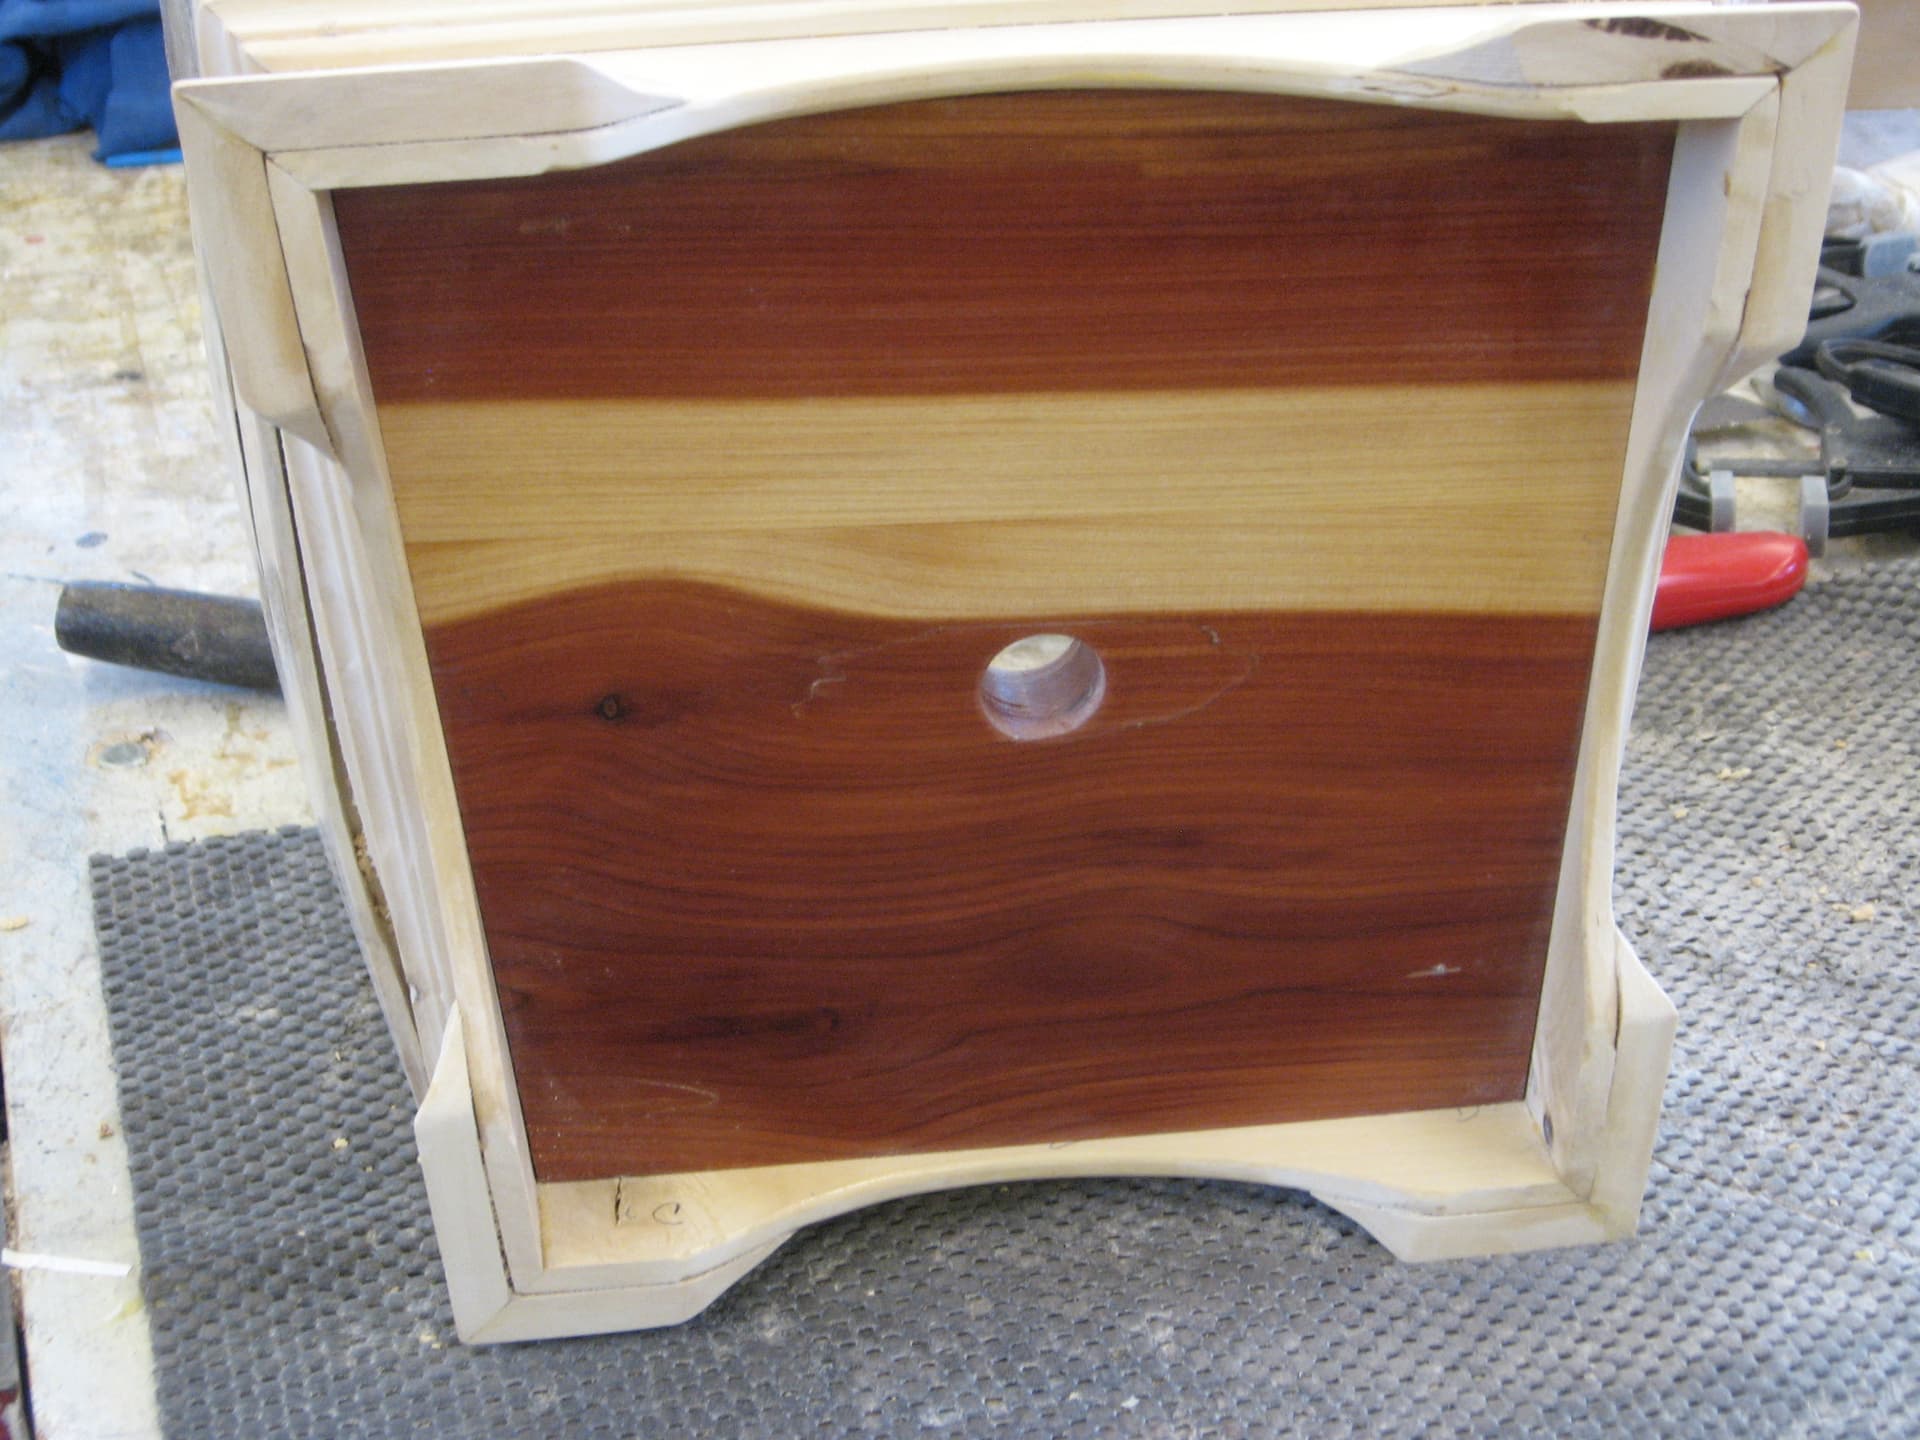
I decided to make an obtuse planter box, because none of the corners were parallel,square, or the same length. The corners are mitered, but not on 45°,because nothing was square or verticle. I put a hole in the bottom incase any water came out of the pot, it could escape.
Here is what I came up with:
Herb
Herb, this is magnificent !
I can only say I will try to copy the style.
Please mention, somewwhere how you set the cut angles for the oblique side edges, I want the calculation rationale, not just the final saw setup. Thje bottom is plywood I see, and the legs are a very elaborate style, a different technique for them! I remember in the past you showed another planter you made from bits given to you by someone’s lady (widow?) and that one turned beautiful! I would very much like to try this oblique cut. and must also remember to show you some very simple planter boxes I made out of cypress, nothing like this one, but still showing the beauty of free edge tops.
You are unique! Thank you for sharing!
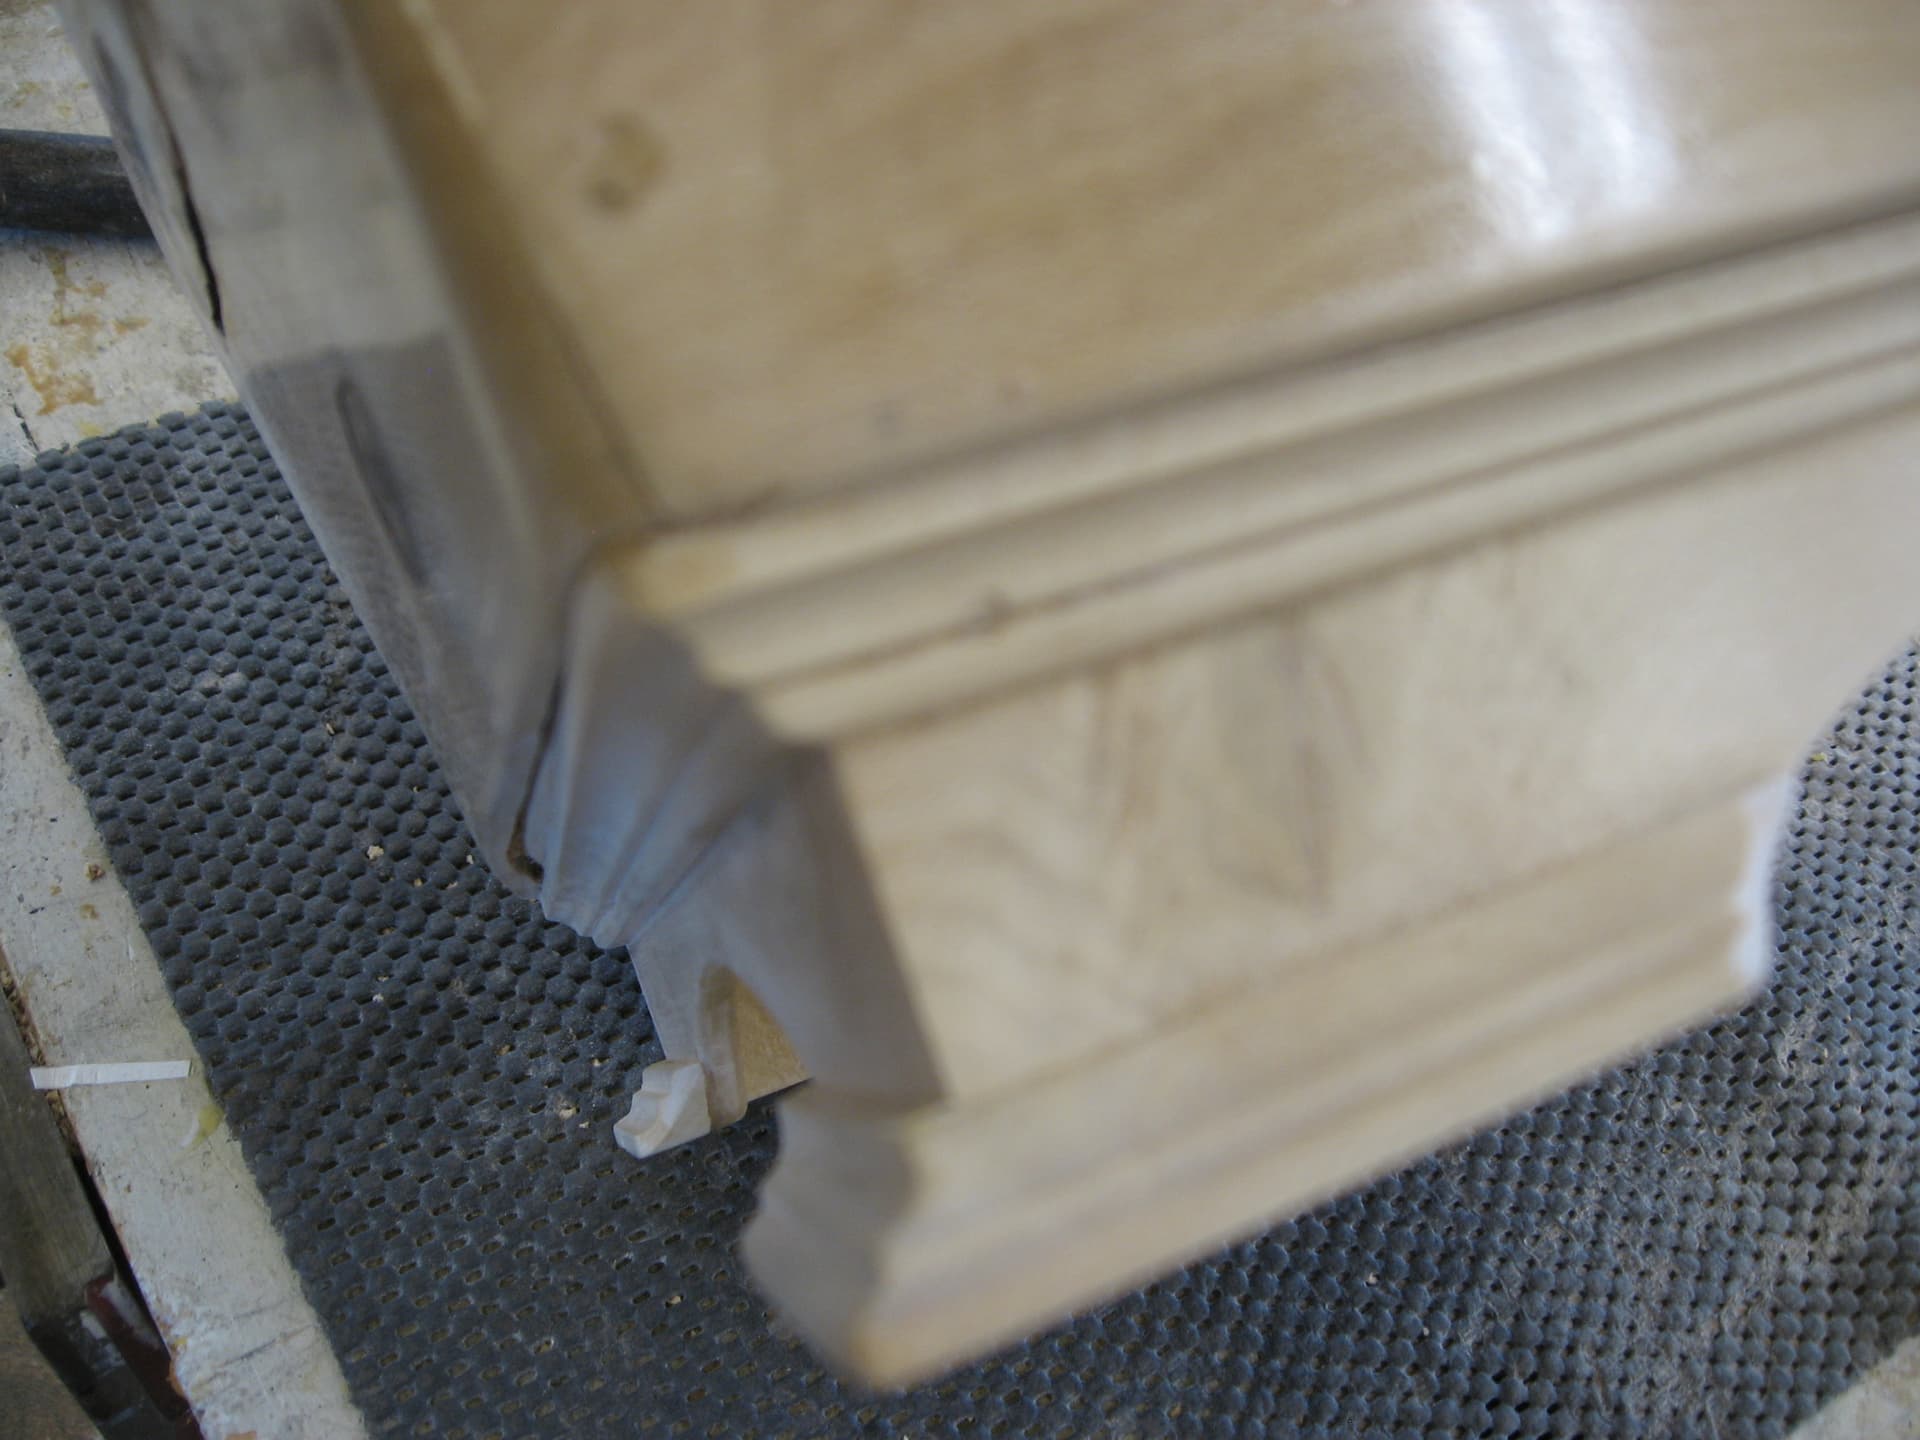
Dimitri, The corner miters are free hand cut with a pull saw. I would hold them together with my thumb and fore finger and try to bisect the total angle. It might take more than one attempt to get them tight. Then glue and pin nail. Then to the next tll I got the box formed. Then I made the bottom to conform to the sides.It is made from aromatic cedar,for rot resistance.
Herb


The biggest exclamation mark from me ( ! ) 


I would like to see how you “cook” that mitre with a pull saw. It only increases my frustration to just try it. For this reason I have given up 45o joints and go for 90o (The customer - Mrs M, never complained so far!)
Dimitri, you might find it easier to cut both joining sides on a 45°on all 4 corners. Then tape the joints together with masking tape. then you can see the gaps and high spots, run the pull saw down the joint and position it 1/2 way between each side of the cut. That essentially bisects the angle. Tighten the joint and keep doing that until the joint is tight. You may have to mark some high spots and use a sanding block on each side. Retape the joint and move to the next one, keep doing this til all the joints are tight.
Then put some glue on them and tape them straight and then close them up, the tape will tighten the joint.
I hope this helps.
Herb
nice work as usual Herb…
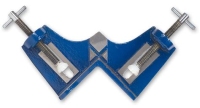
ya think a joiner’s miter clamp would help w/ keeping the pieces aligned. rock steady and aligned while doing the cutting???
do you draw the saw from the inside or from the outside of the miter???
I never thought of trying it with them.
Herb
I think it would give you a mechanical advantage…
@DimitriM
there are several types of those clamps…
some are for glue ups only while others you can use w/ a saw and others you can do both…
https://www.lowes.com/pd/Pony-3-in-9100series-Corner-Clamp/1000989038
I have a set of these, I should have used them. I did for glue-up, but didn’t think of it for fitting the joint!!!
Herb
I have those too…
don’t use them too often…
sometimes they can mar or split the wood…